
Introduction and Materials
Introduction
We have all heard someone say, “I’m terrible at drawing!” or “My best drawing is a stick figure.” Perhaps we have even said it ourselves.
There are many myths around making art. One myth is that of the artist-genius: the idea that artists are somehow born with the innate ability to create. The 19th century British artist J.M.W. Turner once said, “I know of no genius but the genius of hard work.” [1] Turner was mistrustful of anyone claiming to be an artist who had clean hands. For Turner and most artists, the reality is that their work is the product of hard work and practice.
The truth is: anyone can learn how to draw.
In this textbook, each chapter is based upon a principle related to learning the medium of drawing: gesture, line, perspective, value, etc. In each chapter, you will find written explanations of the concepts along with image examples, master artist examples, and activities. The chapters are designed to walk you through the basic components an artist must understand to draw accurately and meaningfully.
As you might expect, this text is about learning how to draw. However, it is much more! Working through it will also train your observation skills and heighten your perceptual abilities. You will explore master artists in their historical contexts and see how they have used the same techniques you are learning.
When drawing, the artist looks closely and observes carefully. As such, the practice of drawing can teach you how to see. The 19th century Post-Impressionist artist Paul Cézanne said, “Treat nature by means of the cylinder, the sphere, the cone….” [2] In other words, study the underlying geometric structure of nature. For example, think of a tree you see every day. You may have mentally catalogued the tree’s variety (palm, oak, pine, jacaranda, etc.). Now, look at the tree from Cézanne’s perspective: the tree trunk becomes a cylinder, the leaves curved triangles, and the berries or seed pods spheres.
Look again: Is the width of the trunk consistent, or does it taper at the top? Does the sky appear in negative space between the branches? From what angle does the sun create highlights and shadows? Now, all of a sudden, you are asking yourself questions about the proportions of the tree, its shape, the presence of negative and positive space, and value. You are asking questions like an artist!
Each of the learning activities will take a substantial amount of time and attention. Often, students are surprised at the level of effort Foundations of Drawing requires. As with every college-level course, the class requires you to spend a significant amount of time thinking about the material and implementing the techniques through assignments. You are learning a new language! In this case, you are learning a visual language through which you can discover how to see the world with more nuance and to transform it with your own artistic expression.
To achieve the results you wish (i.e. learning to draw!), devote a set amount of time each week to completing your work. Some instructors recommend around six hours per week. By setting aside this time, you will find yourself with more energy to develop your skills. Be patient with yourself. Do not compare yourself to master artists like Leonardo da Vinci and Michelangelo, who devoted their lives and careers to creating art. With time, practice, and patience, you will see improvement.
Following these guidelines will help you succeed in Foundations of Drawing. Above all, enjoy the process and celebrate each success you achieve, no matter how small.
Now, it’s time to grab your materials and get started!
Materials
Are you looking at your new materials and thinking: “What’s next?” In this first section, experiment and get comfortable, particularly with your charcoal and graphite pencils. What kind of marks do they create on your paper? Artists get to know their materials by spending time with them. When drawing, make sure you have all your supplies on hand. Each chapter and corresponding learning activity will specify the particular pencils, erasers, and objects needed.
There are loads of materials to use when it comes to drawing. This section provides an introduction to several common types of drawing materials.
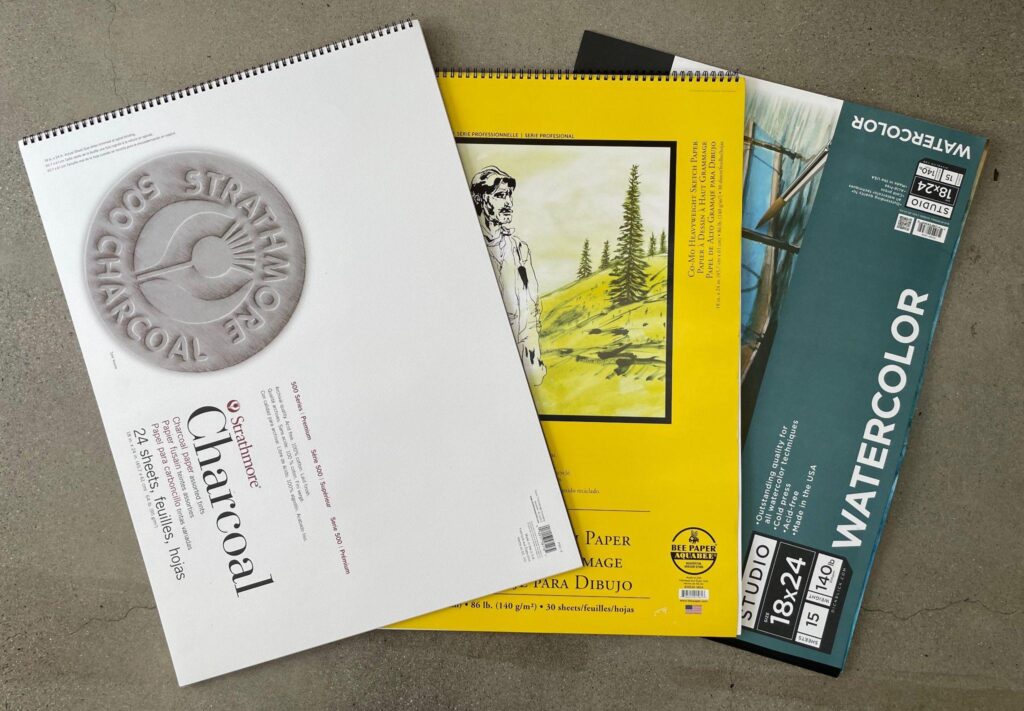
Paper
Believe it or not, there are many options when it comes to paper! Your choice depends on the drawing material.
Some paper is produced as cold-pressed paper, which has a bit of texture or “tooth” to it. The “tooth” helps the material adhere to the surface. Textured paper is suitable for charcoal or pastels, and the paper type will typically list the appropriate mediums (ex. charcoal, newsprint, pastel, etc.). “Charcoal paper” tends to come in white, whereas some drawing paper comes in a cream color. A variety of pre-colored toned paper, such as tan, gray, and black, is also available. The base color of the paper will change the tonal values produced in the drawing.
Either “charcoal” or “drawing” paper, which can be smooth in texture, will work with the graphite pencils. When working with a “wet” medium like ink, Inktense, or watercolor, you will need watercolor or mixed media paper to absorb the liquid. The chapters and related assignments will specify the paper types.
Graphite
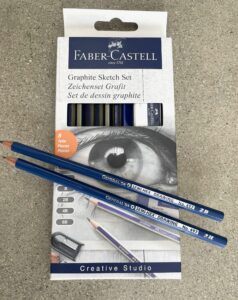
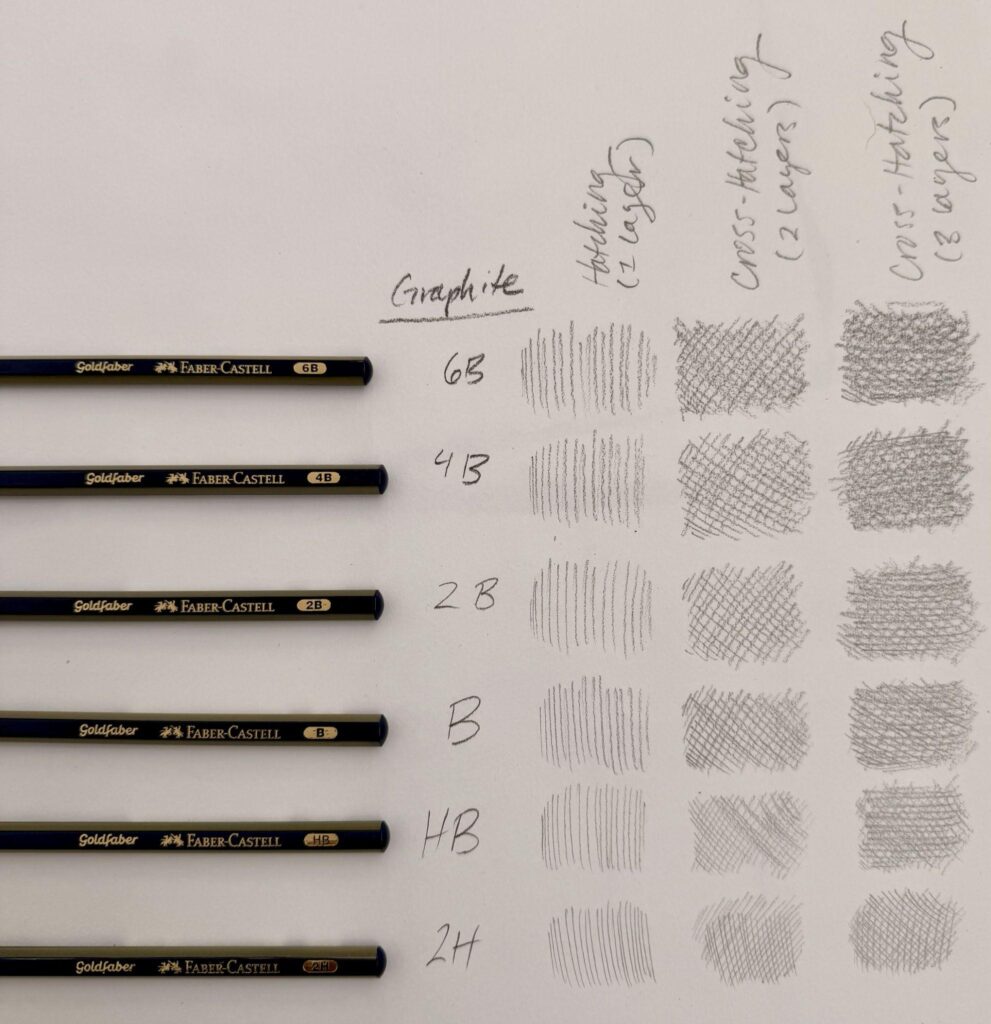
The word “graphite” comes from the Ancient Greek “to write or to draw.” What we call “graphite” is actually the result of mixing graphite with clay. The amount of clay mixed with the graphite determines the hardness or softness of the material. This is why you see an entire range of pencils from 10B to 10H. 10B will be the softest, and thus, the darkest. 10H will be the hardest, and thus, the lightest. For beginners, HB, 2B, and 4B are quite handy.
The terms graphite and pencil are often used interchangeably. With graphite pencils, the graphite or “lead” is held inside wooden cylinders. The term “lead pencil” is actually a misnomer, as pencils never included lead.
As an artist, you will consider what kind of lines you wish to make and select your pencils accordingly. It is important to note that not all brands or labels of graphite pencils are standardized. You will need to experiment with your own set. This will be the goal of our first activity (see below). You will be working with graphite materials throughout the text.
Charcoal
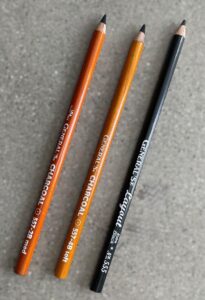
Charcoal is an ancient drawing material. Prehistoric artists at sites like Lascaux and Chauvet in France used charcoal to create their images of large mammals. The early Italian Renaissance artist Cennino Cennini gave a detailed recipe for producing charcoal in his book Il Libro dell’arte first written around 1390. [3] Used across centuries and geographical locations, charcoal is generally made from plant twigs (often willow) fired in the absence of oxygen.
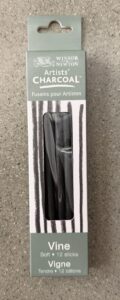
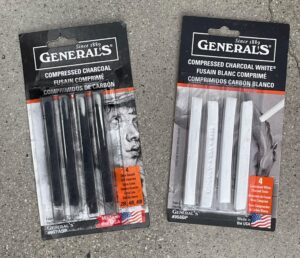
There are typically four forms of charcoal: compressed, vine or willow, charcoal pencils, and charcoal powder. Compressed charcoal is a finely ground black pigment that is combined with a binder and formed into sticks. Vine and willow can be used interchangeably.
Pencils and sticks of charcoal frequently come in four grades: extra soft, soft, medium, and hard. Select the charcoal grade depending on what kind of affects you want to create in your drawing. You will be working with charcoal throughout the text.
Charcoal allows for freedom of movement and expressiveness different from graphite. A word of warning: charcoal can easily smear!
Erasers
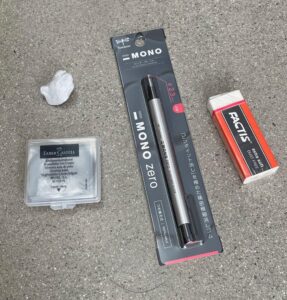
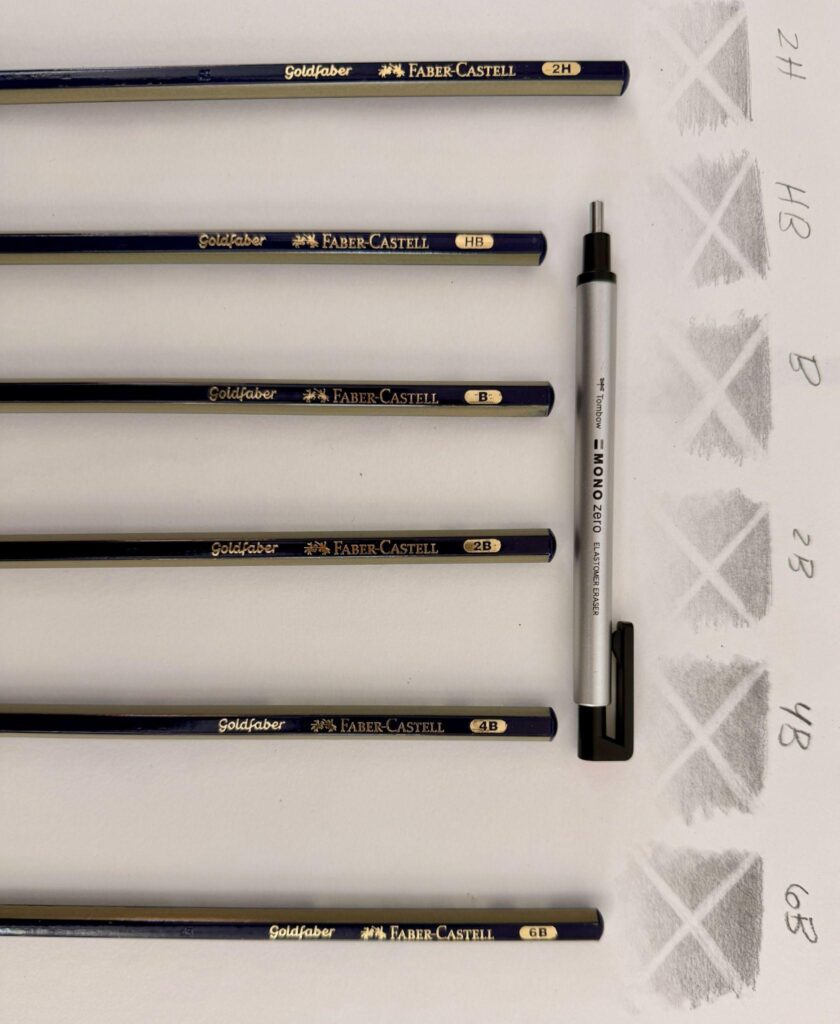
Erasers are for more than “mistakes.” Erasers are effective drawing tools. As a tool for reductive drawing, erasers can lighten or eliminate value to create highlights, edges, and a full range of value. They can also remove lines, adjust texture, and help to create reflective highlights when rendering objects of glass or metal.
There are several types of erasers. These include kneaded, rubber eraser, pencil, mono eraser, and chamois cloth. The kneaded eraser is a multifaceted tool. It self-cleans when you knead and re-work it, like clay. It easily lifts off material, which allows you to adjust the shape and shading of your objects. While the kneaded eraser allows you to adjust its shape, the rubber eraser maintains a wedge shape and firm edge. This makes it particularly valuable when erasing precisely. The pencil eraser and mono eraser are both helpful when aiming for precision and clean erasing. Like the kneaded and rubber erasers, they can be used to create lines of highlight. Last is the chamois cloth. This cloth, which works particularly well with charcoal, can also be used to blend and create subtleties in shading. You will be working with various forms of erasers throughout the text.
Ink and pen
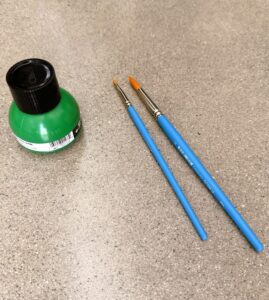
Ink is a wet medium and traditionally made from materials ranging from gallnuts and lampblack to cuttlefish. Ink can be used with small brushes made of either animal hair or synthetic hair. While one usually thinks of brushes in relation to painting, ink and brush are excellent drawing tools. They can be used with other mediums like pen or pencil. Calligraphy, or the art of drawn language, utilizes ink and brush. Inks typically come as either water-soluble or waterproof. You will be experimenting with sumi (black) and sepia (brown) ink in the Wet Media Chapter.
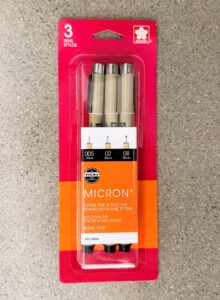
Used since classical antiquity, the pen is another drawing medium related to ink. However, the downside to working with ink or pen is the inability to erase marks.
Colored Pencils
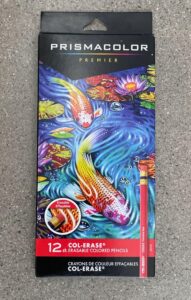
While traditional pencil drawing may be associated with tones of black, white, and gray, colored pencils offer drawing in color! Like drawing with graphite, color pencils can be erased, which lends flexibility. We will be working with Col-Erase Prismacolor colored pencils in the Color Chapter.
Inktense
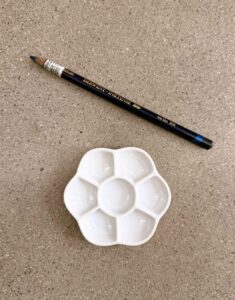
Inktense is a brand of water-soluble colored pencils that use ink-based pigments. Working with Inktense results in vibrant colors that are also permanent. When water is applied, the pigment transforms into a wet medium. As such, you will need to select an appropriate paper to use. The different techniques of working with Inktense are discussed in the Wet Media Chapter.
Conclusion
Enter any art supply store, and you will find more drawing supplies than the ones described in this chapter. Sometimes a large variety of options can be overwhelming. The book is designed to introduce you to basic drawing materials and guide you on techniques of how to use them effectively. In the “Mark-making Activity” below, you will begin testing several materials introduced in the chapter.
Licensing and Attributions
“Introduction and Materials.” Written by Chelsea Wright. License: CC BY
Mark-making Activity
Description
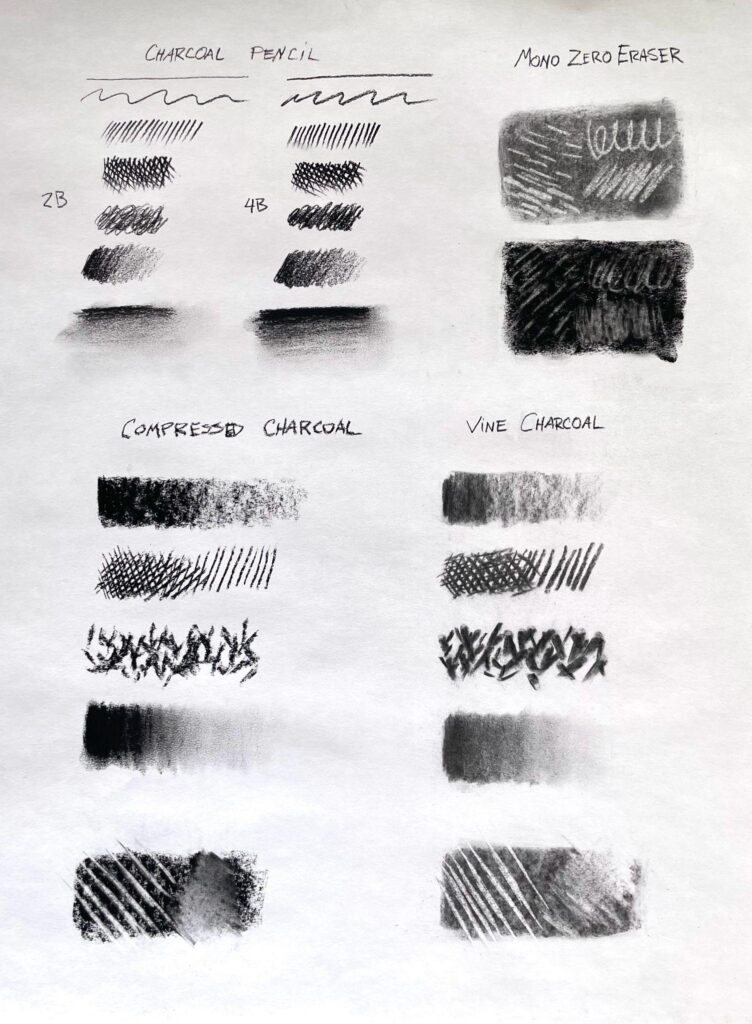
Experiment! Artists understand their materials. By experimenting and becoming familiar with your supplies, you begin to learn what each material can and cannot do. In this first exercise, you will experiment by making a variety of markings with your drawing materials and labeling each clearly with the material used.
Project Parameters
Duration
1 Hour
Size
8×10”
Subject
Experimental markings
Required Materials
- Sketchbook or Spare Piece of Drawing Paper (minimum size: 8×10″)
- Graphite Pencils: full set (ex. from 10B to 10H)
- Erasers
- Charcoal supplies: charcoal pencils, compressed charcoal, and vine charcoal
- Wet media supplies: pen (the other wet media materials will be used in a later chapter)
Student Learning Outcomes (SLOs)
The goal of this exercise is to learn about your drawing materials. Although this step may seem simple, you are laying out the foundation for understanding how to work with each supply. Your finished product can also serve as a medium reference sheet for future assignments.
Method
For this introductory activity, you will be testing your required drawing materials. To do this, create different lines and a variety of markings on your drawing paper. What does “mark” mean? Mark-making is a term we use to describe all the different visible lines, textures, and patterns we produce when drawing. Get creative! Vary your line width and direction. Try including some shading. Experiment with your erasers.
Repeat this process with all the drawing materials listed above. Underneath or next to each mark, write the name of the corresponding material(s).
Tips
It helps to be organized and methodical during this exercise. First, gather all the supplies listed above. Then, begin with one type of material. Starting with graphite pencils and erasers is highly recommended.
Result
Your entire page should be filled with a variety of markings and their corresponding material clearly labeled.
Reflect
What are some of the differences or similarities between materials? How did your vine charcoal move across the paper compared to your HB graphite pencil? What kind of lines did the pen make in comparison?
By consciously recording the name of the material used to make each mark, you are learning the characteristics of each material. You will need this knowledge and experience as you move through the text. By taking the time to understand the supplies now, you have set yourself up for future success.
Licensing and Attributions
“Mark-making Activity.” Written by Chelsea Wright. License: CC BY
- John Ruskin, Notes by Mr. Ruskin on His Collection of Drawings by the Late J. M. W. Turner, R.A. (London: Spottiswoode & Co., 1878), 146. ↵
- Paul Cézanne, Letters, ed. John Rewald, trans. Marguerite Kay (New York: Da Capo Press, 1995), 301. ↵
- Cennino Cennini, Il Libro dell’arte: The Craftsman’s Handbook. Translated by D.V. Thompson, Jr. (New Haven: Yale University Press, 1933), 19.Ma ↵