
Wet Media
Introduction
Drawing with wet media, isn’t that a painting?
For some, the answer is yes; yet many artists, including the ones writing this book, use wet media to create both drawings and paintings. The difference between a drawing and a painting is often a flexible space that bends depending on artistic definition, media, culture, and time. For instance, oil is widely considered a painting medium, while ink in its many forms is considered a drawing medium by most artists.
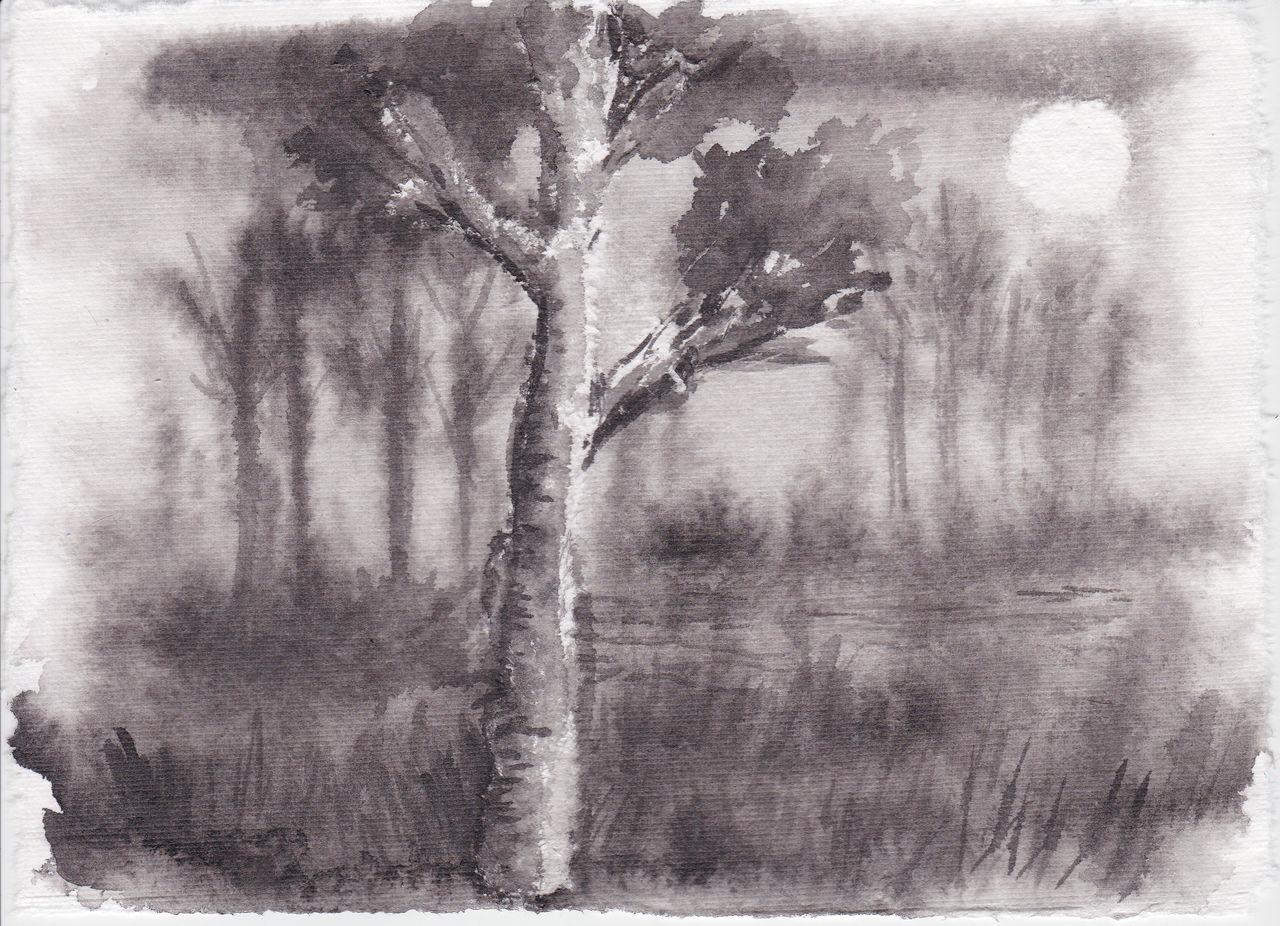
In addition to ink, adaptable art materials, such as Inktense and watercolor pencils, typically fall into the drawing realm. These media are adaptable because artists can use them as regular pencils when dry or like watercolor when wet. The secret ingredient in manifesting this change is water. Both Inktense and watercolor pencils are water-soluble. This means that when they are dry, an artist can use either material like a pencil, but when the pencil pigment is combined with water, it combines to become a wet media. As the pigment and water combine, they make a wash. The wash will have more saturated color, darker values, and increased opacity as more of the pencil pigment is added. On the other hand, the wash will become more desaturated, lighter in value, and more transparent as more water is added.
Drawing with Ink
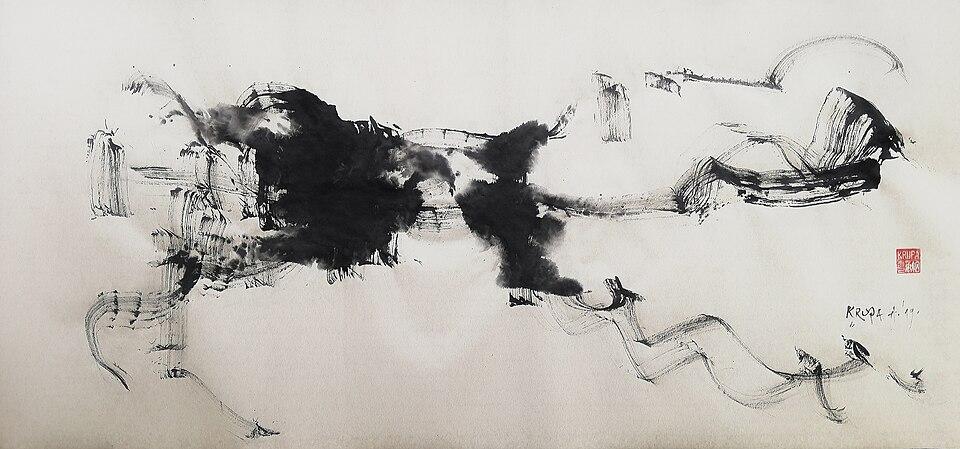
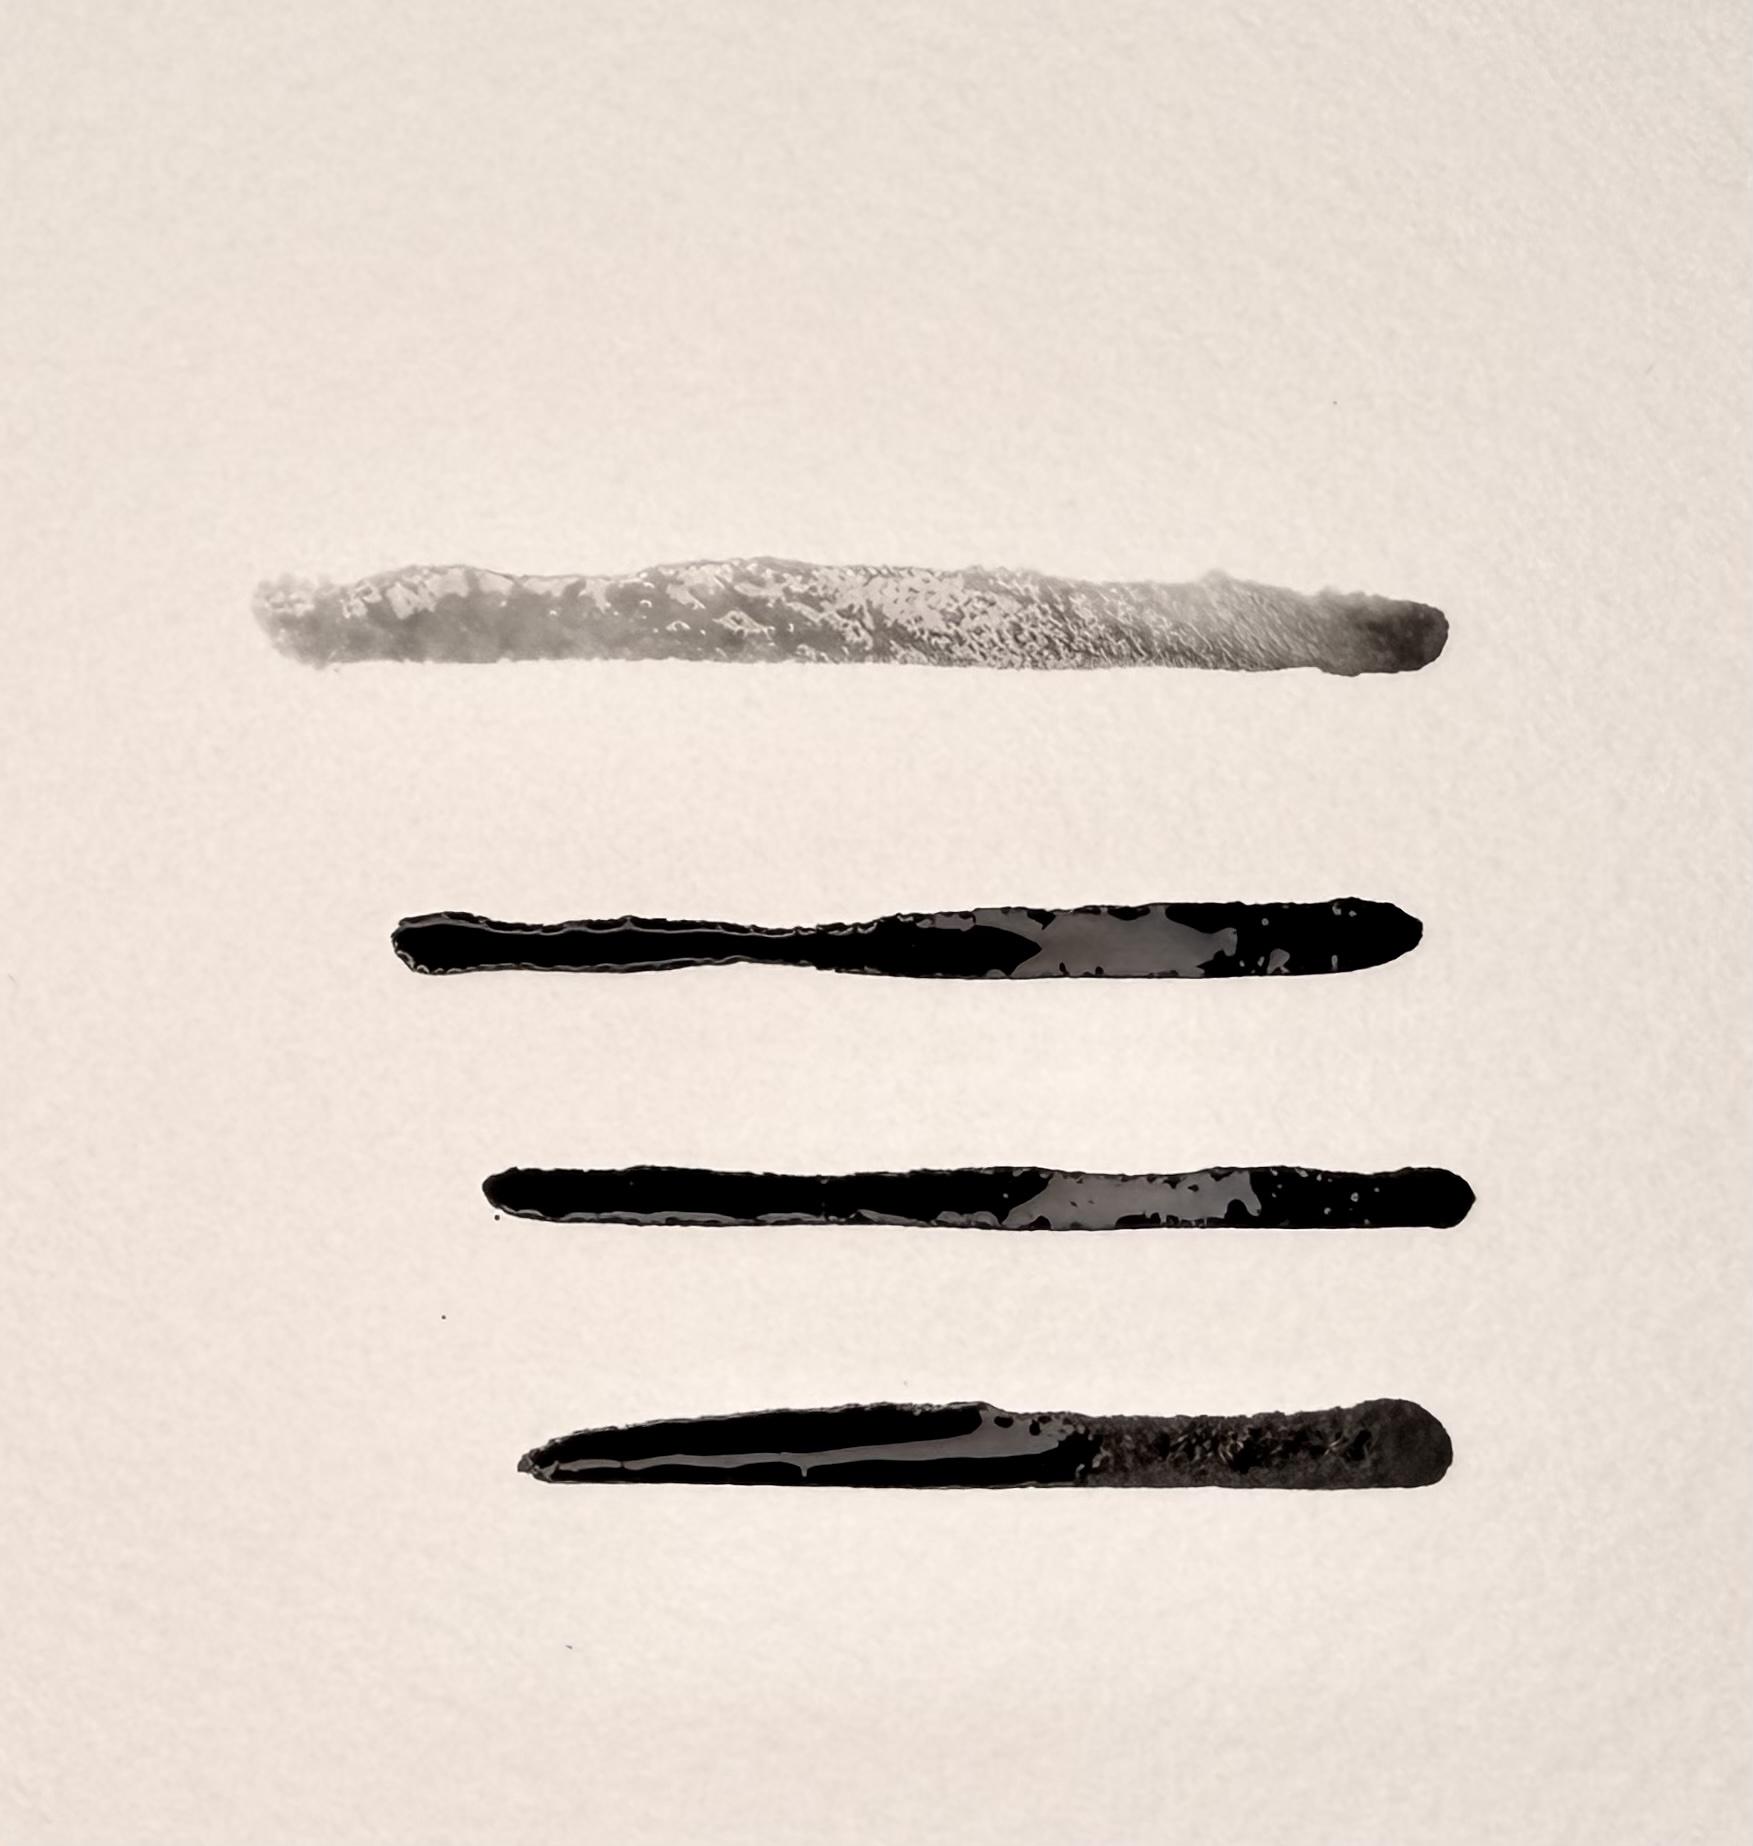
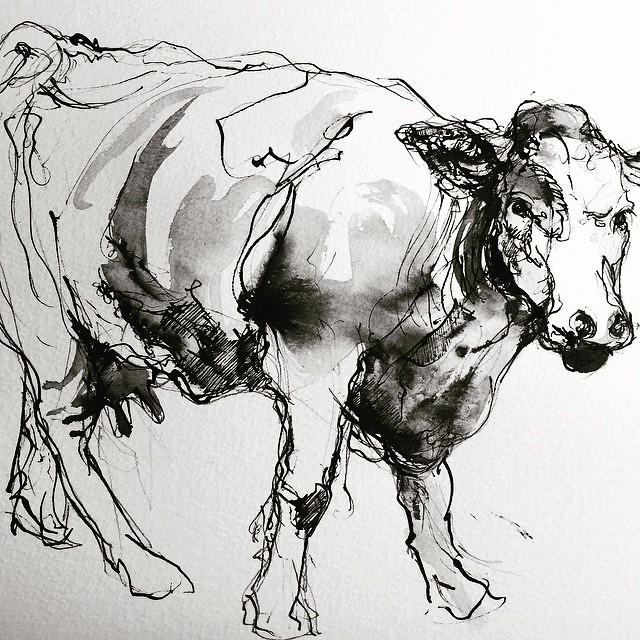
The main drawing tools used for drawing with ink include pens and brushes. Brushes are often used with sumi or calligraphy ink to draw elegant, flowing lines, marks, and washes. The ink can be used undiluted for dark, rich values or diluted with water for varying levels of translucency and value changes. For an introduction on working with ink and tips for controlling it, watch the sumi ink tutorial video.
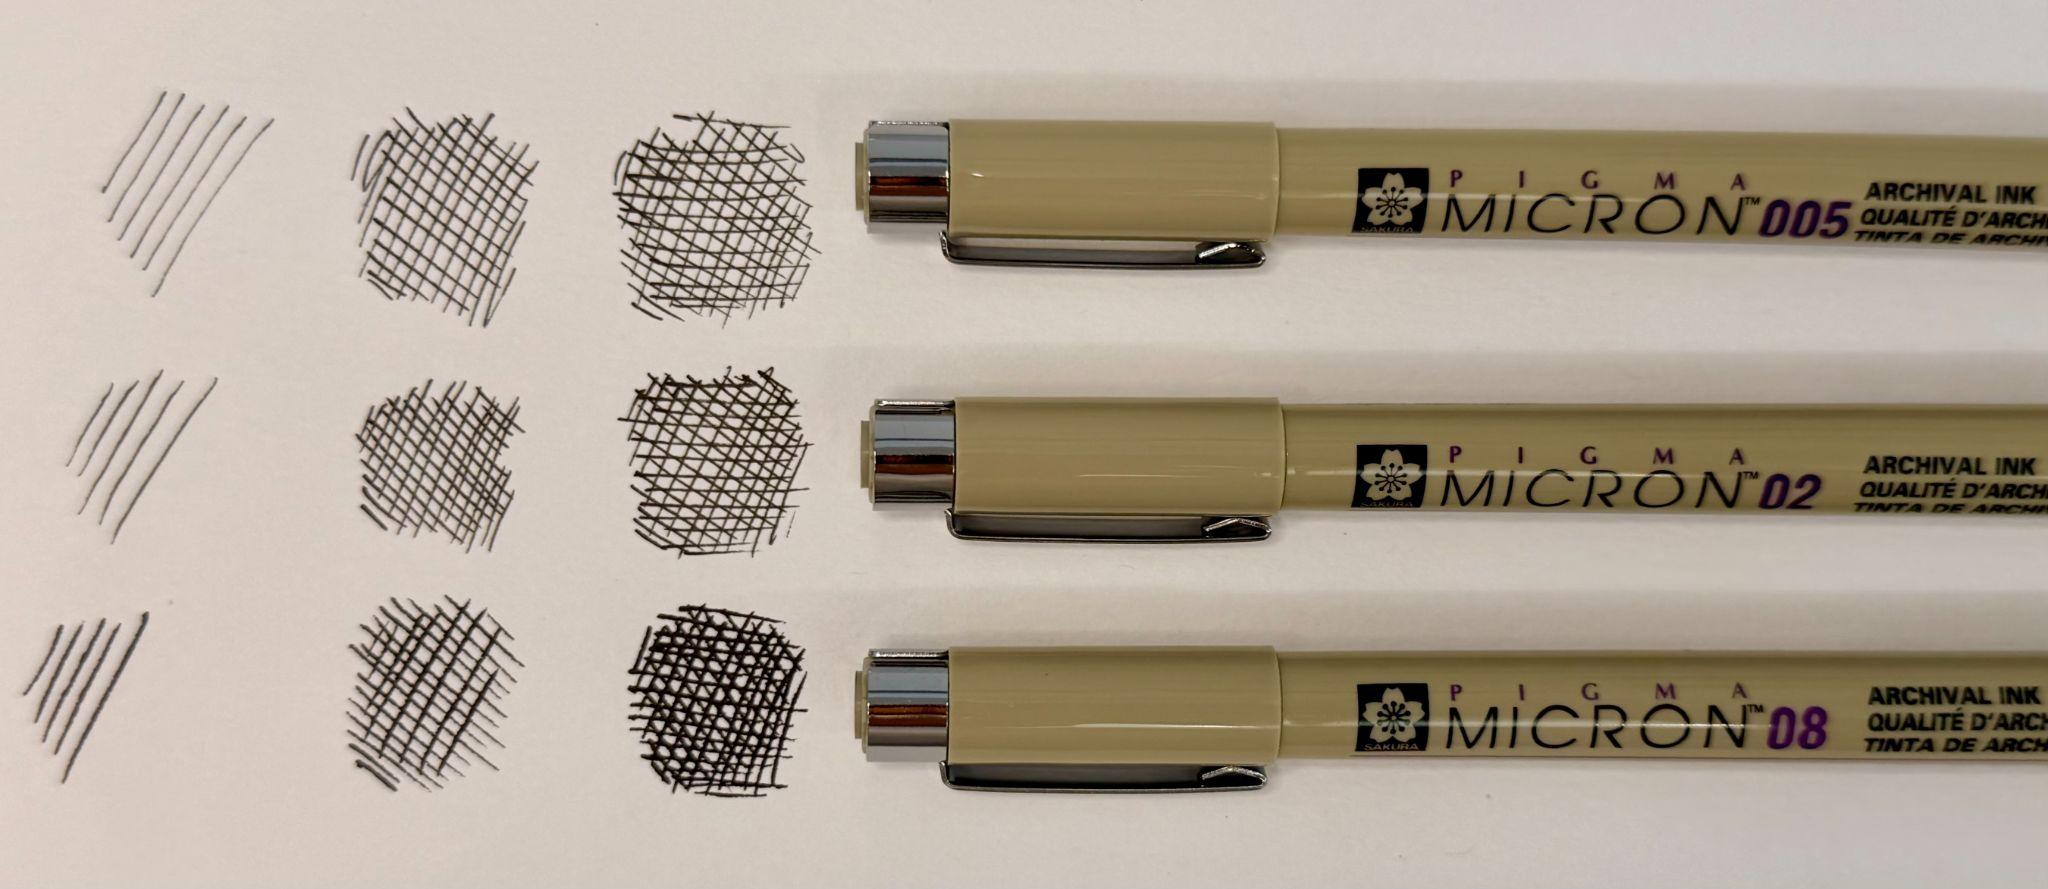
Pens come in a variety of colors, shapes, and sizes. Technical pens with felt-like tips are typically used for precise and consistent line drawings. Most technical pens have permanent, waterproof ink, but some brands offer water-soluble options.
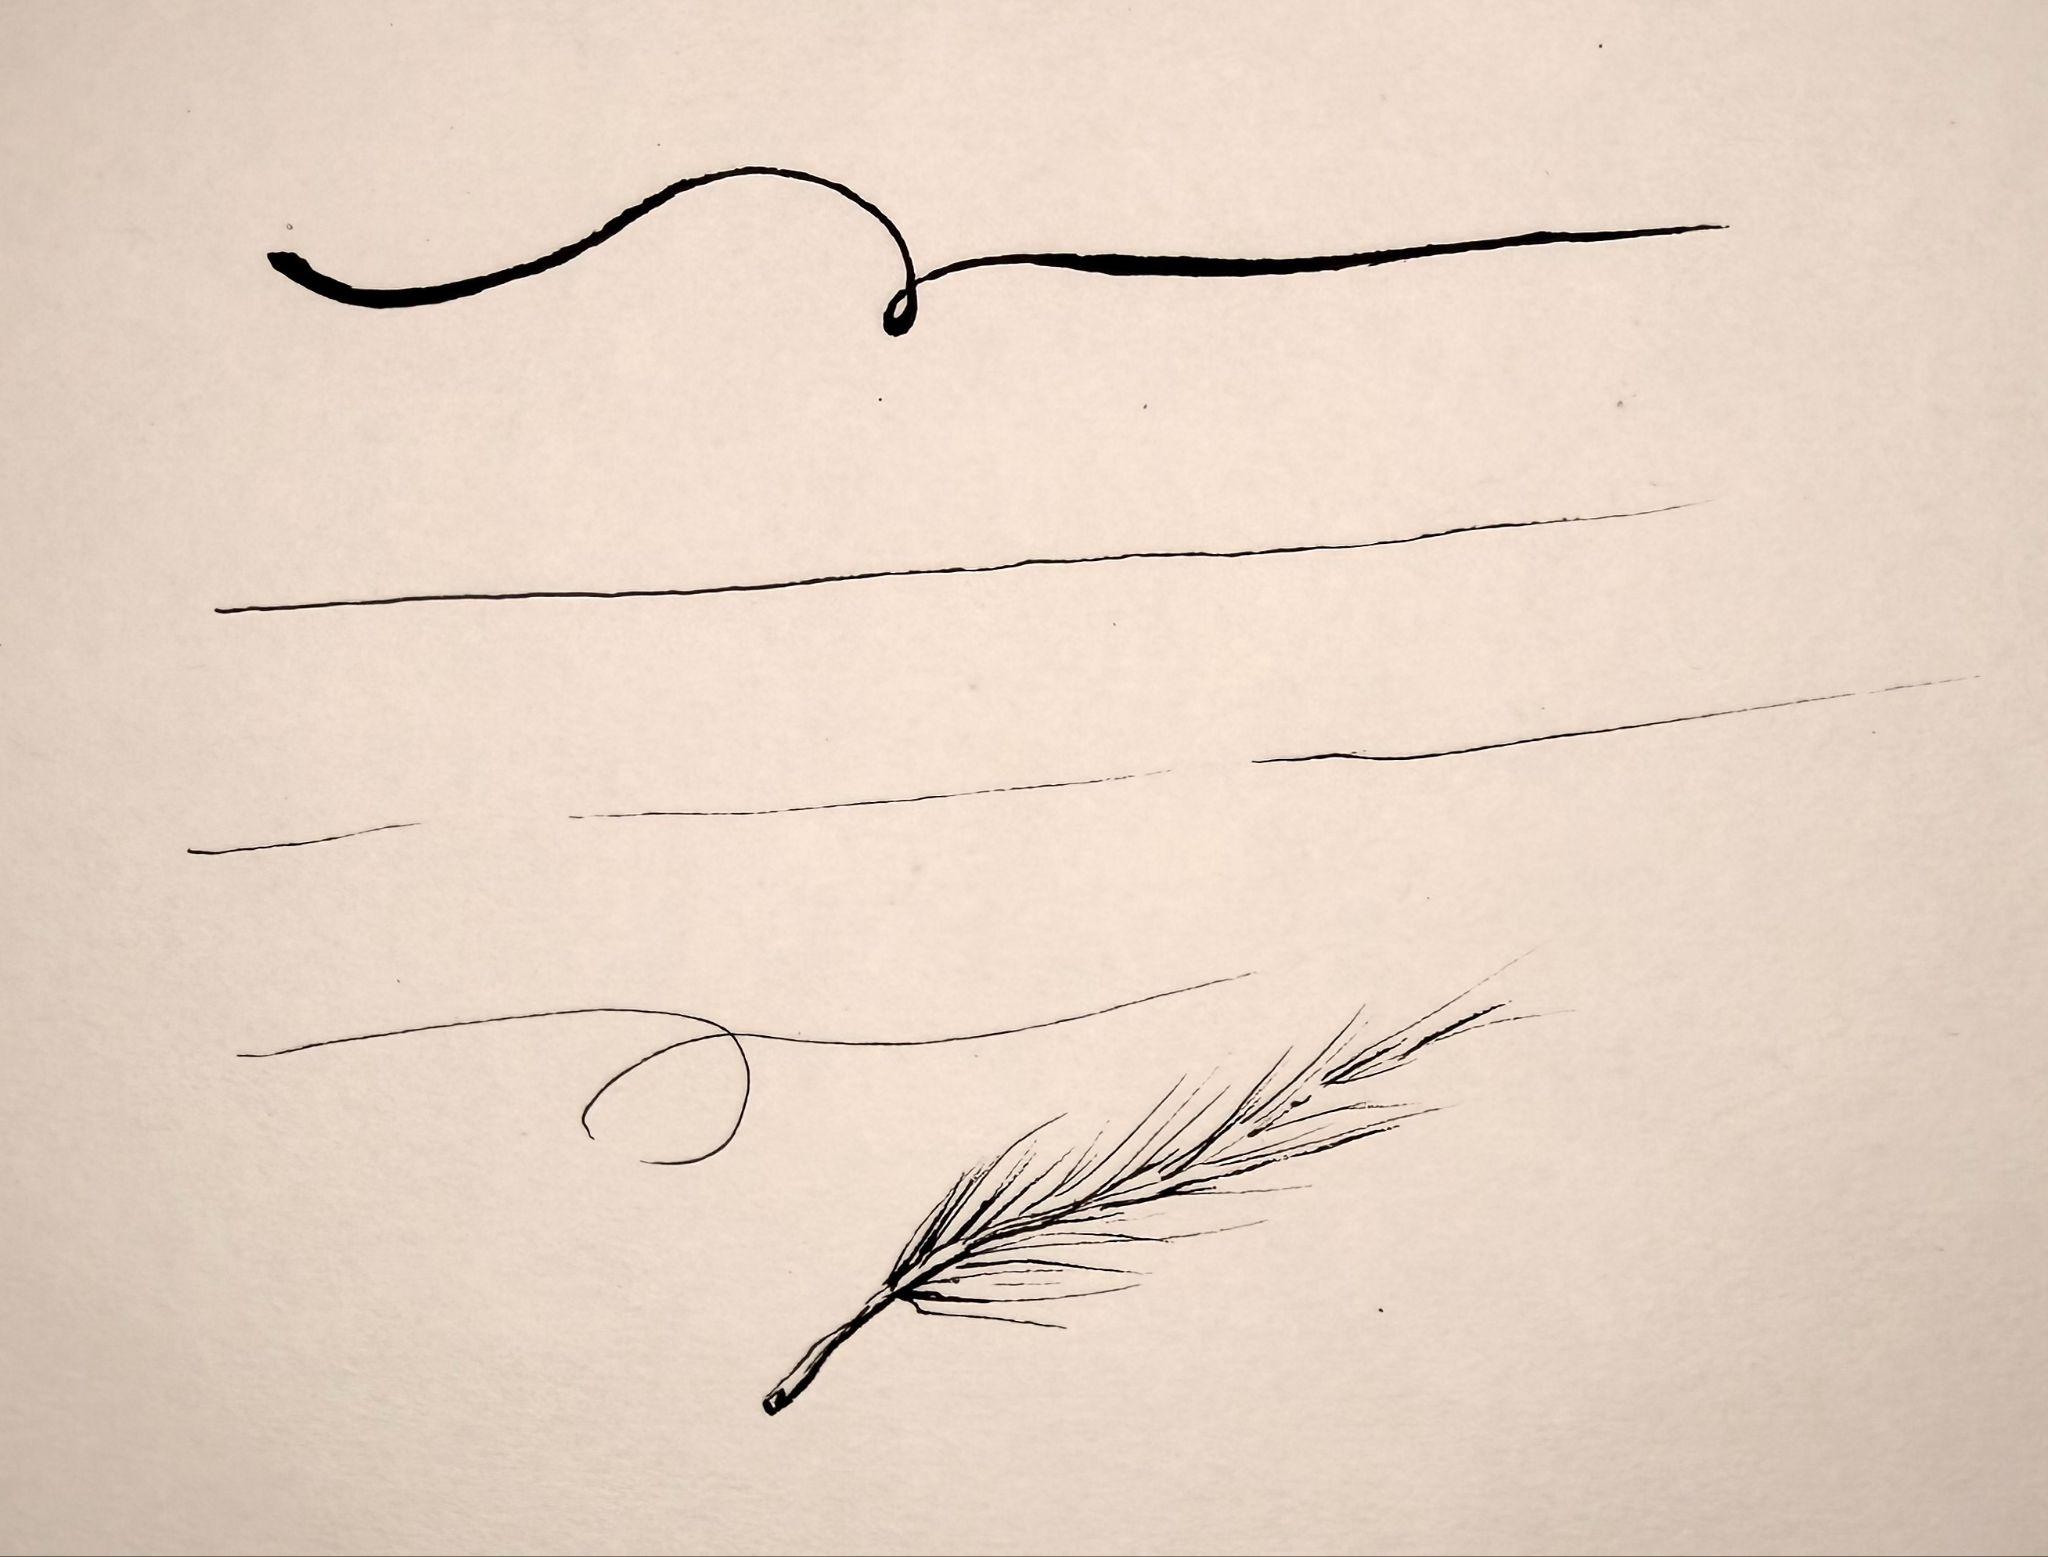
All of the concepts and techniques from the Line Chapter apply to drawing with pens. However, drawing with pens has its own unique challenges because the consistent flow of ink can limit the range of line weight and quality. To counteract these limitations, artists will often use a variety of pen tip sizes, build lines to make them appear wider, and practice different drawing positions and pressure to vary drawn marks. Lifting lines to taper them off is a learned skill that requires fine motor control. An artist needs excellent hand-eye contact and pressure control to touch the pen to paper and gently lift it off to make the gradual disappearance of a line. To see how to use technical pens in action, watch the pen tutorial video.
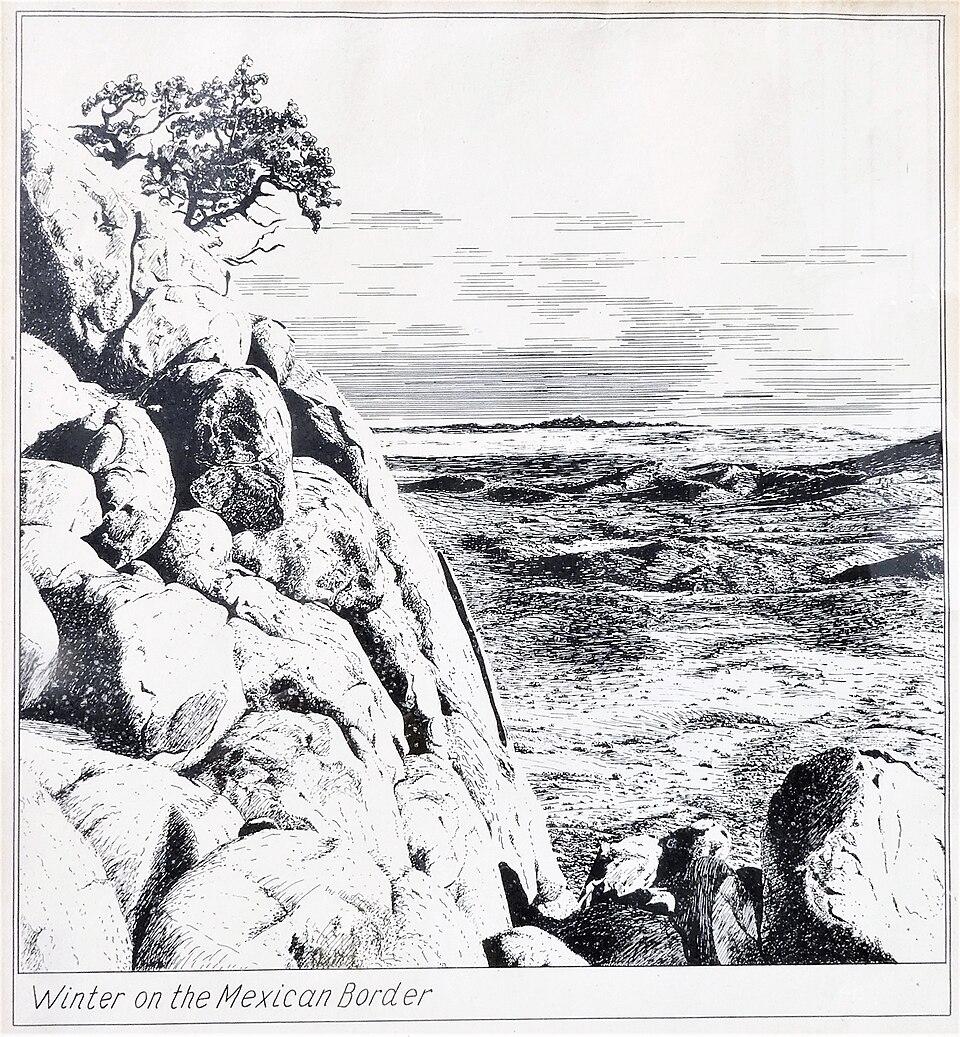
One of the most common hurdles for drawing with ink is its permanence. Most inks are permanent, meaning they cannot be erased or removed. As a result, the finality of ink is often intimidating for beginning artists. As with all new things, extensive practice is highly recommended to set yourself up for success.
Dry-to-Wet Media Techniques
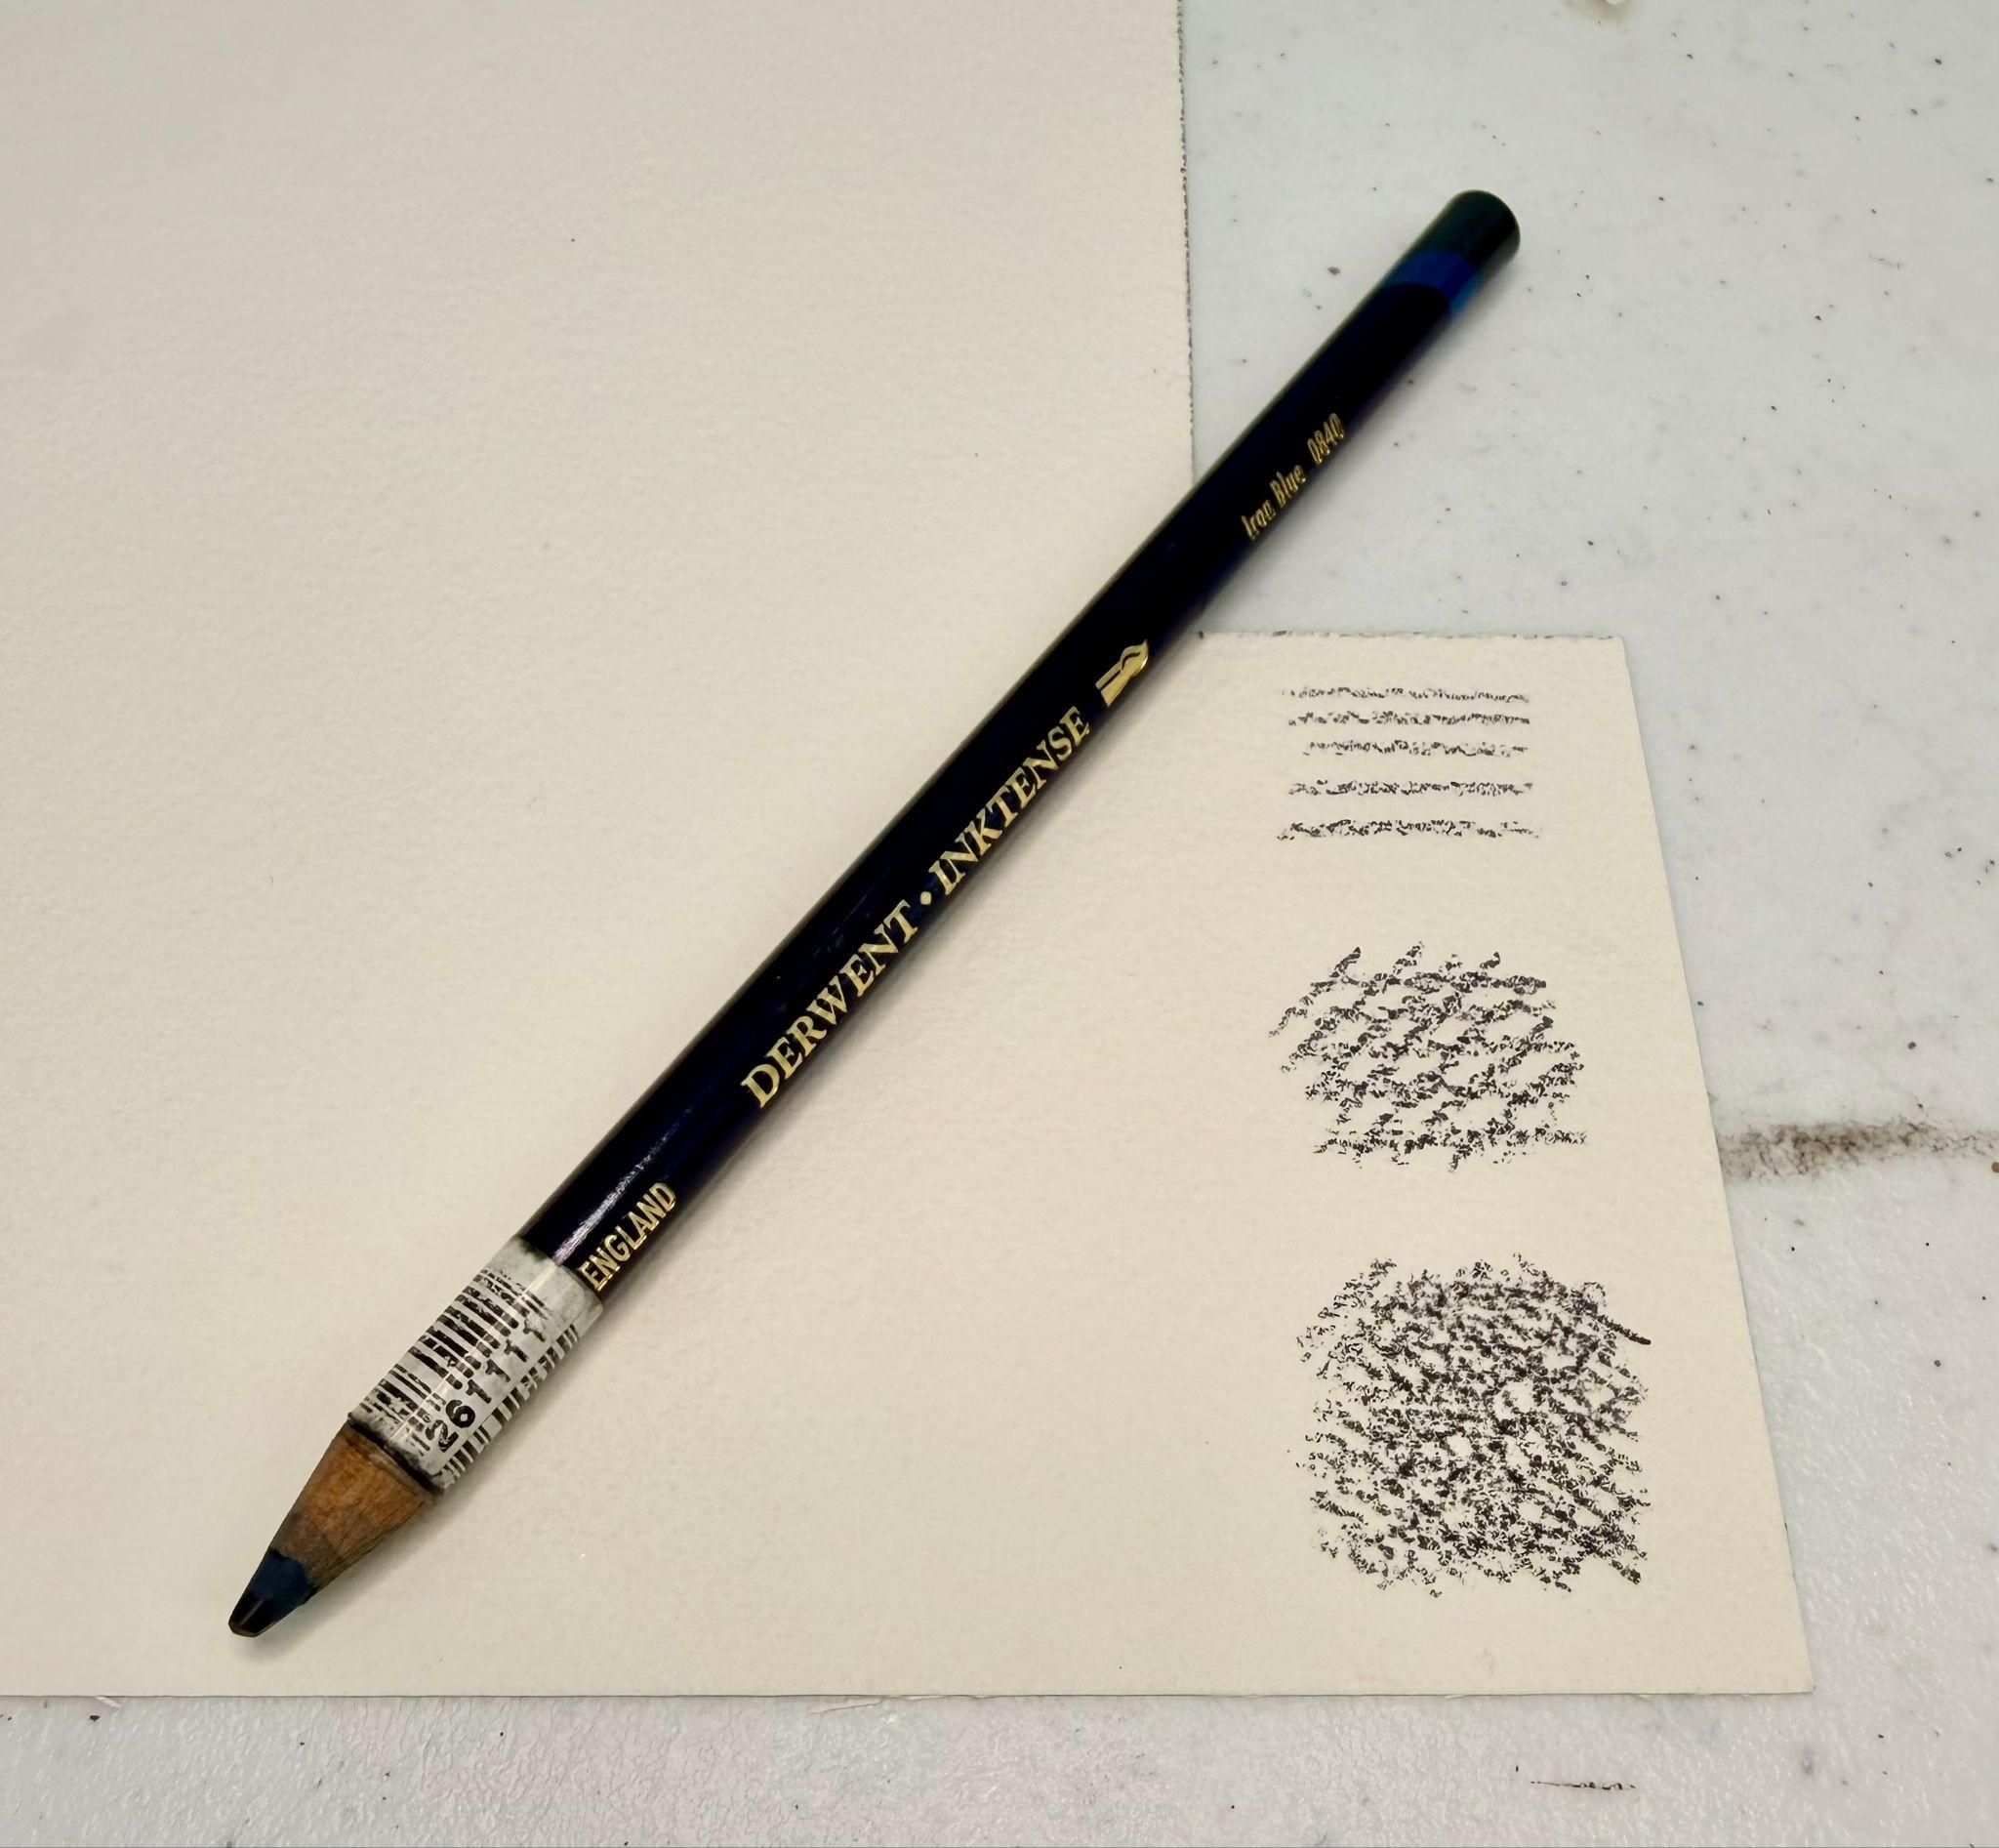
In addition to ink, adaptable art materials, such as Inktense and watercolor pencils, typically fall into the drawing realm. These media are adaptable because artists can use them as regular pencils when dry or like watercolor when wet. The secret ingredient in manifesting this change is water. Both Inktense and watercolor pencils are water-soluble. This means that when they are dry, an artist can use either material like a pencil, but when the pencil pigment is combined with water, it combines to become a wet media. As the pigment and water combine, they make a wash. The wash will have more saturated color, darker values, and increased opacity as more of the pencil pigment is added. On the other hand, the wash will become more desaturated, lighter in value, and more transparent as more water is added.
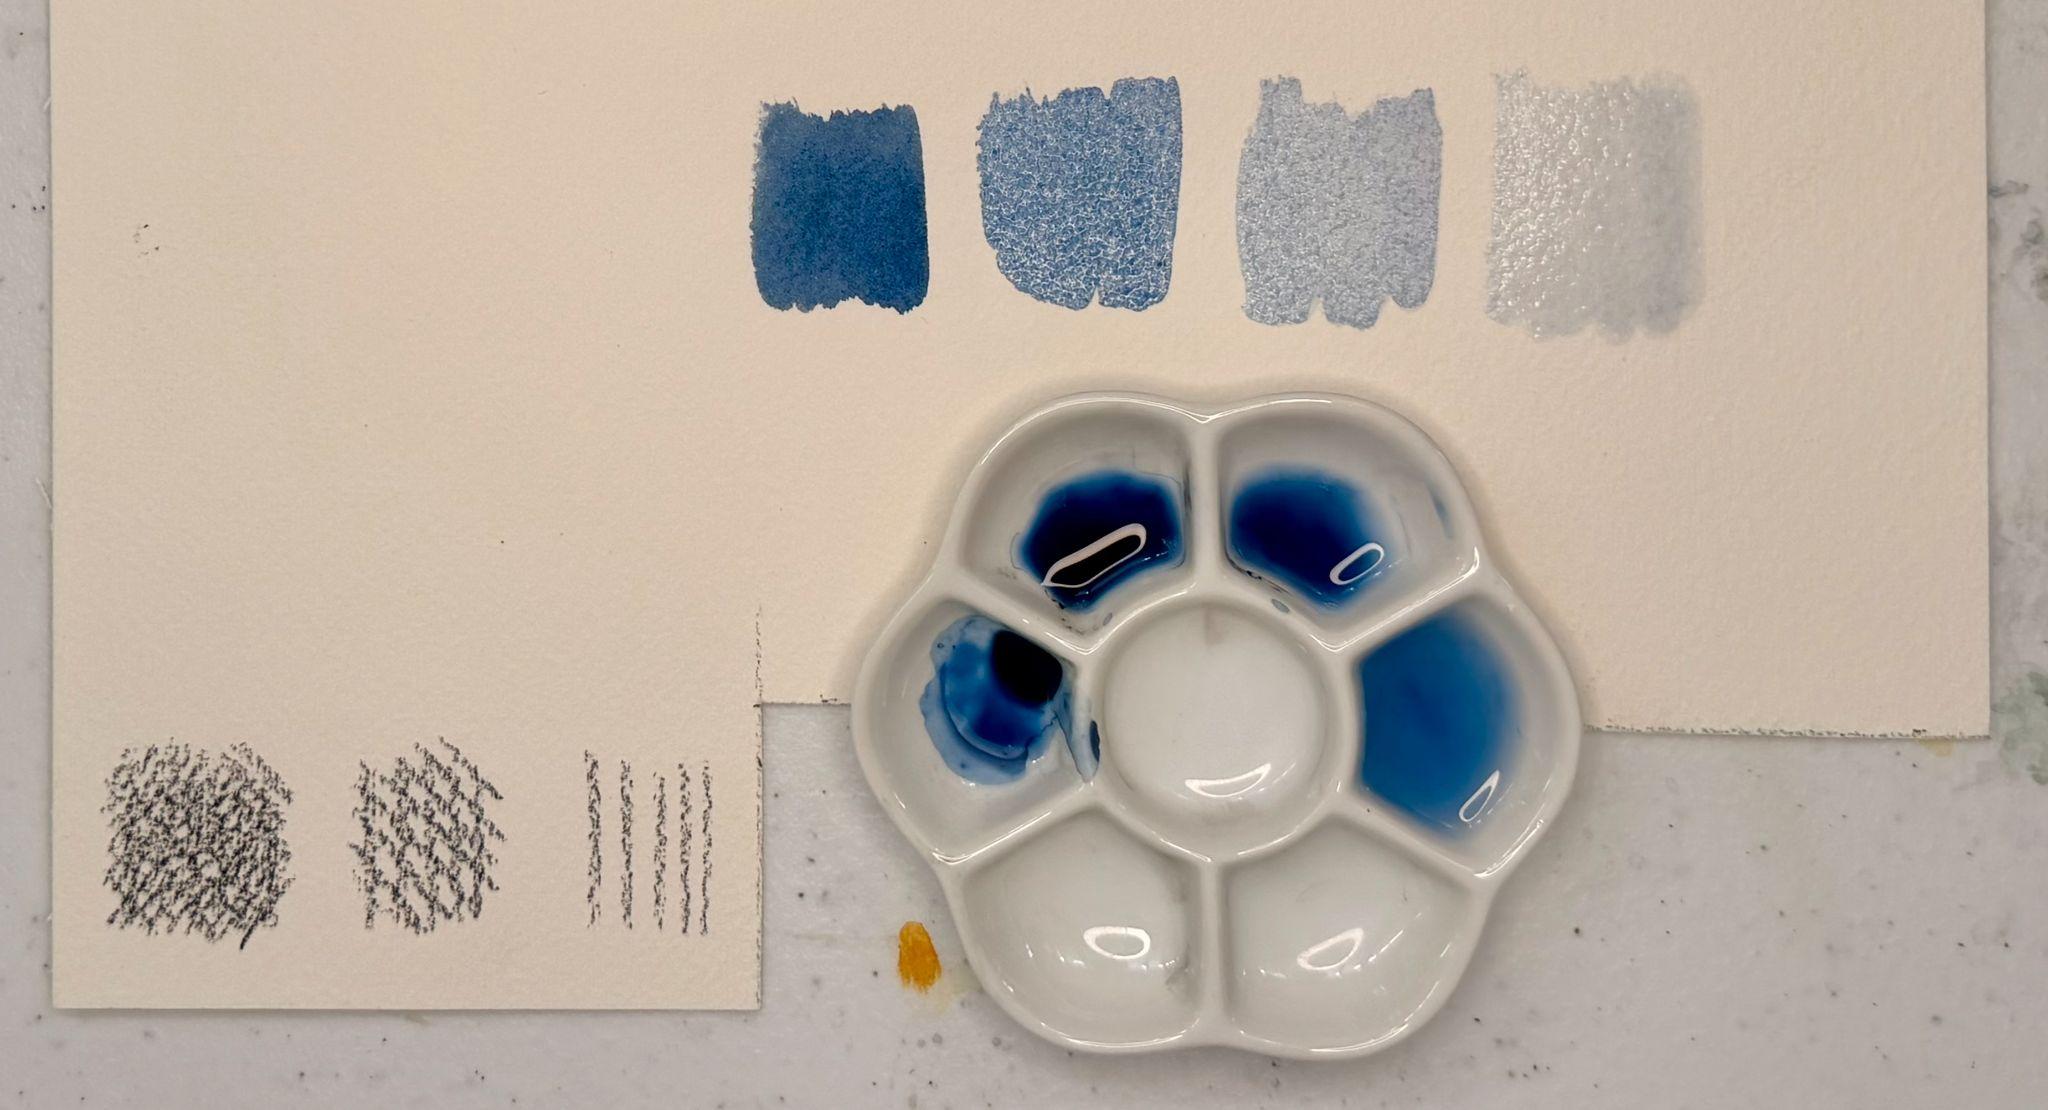
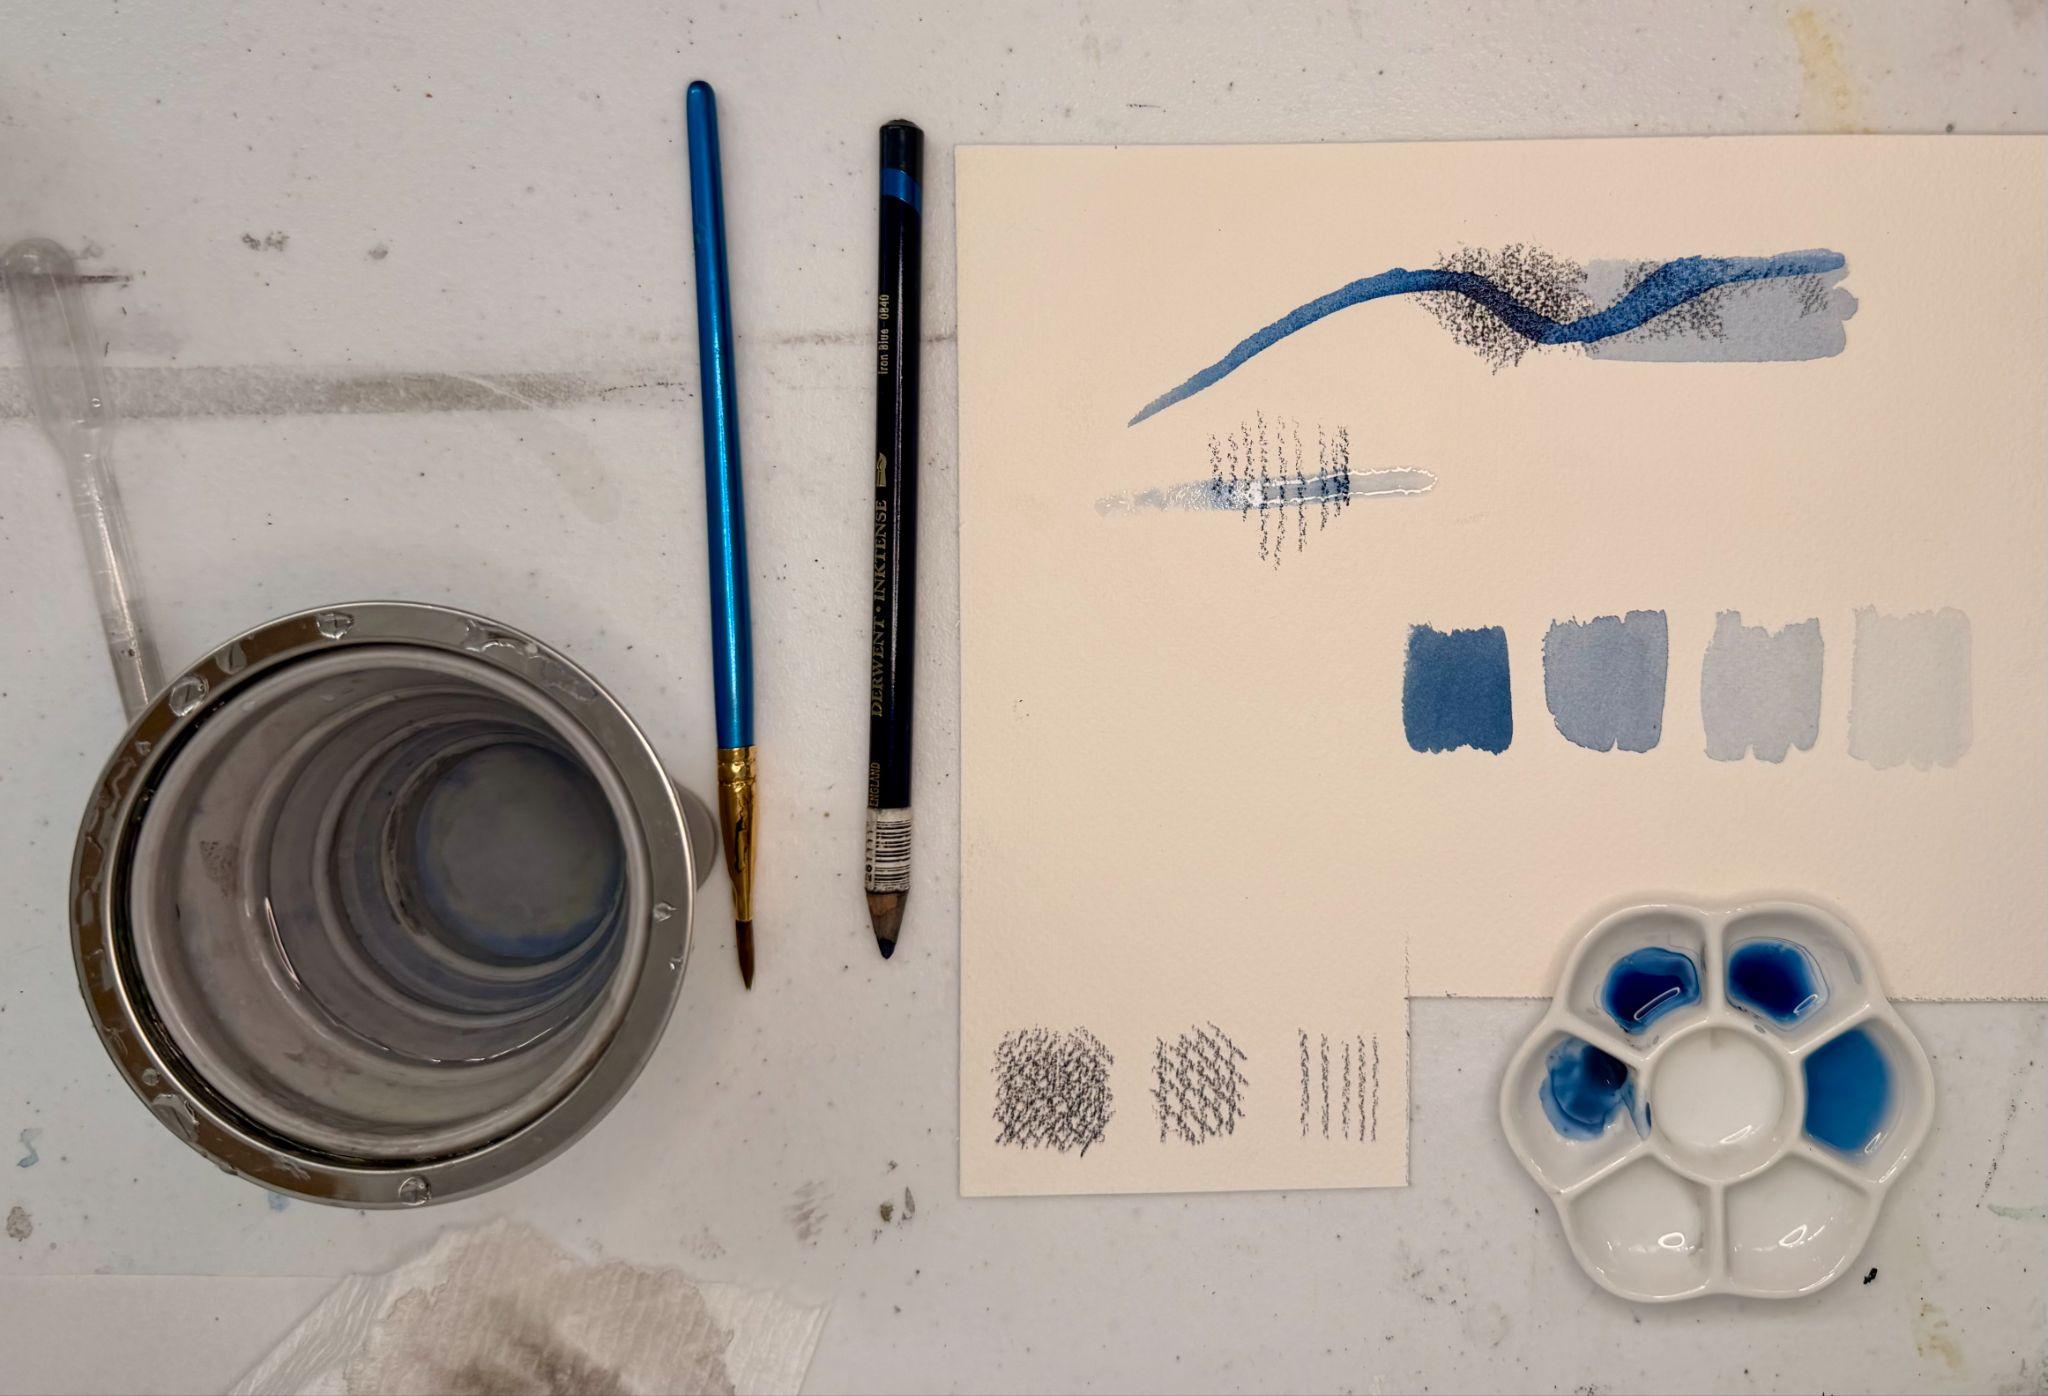
Inktense Wet Value Scale, Briana Miyoko Stanley, Inktense on watercolor paper, License: CC BY NC 4.0
Most mediums with the ability to shift from dry to wet are water-soluble, such as watercolor pencils. As a result, it is highly recommended to work from wet to dry. It is best to apply all of the washes (pigment plus water) before using the medium in its dry form. If an artist uses a watercolor pencil as a dry medium first and then layers on a wash or water afterwards, they will activate the dry media underneath. This activation is very difficult to control and can ultimately ruin or even wash away the initial work completed with the dry medium.
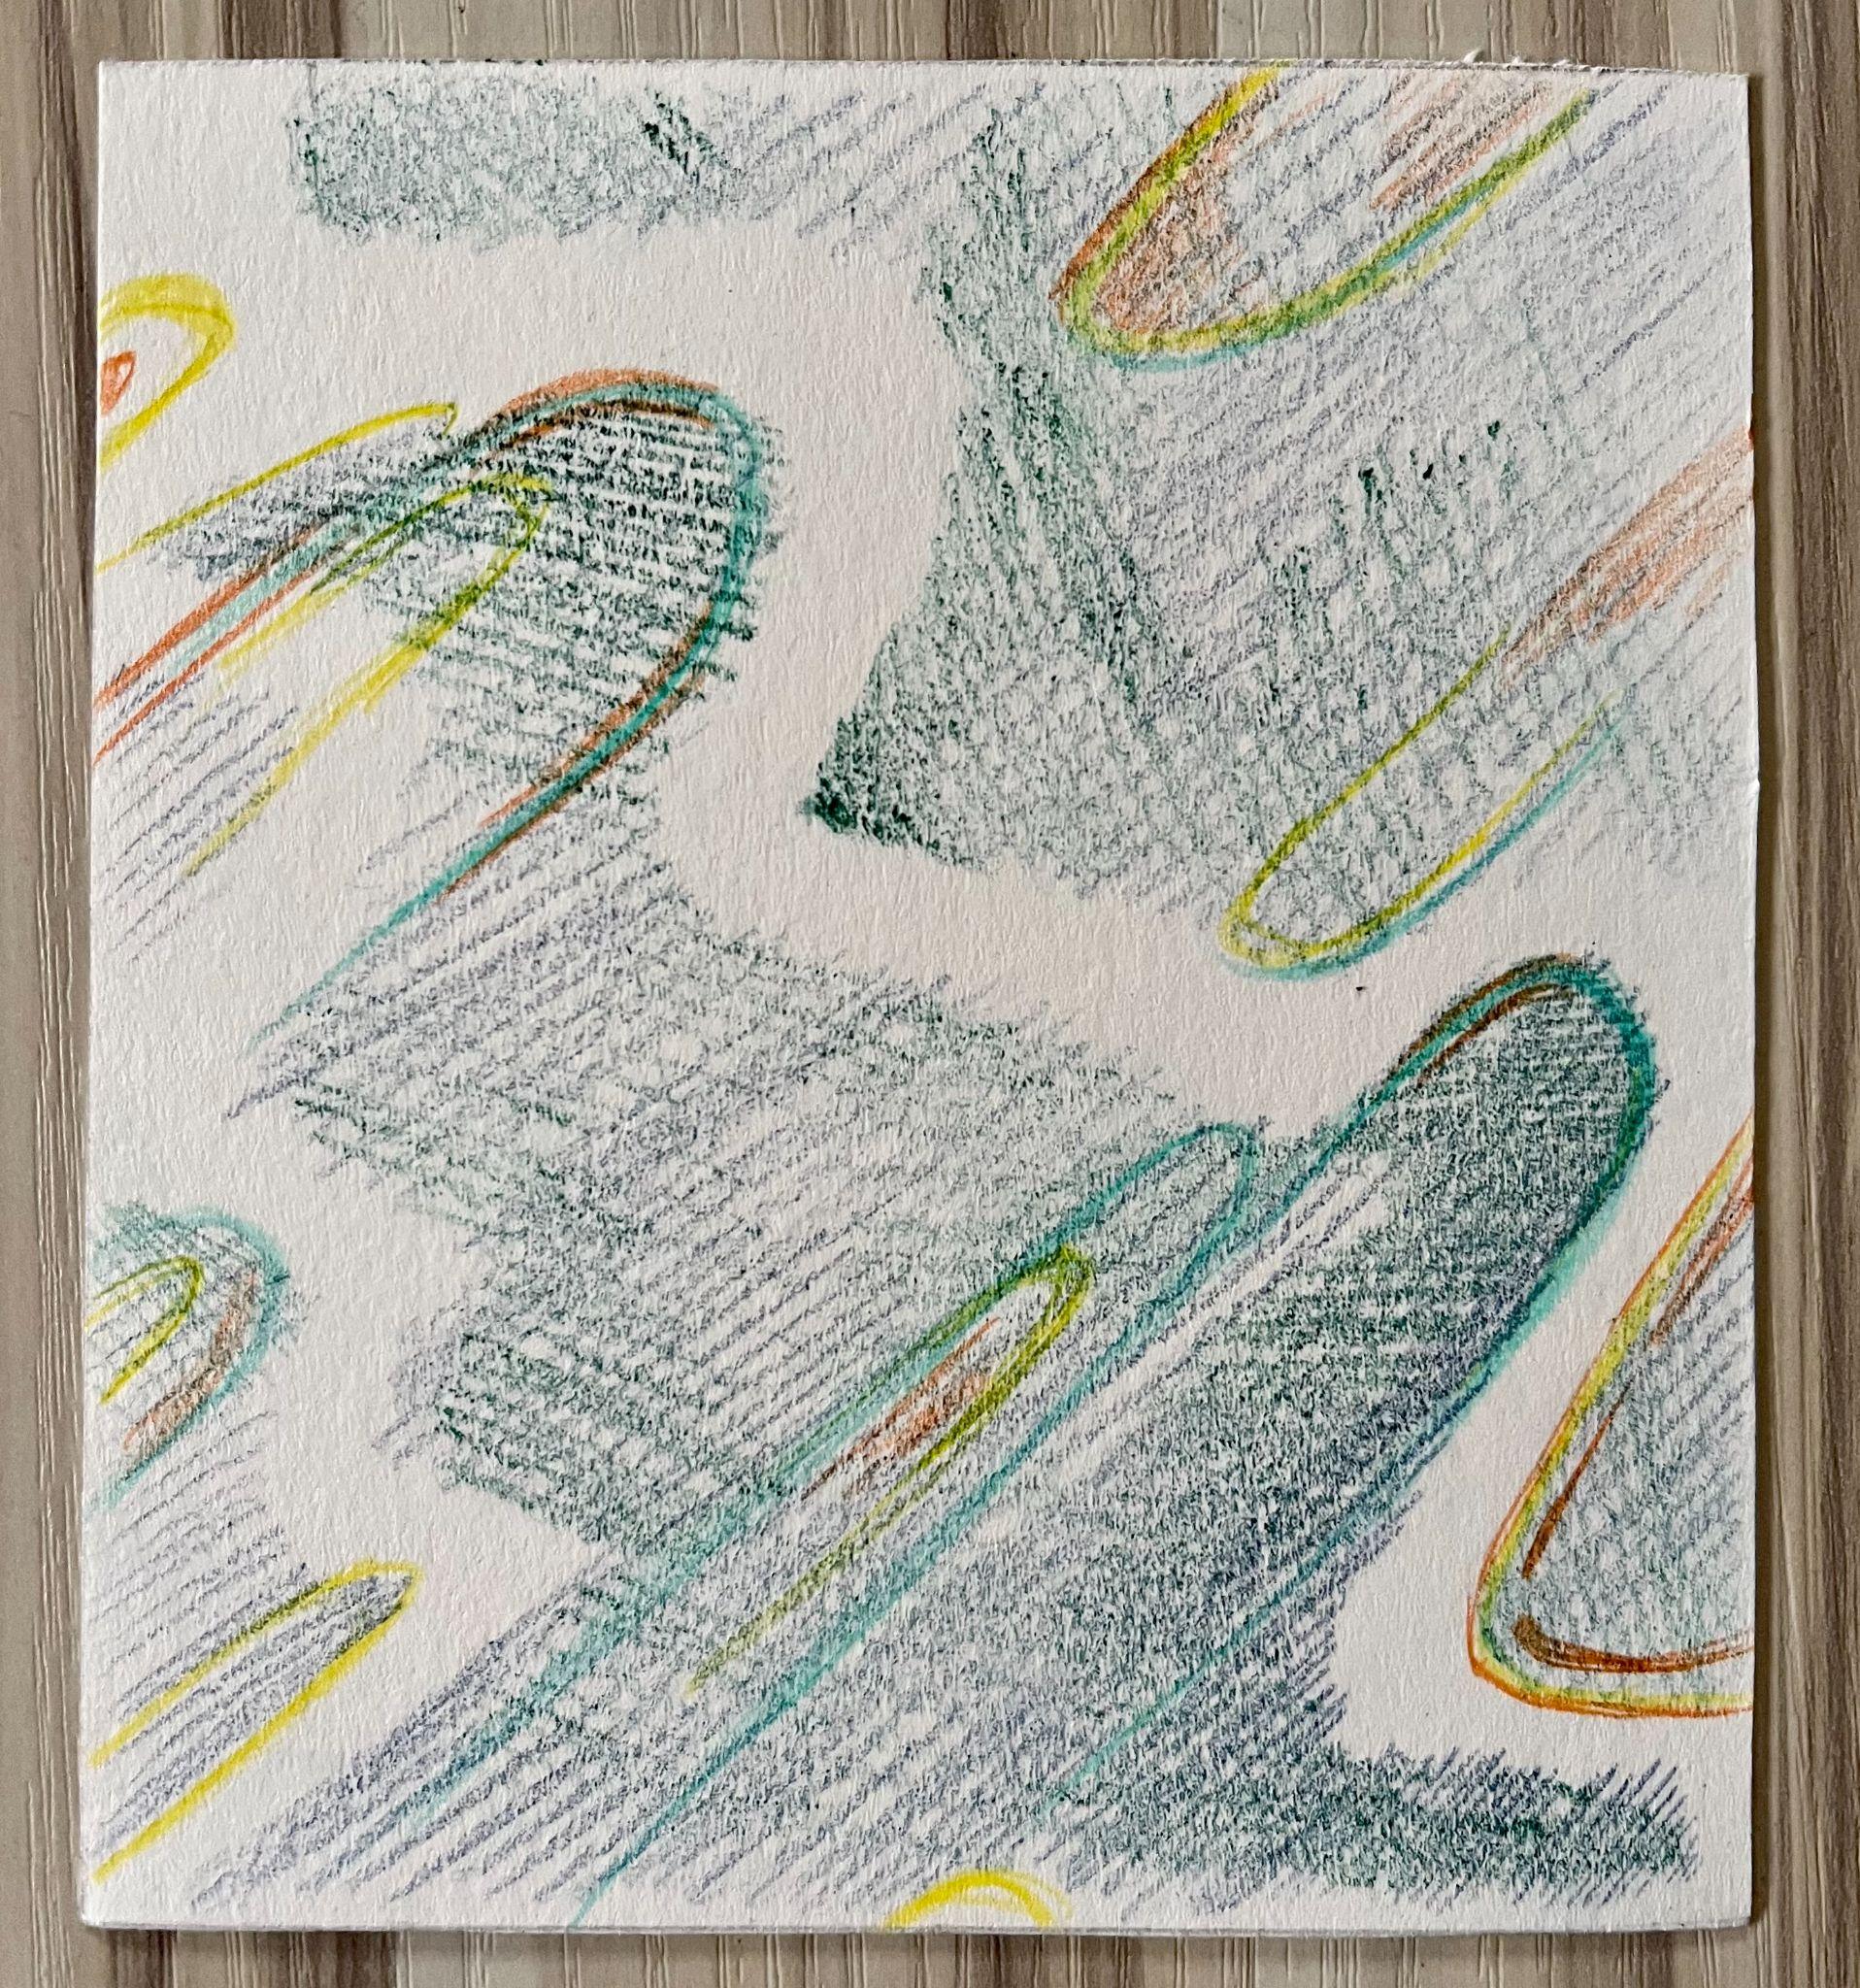
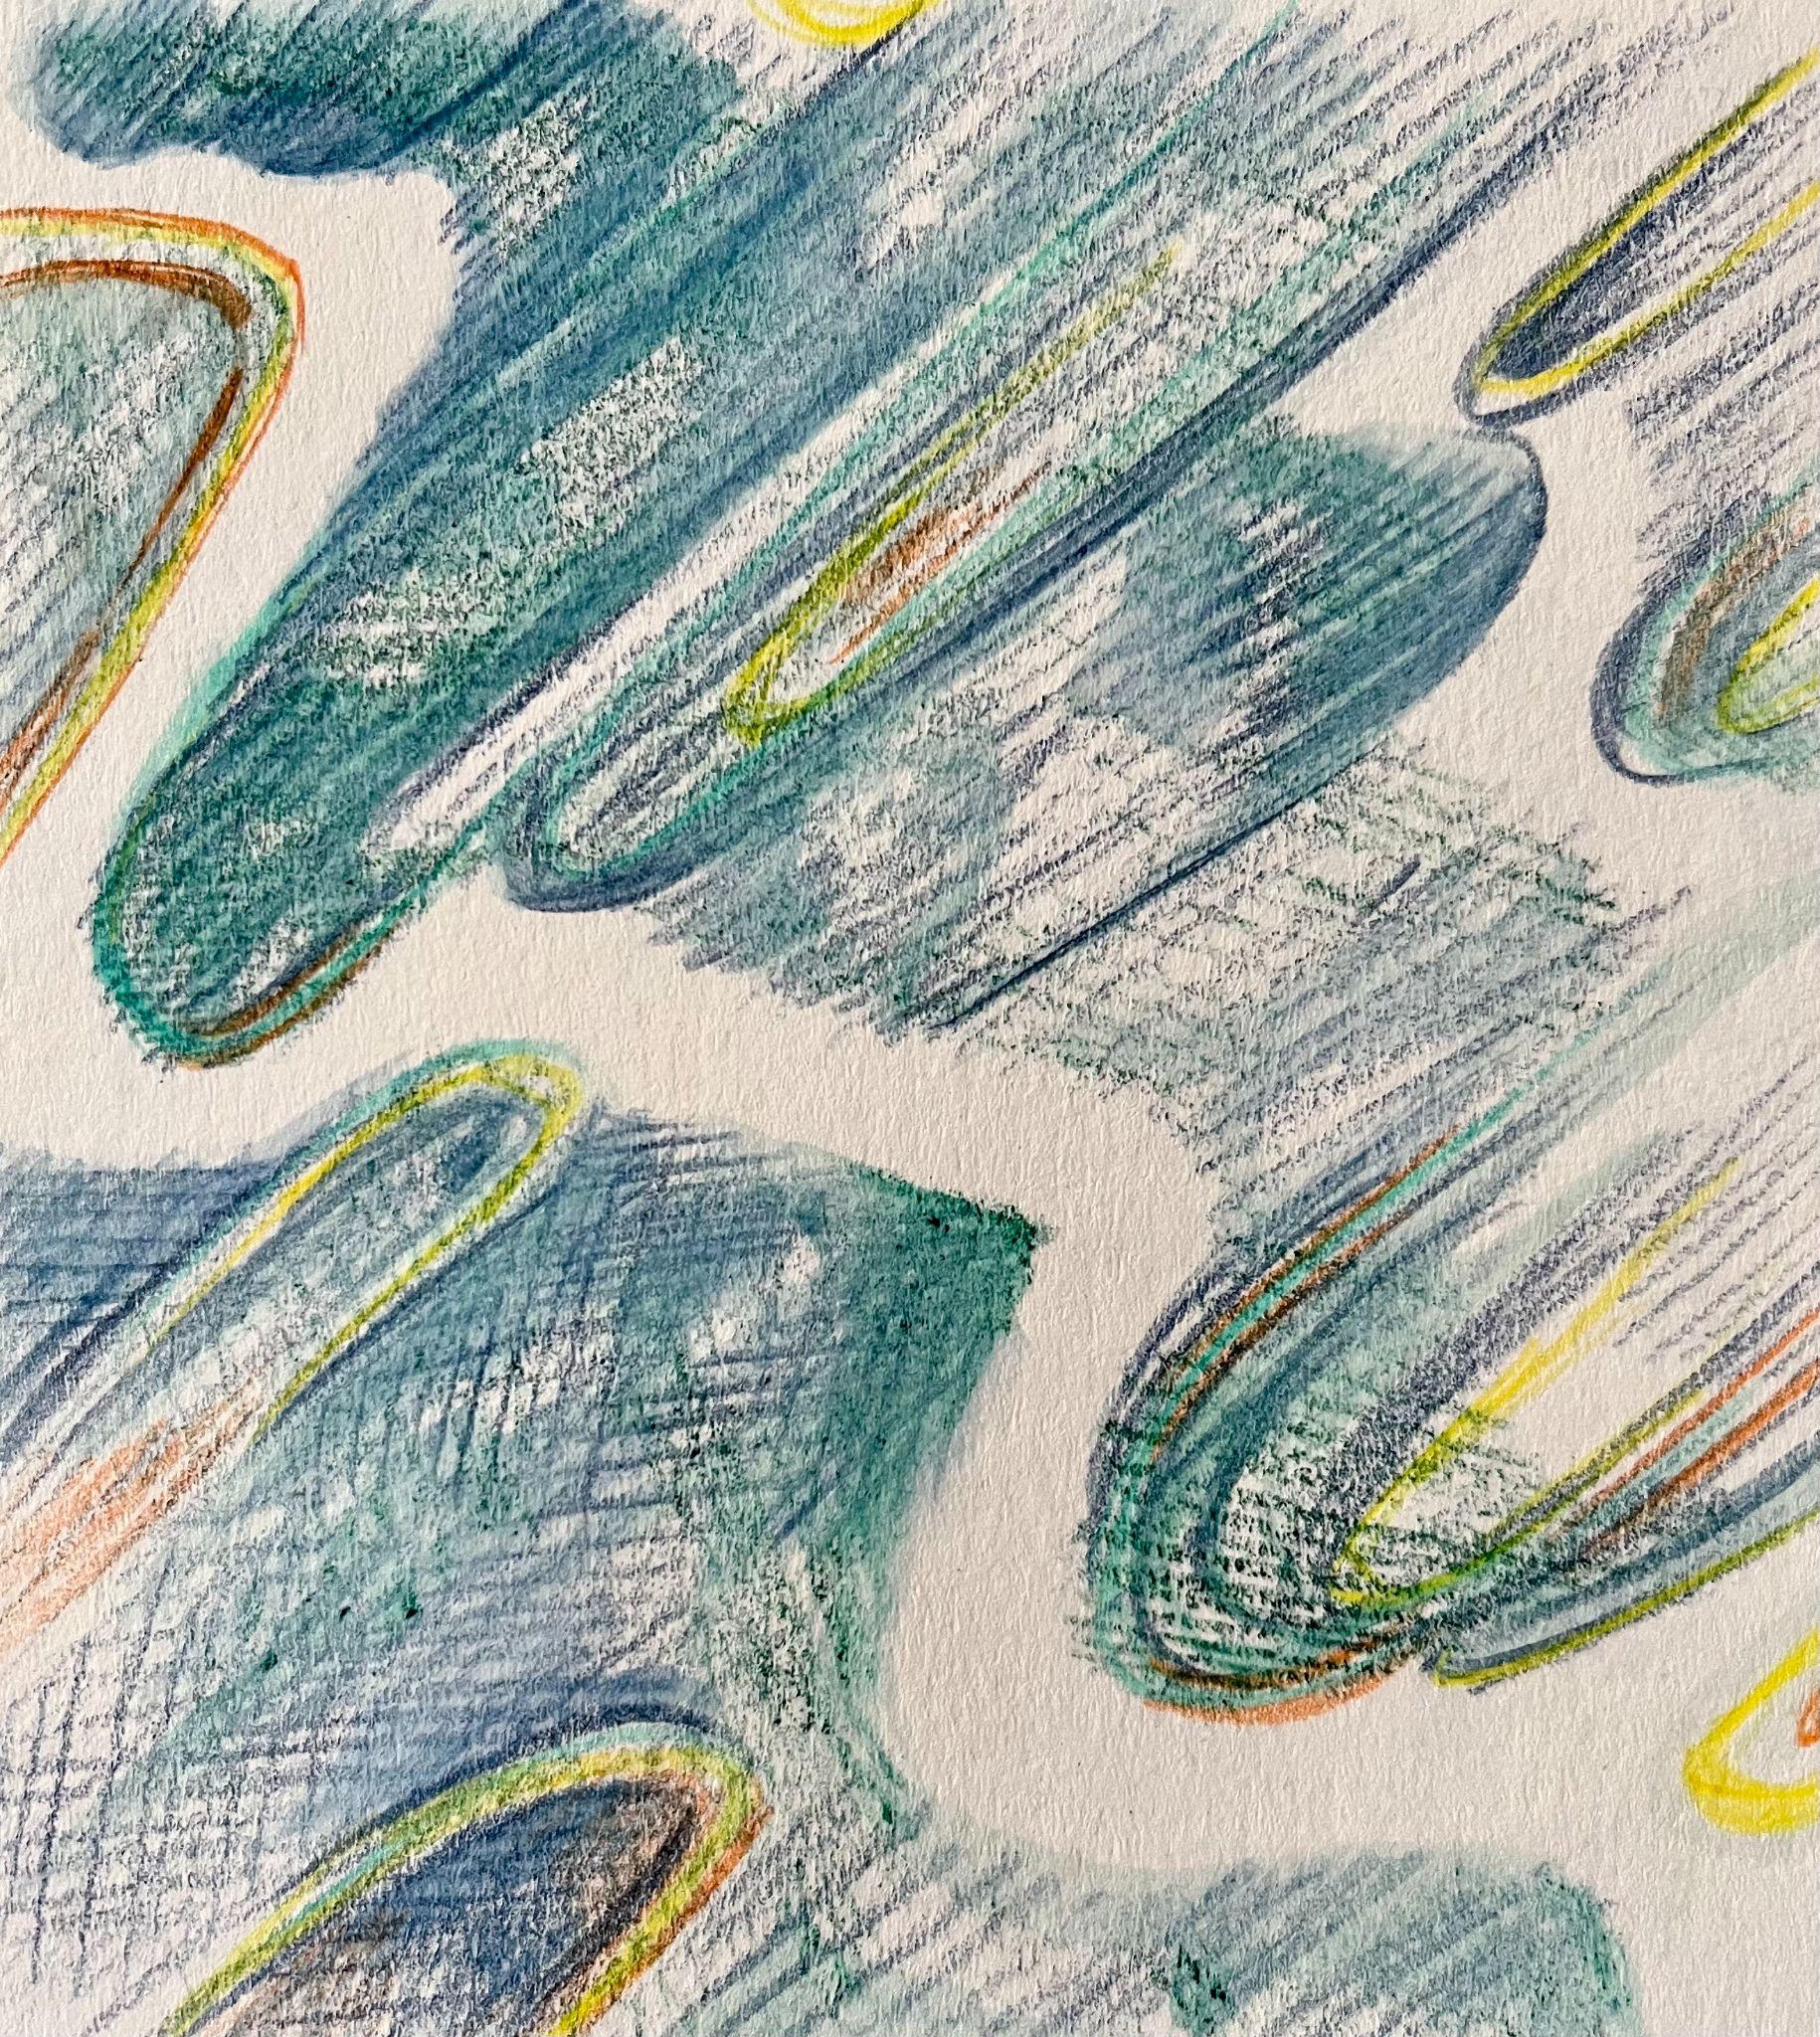
Watercolor Pencils Dry Example on the Left and Watercolor Pencil with some Water Activation on the Right, Briana Miyoko Stanley, watercolor pencil on watercolor paper, License: CC BY NC 4.0
To learn about and practice more dry-to-wet media techniques, refer to the Drawing with Wet Media Activities section at the end of the chapter.
Applying Wet Media
Depending on the artwork you intend to create, you can start applying washes on a blank piece of watercolor paper, or you could outline the intended composition lightly with a 2H or HB graphite pencil before adding washes. If you choose to map out the composition first, use light pressure and a kneaded eraser to lighten the graphite lines so they are barely visible on the paper.
Recommended supplies include a palette with prepared washes, a scrap piece of paper, paper towels, and two water cups when working with wet media. The scrap paper can be used to test, practice, and see the wash’s value. The paper towel is a handy tool to use regularly to wipe off or control the amount of liquid in your brush and on your paper. One water cup is for rinsing and cleaning brushes, while the second water cup is helpful for a second rinse or to replenish the palette with clean water.
To apply washes, use a damp, clean paintbrush. Dip it into a palette well with a prepared wash, then gently sweep the brush on a piece of watercolor paper. Work in layers from light to dark. However, depending on your intended outcome, some artists will change up the value order. As you work, frequently rinse out the brush, dab it onto paper towels to remove excess water, and change the shape and size of brushes as needed throughout the drawing process.
Be patient and wait for each wash layer to dry before adding another layer. If an area is still wet, the newly applied wash will bleed into it. The result is difficult to control and often leads to a low contrast image without intentional texture, edges, or implied space. Instead, attempt to control the layers by waiting for areas to dry. If a brush stroke is added to a dry area, it will not travel to unwanted areas on the paper.
To revise or soften edges, use a technique called lifting. To lift, use a clean, damp brush to intentionally brush over the intended area to reactivate the bottom layers. This will remove some of the pigment that you can clean out of the brush by rinsing it or using a paper towel to dab off the excess pigment. Repeat this process as needed to gently lighten the layers of washes. Keep in mind that some colors will lift more easily than others. To retain control, it is best to use a brush that is only slightly damp. This method of lightening and erasing washes is often used to soften edges, reveal lighter values, and reestablish compositional order by working from the negative towards a positive space.
Applying Dry Media
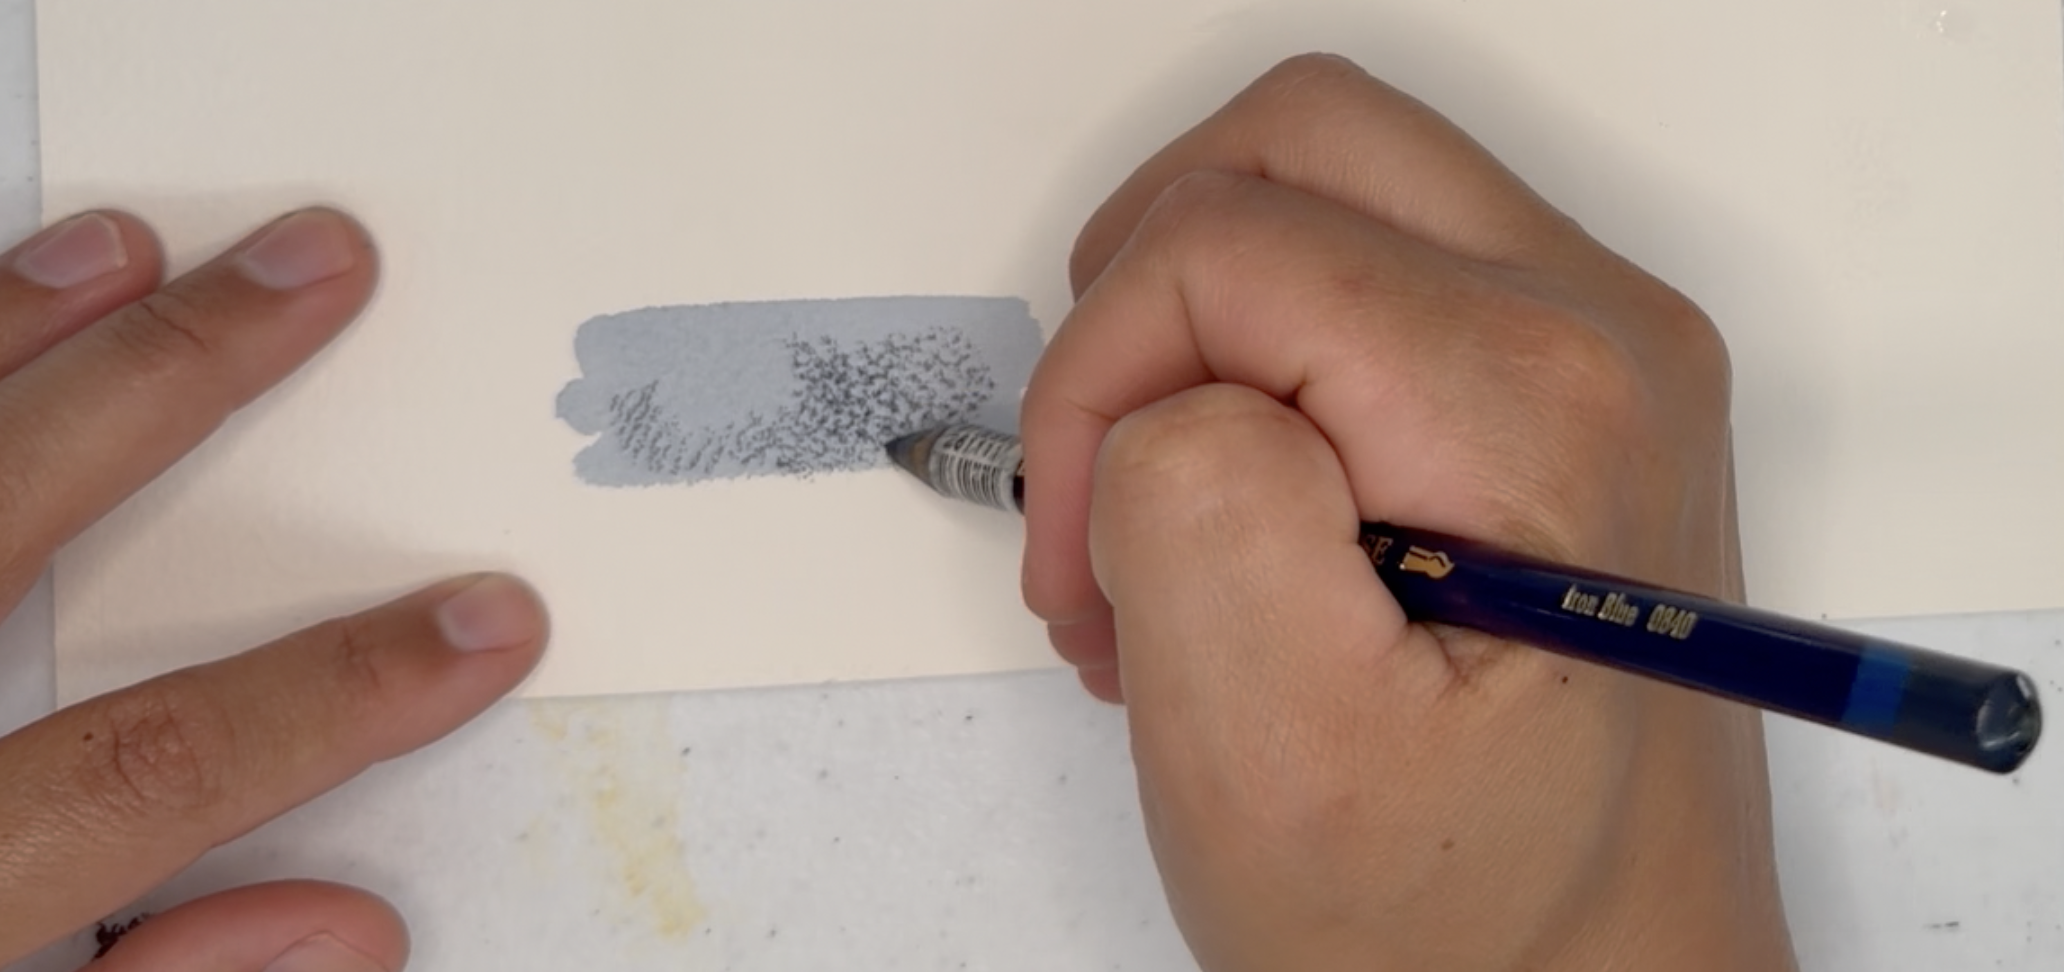
Wet and Dry Inktense Example, Briana Miyoko Stanley, Inktense on watercolor paper, License: CC BY NC 4.0
After the initial washes are done, wait for them to dry completely. Then, use the Inktense or watercolor pencils as a dry media drawing tool. Review the line and value chapters for further technique information, but in general, you will use the dry media as any other pencil to draw lines, hatch, cross-hatch, and shade different components of the drawing.
Since most of the value pattern was already created with washes, the dry media layers serve as a helpful tool to establish higher value contrast, define edges, and imply texture, rather than build the foundation of the drawing. Due to the smooth appearance of most washes, the artwork may appear flat after the washes are complete, so the dry media layers provide an – opportunity to create more distinct textures and edges to reestablish compositional order, light, and shadow, and ultimately complete the drawing.
To review these steps, watch the wet and dry Inktense video.
Wet-and-Dry Integration
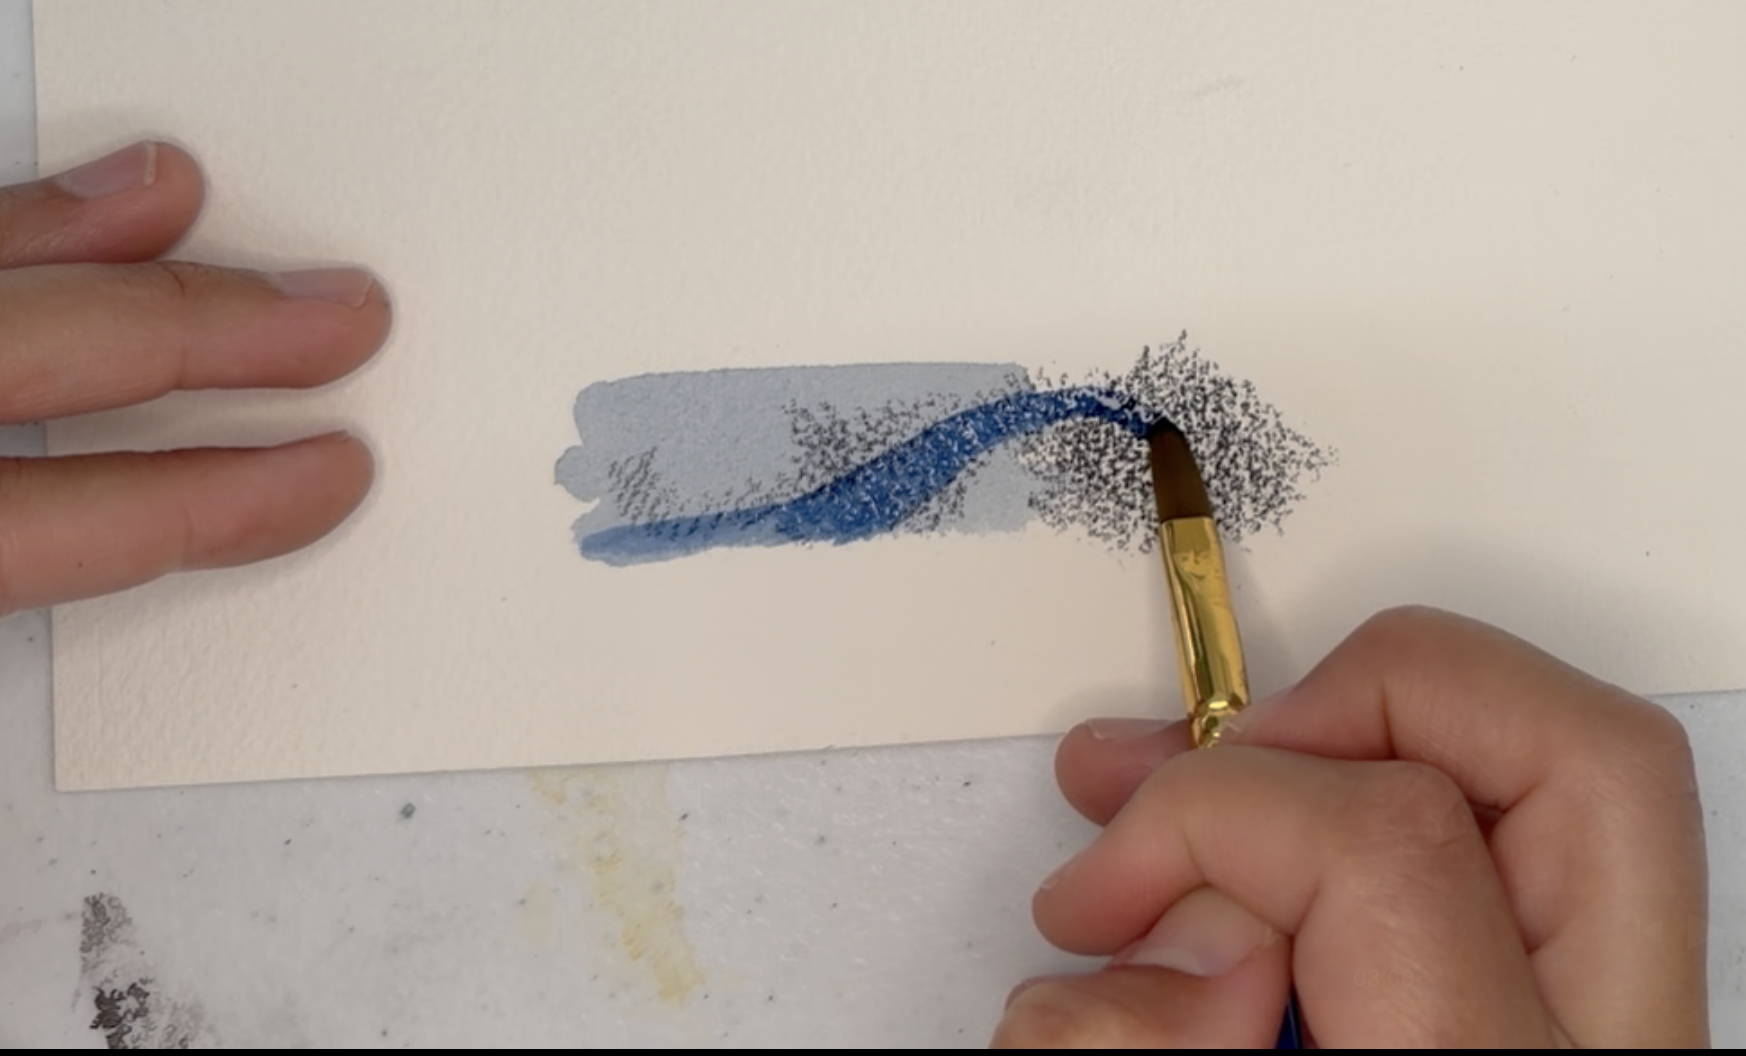
Activating Dry Inktense Example, Briana Miyoko Stanley, Inktense on watercolor paper, License: CC BY NC 4.0
Reactivating bottom layers of a water-soluble media, such as Inktense or watercolor pencils, is often an accident and not recommended because it is difficult to control, but some artists intentionally activate dry water-soluble media to create darker values or bold color. As with any new media or technique, practicing on a scrap piece of paper is highly recommended.
A time you may want to apply this technique is if you notice your wet-and-dry media drawing lacks high contrast, no matter how many separate layers of washes or dry media you add. The most common place this technique is used are shadows. If a shadow is not dark enough, you can use Inktense or watercolor pencils as a dry medium to add pigment to the area. Then, use a damp brush to activate the area. Be careful with your brushstrokes so the activation remains only in the area you intend. If you go beyond that area, the dark pigment will quickly spread as it searches for other damp areas.
To review these steps, watch the wet-and-dry Inktense integration video.
Conclusion
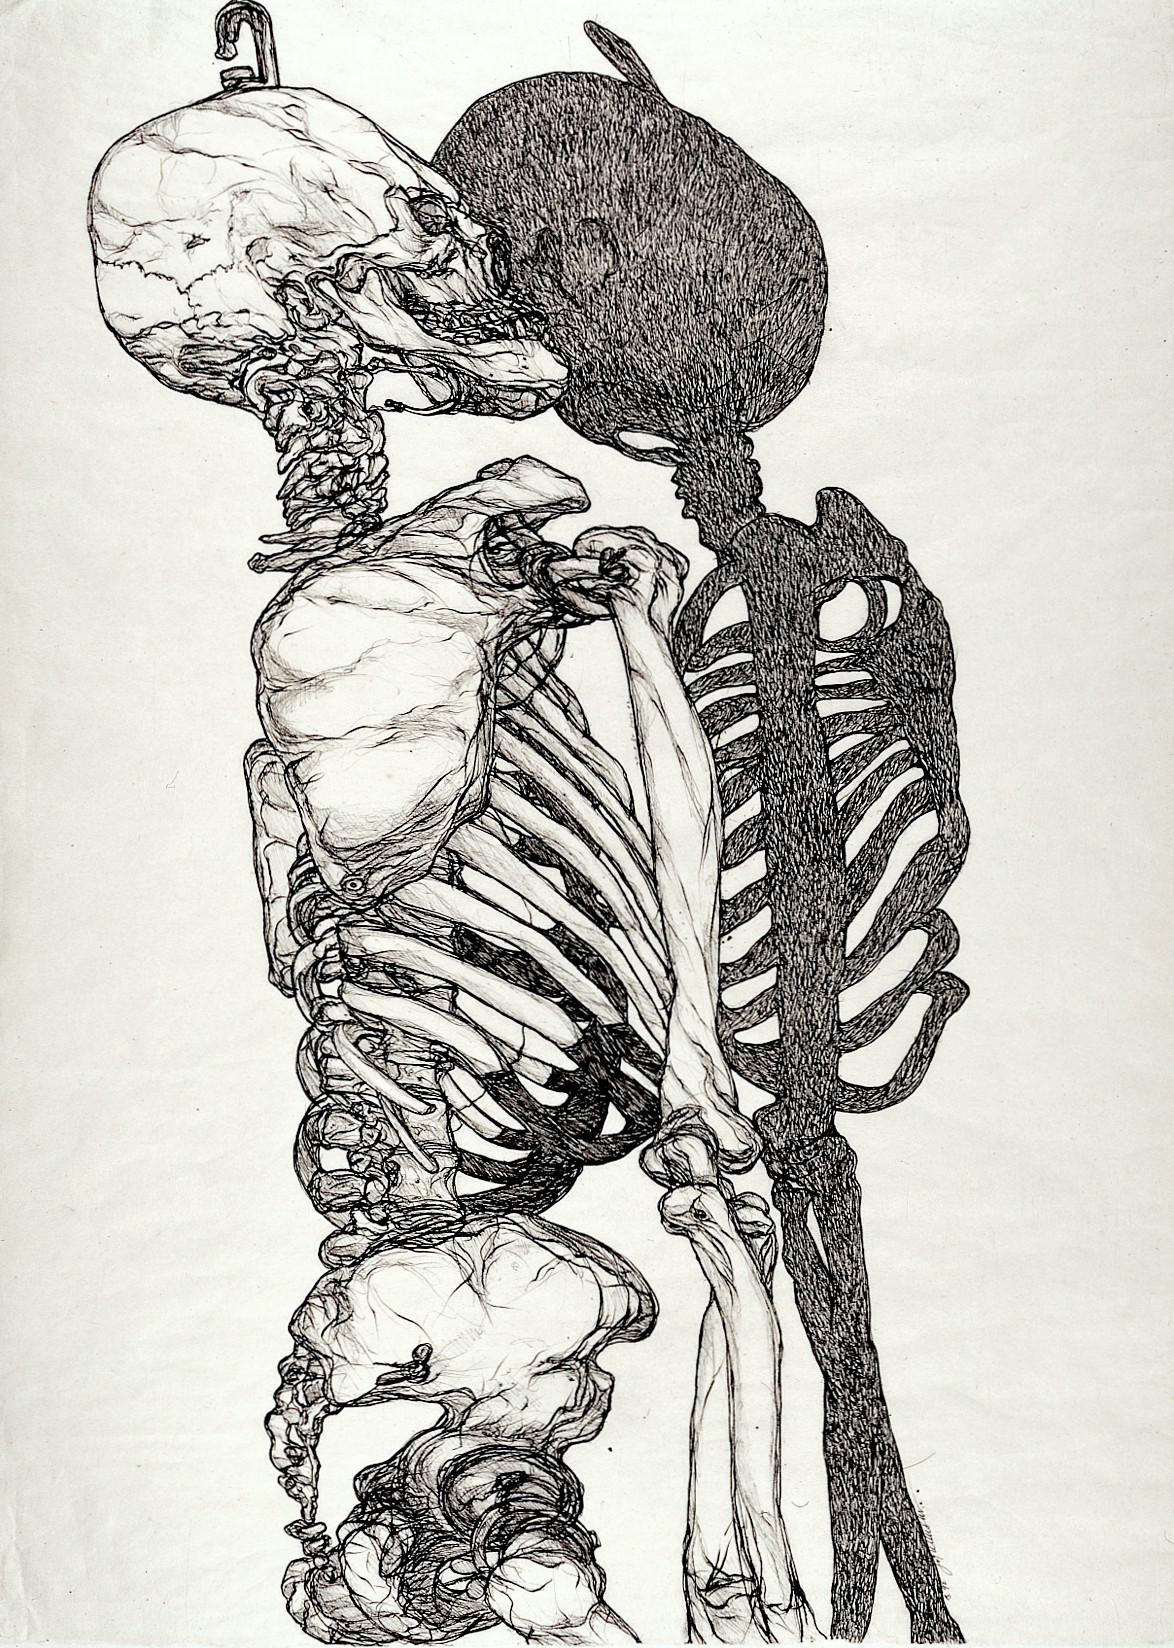
At the end of the day, there are a multitude of ways to use wet and dry media in drawings. However, practicing how and when to use washes will set you up best for creating intentional drawings with a full range of value, controlled edges, and implied spatial depth
Master Artist: Fan Kuan and Wet Media
The use of wet media, such as brush and ink, to create calligraphy and landscape paintings has been used in China for more than 1,000 years. The arts of landscape painting and calligraphy were often associated with the scholar-artist, and thus, highly respected. Both calligraphy and painting used the same materials and the same types of brushstrokes. Monochromatic ink paintings were elevated to a high status during certain periods in Chinese history. Song Dynasty master painter, Fan Kuan, used ink and brush on silk to capture the sacred form of mountains and water in Travelers by Streams and Mountains in c. 1000. Working in wet media, Kuan used the fluidity of the material to allow for a variation in line quality to capture the suggestion of forms through line and shape.
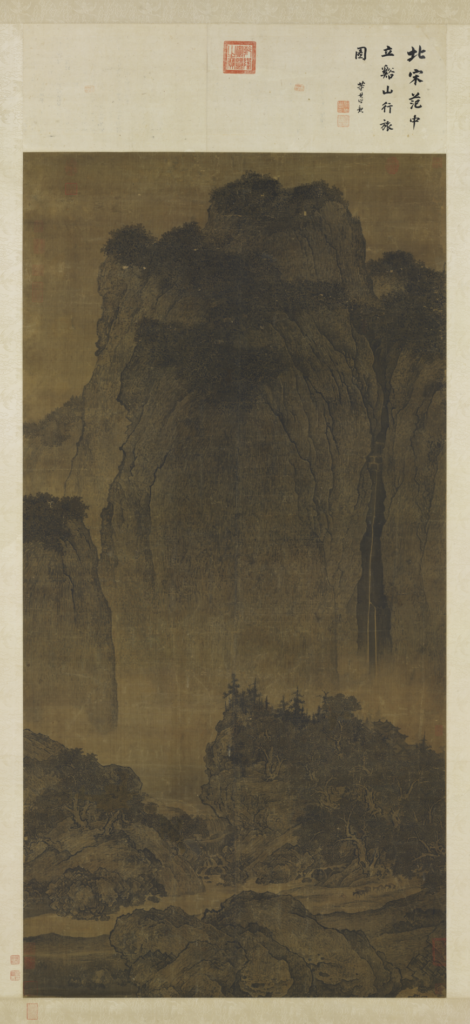
“Master Artist: Fan Kuan and Wet Media.” Written by Chelsea Wright. License: CC BY
Licensing and Attributions
“Drawing with Wet Media.” Written by Briana Miyoko Stanley. License: CC BY
Wet Media Activities
Dry-to-Wet Media Techniques
Preparing Washes
*Apply these techniques to the Drawing with Wet Media Activities.
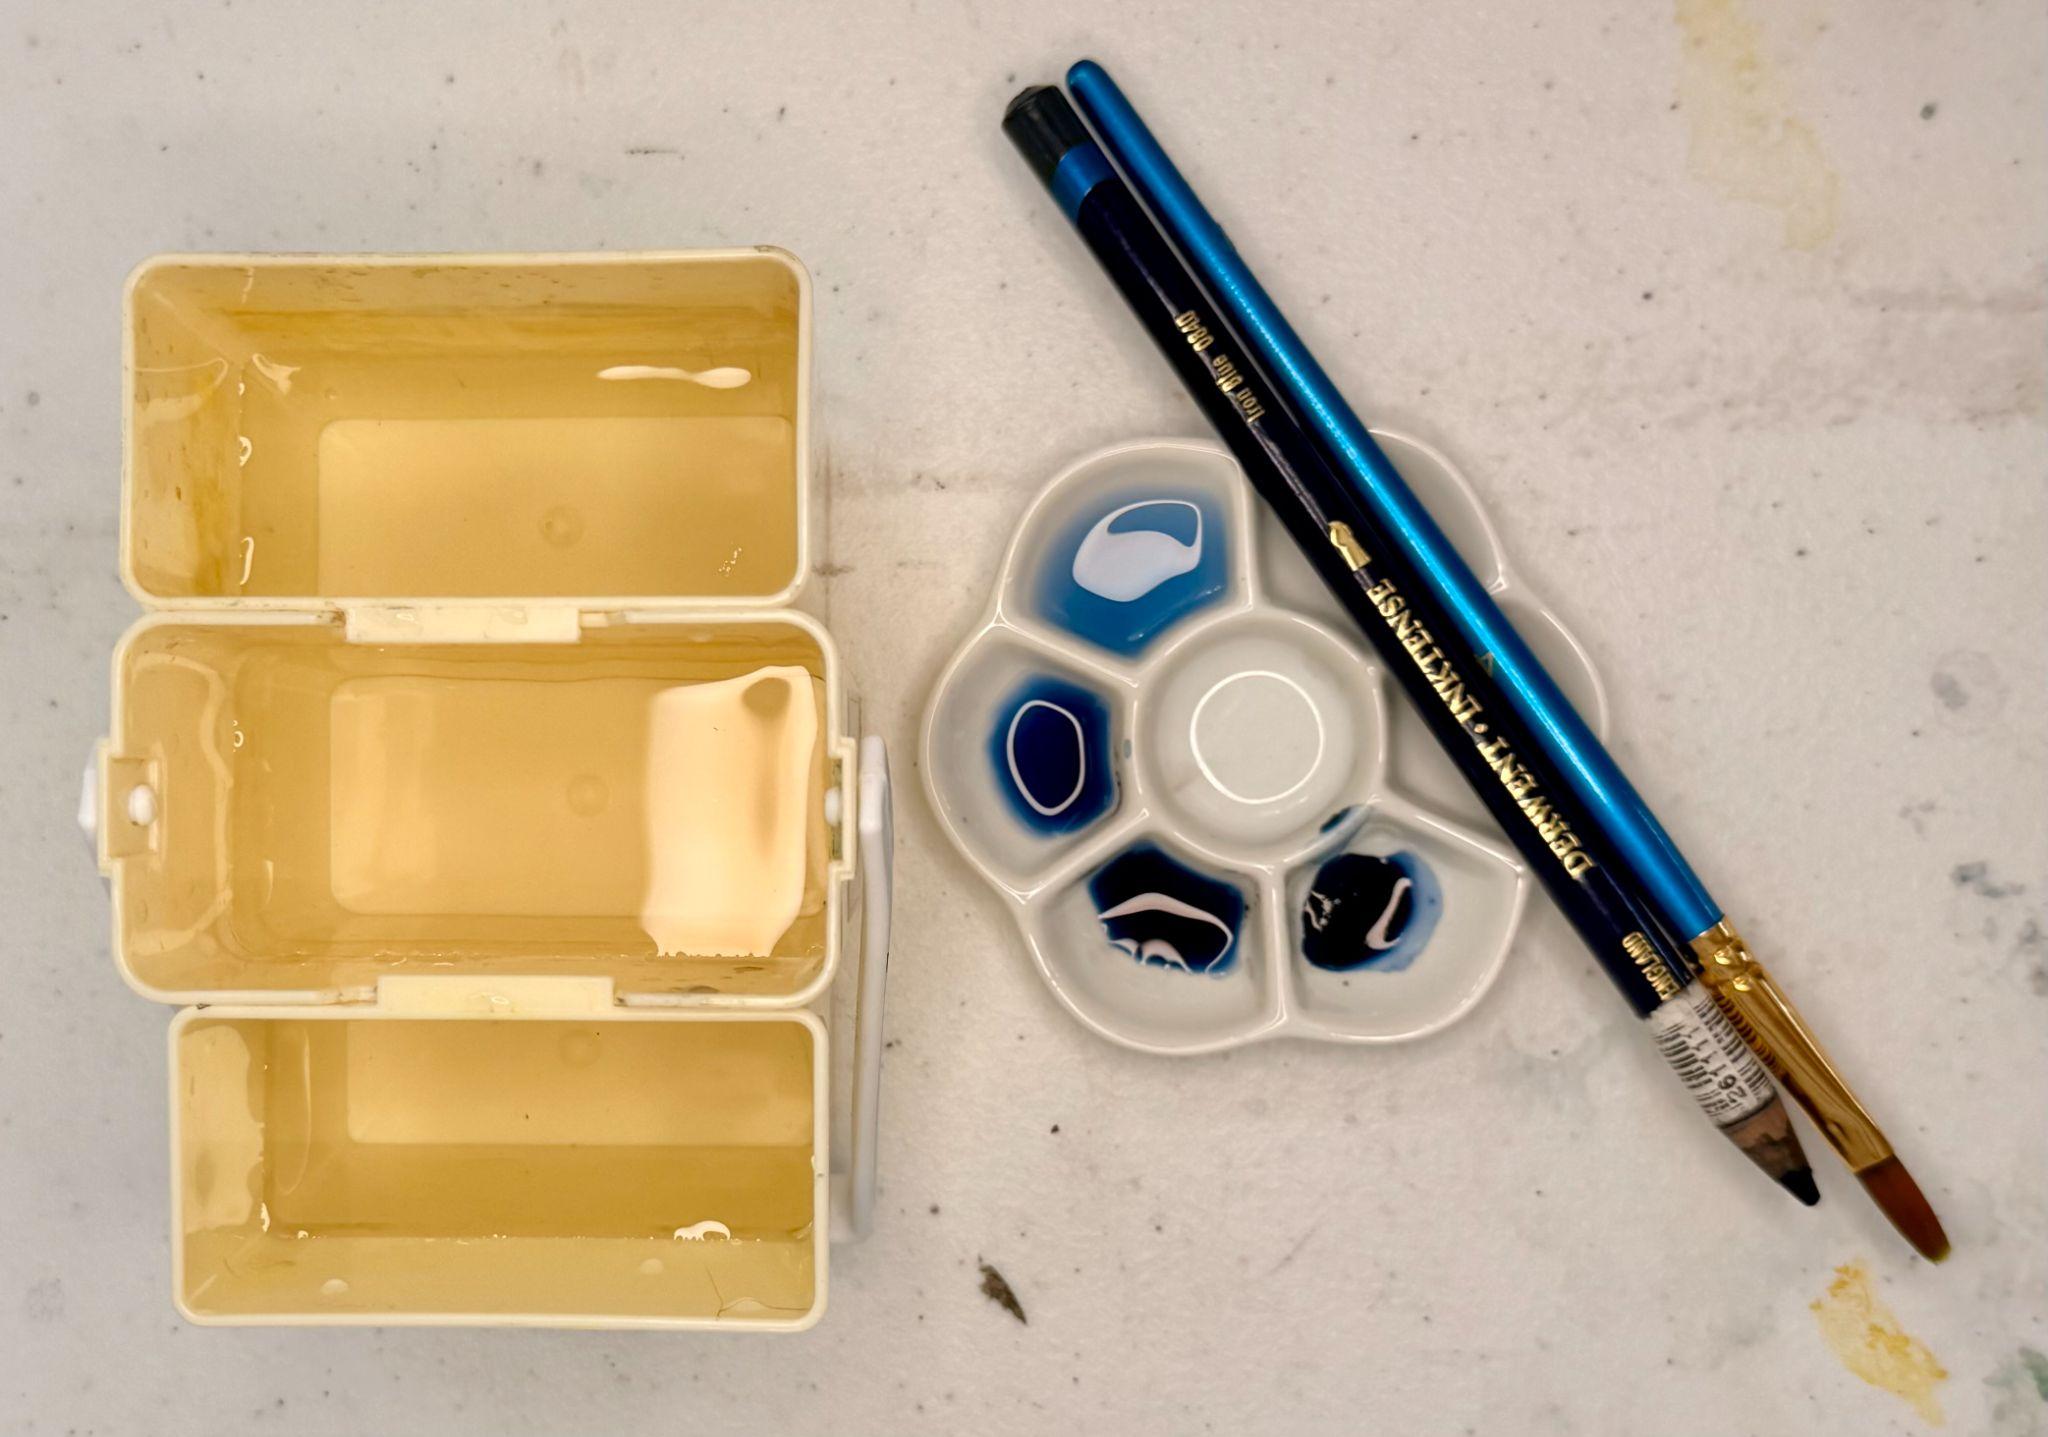
Use a palette with multiple wells, clean water, a brush, and a watercolor pencil to create washes (pigment plus water) of varying intensity before starting on the drawing. For a monochromatic drawing, put a couple of drops of water in one palette well, a few more drops of water in a second palette well, even more drops in a third palette well, and fill the fourth palette well half full of water.
Then, insert the tip of the watercolor pencil into the first well, and use a paintbrush – dipped in clean water to brush over its tip to activate the pigment. Continue this until the liquid turns from clear to an opaque color, like coffee. In the second well, repeat this process, but activate the pigment in water for a shorter period of time to create a medium intensity, like black tea. With the third well, repeat this, but activate the pigment and water for an even shorter amount of time to create a wash of light intensity, like green tea. Leave the fourth well with clean water.
View the dry-to-wet media palette setup video to watch the steps in action.
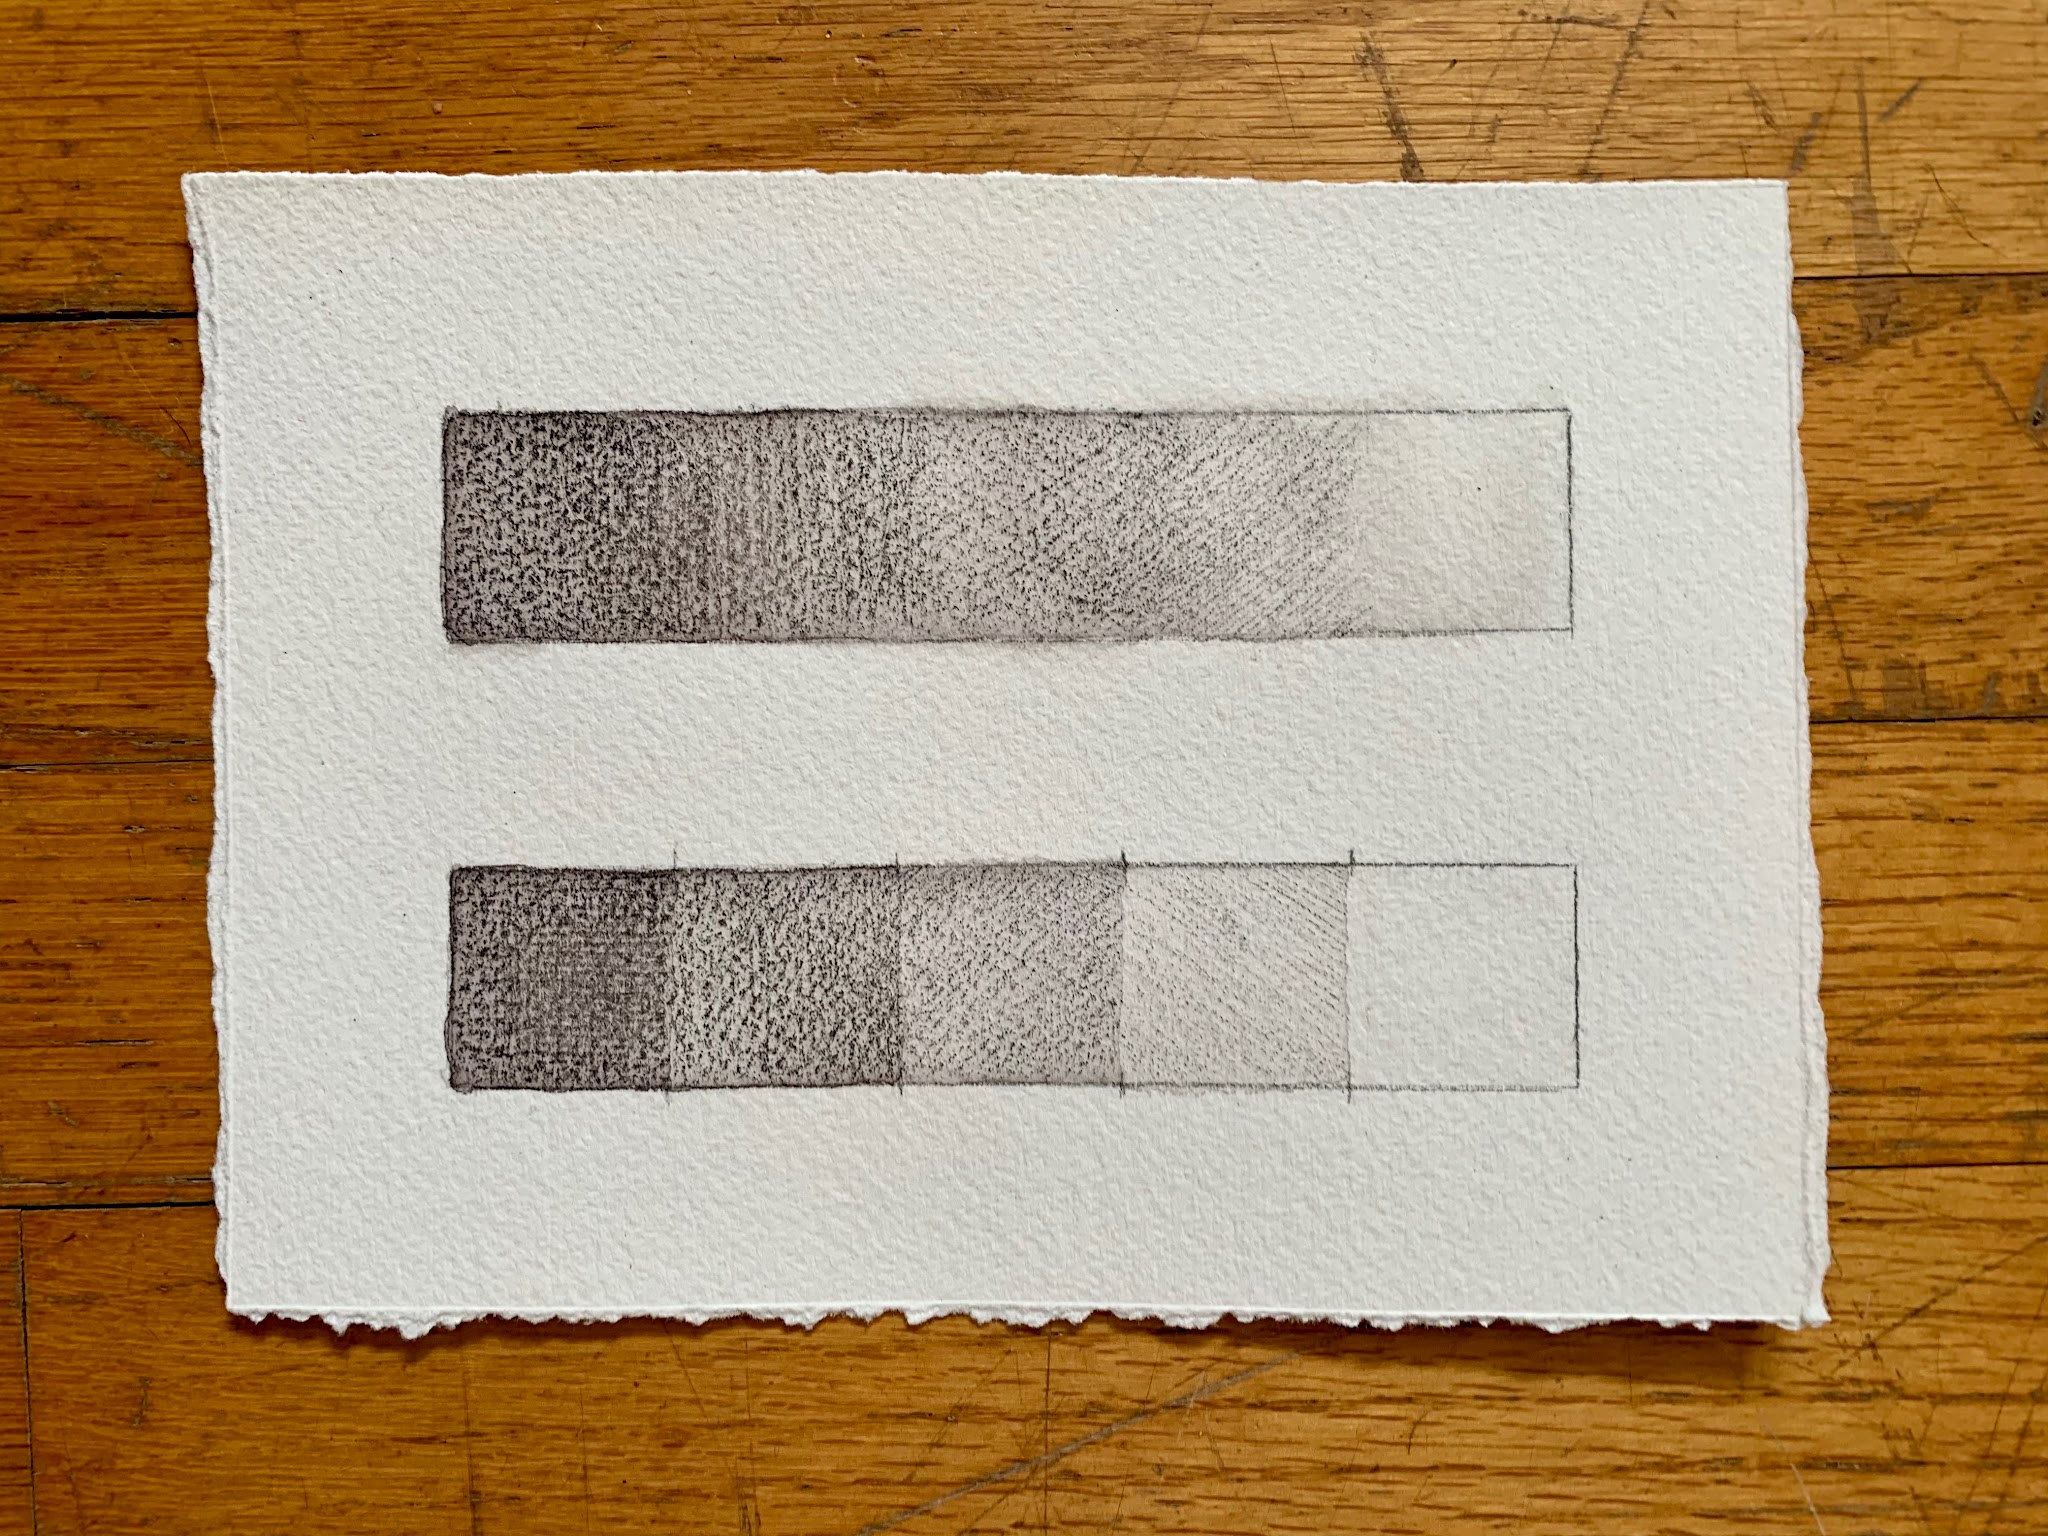
The result is four prepared washes of varying pigment intensity. As shown on the left in the image below, these washes are a liquid form of a value scale.
Wet-and-Dry Media Value Scales Activity
Description
This activity is to make two value scales with Inktense or Watercolor Pencils. One scale will be a gradient and the other a step. The step scale will include five sections. By creating these two value scales, we will learn and practice how to use washes and dry media applications.
Activity Parameters
Duration
1-2 Hours
Size
5×7”
Subject
Two value scales: one a step scale and the other a gradient scale
Applied Techniques
- Washes – create value with layers of pigment mixed with water
- Reductive Lifting – remove excess pigment to create light values
- Additive Drawing – add pigment to create dark values
Materials
- Watercolor Paper – 5×7” sheets (cold press, 140 lb recommended)
- Inktense Pencil or Watercolor Pencil – dark color, such as black, blue, or violet
- Palette – with at least three water wells
- Synthetic Brushes – Round (Size 8) & Bright (Size 4)
- Two cups for water
- Paper Towels
- Pencil Sharpener – with shaving collector
- HB Graphite Pencil
- Ruler
- Hairdryer (optional)
- Xacto Knife or Straight Edge (optional)
Student Learning Outcomes
The goal of this activity is to practice controlled value techniques in wet-and-dry media. Working with wet media is intimidating for many people because it can be difficult to control, but with practice and patience, you can attain intentional and successful results.
Method
Preparatory Steps
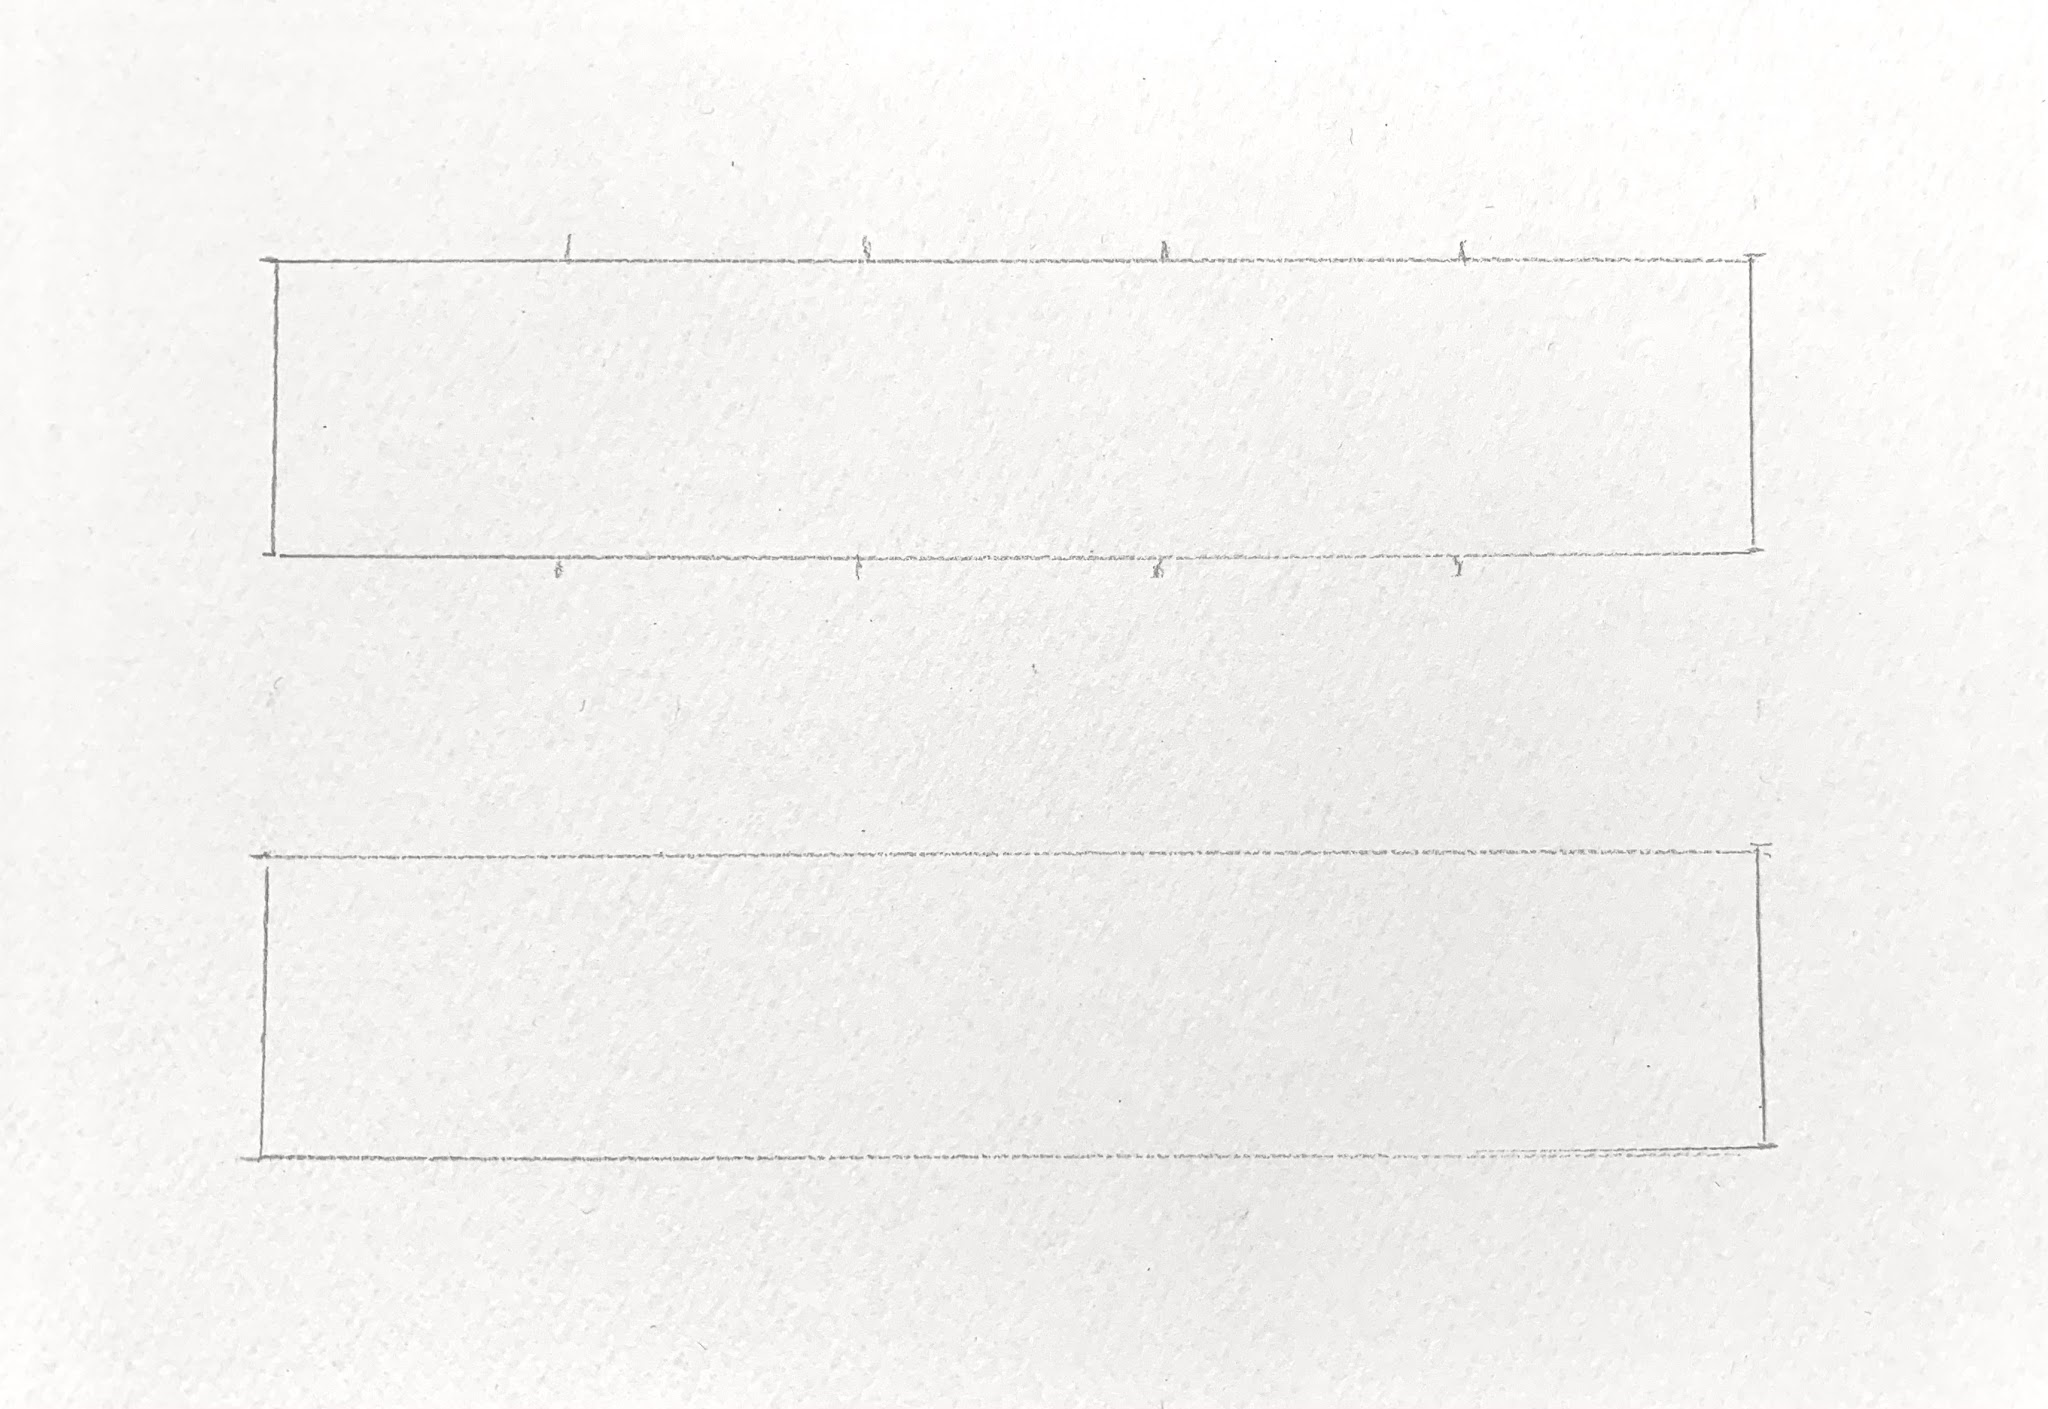
- Use a ruler and graphite pencil to measure a 5×7” rectangle of the watercolor paper.
- Cut the paper to 5×7” or simply draw a 5×7” rectangle on the paper.
- Once you have a 5×7” piece of watercolor paper, create two 1×5” rectangles for value scales with a ruler and graphite pencil. Leave a 1” border around the value scales, and 1” of space between each value scale.
- Leave one of the 1×5” value scales alone. For the other, use the ruler and graphite pencil to make light marks on the outside of the scale every 1”. This will indicate where each section of the step scale takes place. In total, there will be five sections that are 1×1”.
Process
1. Prepare at least three different values of Inktense washes in a palette.
- Put clean water in at least 3 wells of a palette
- Then, use a wet brush to gently brush the end of an Inktense pencil as it is submerged in water. The longer you brush the Inktense pencil with the brush, the darker the wash will become.
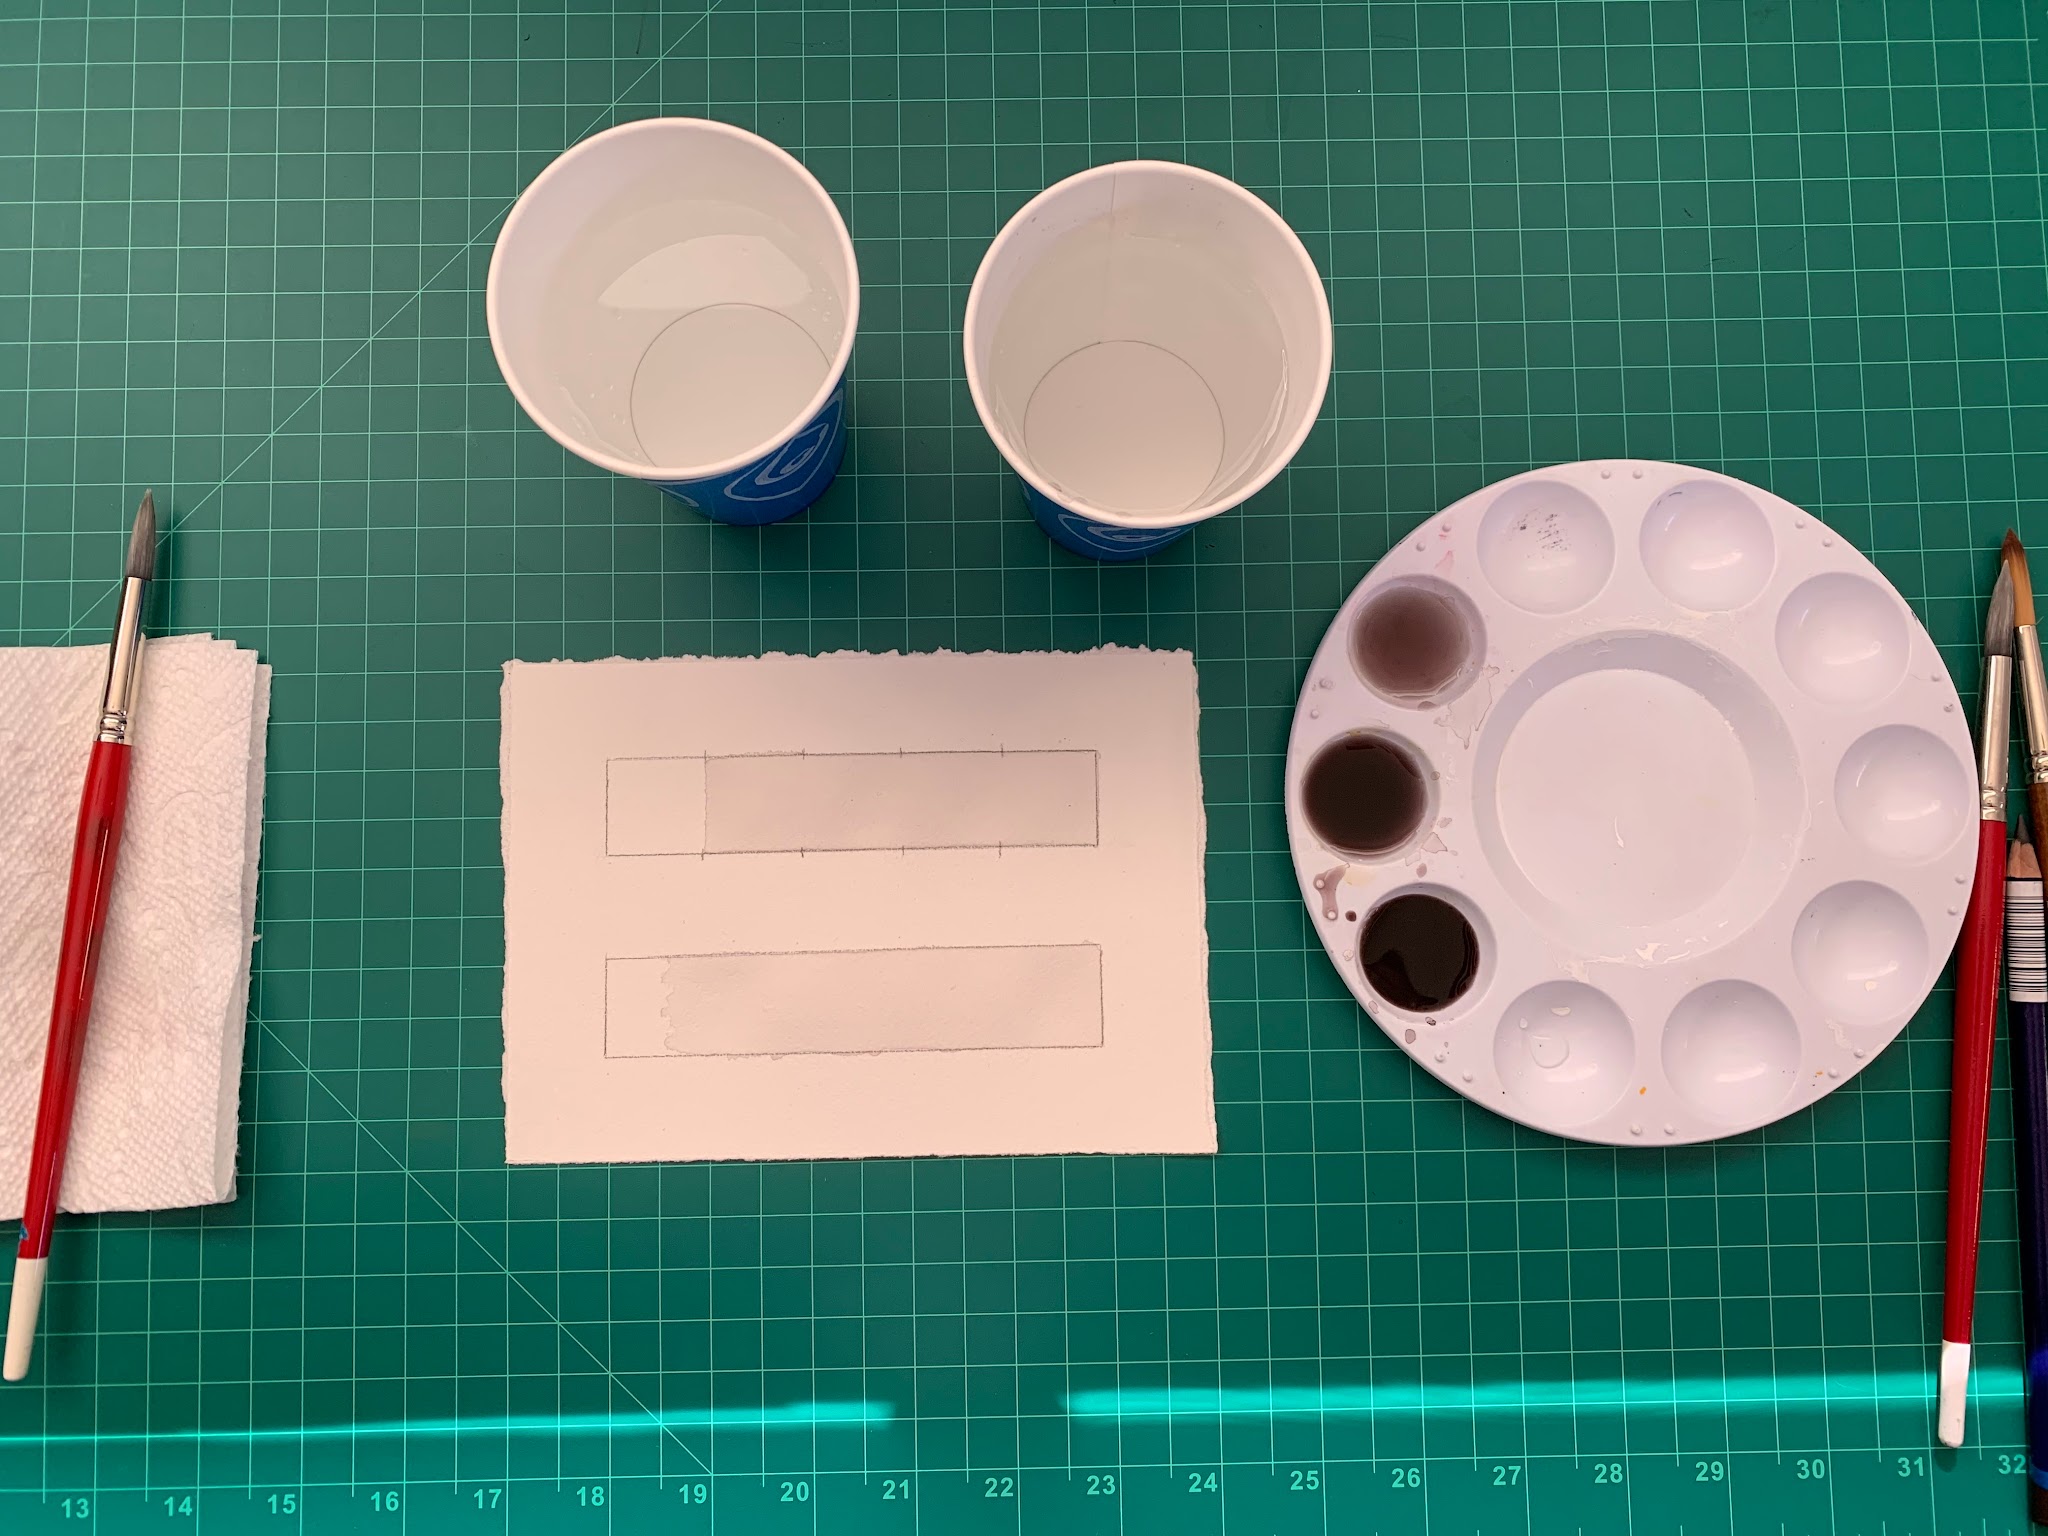
2. After the washes are prepared, clean the brush.
- Then, brush clean, clear water across sections 2-5 on the step scale.
- Dip the brush in the lightest wash and add it to the wet area.
- Wait to dry. To keep section 1 the white of the page, keep it dry. The Inktense washes will not bleed into dry areas. You can use a hair dryer at low speed to accelerate the drying process.
3. Repeat Step 2 and switch up the value of the wash being used, so the Inktense moves in even increments from light to dark across the sections of the scale.
- Don’t forget to let – each layer -dry before moving on to the next. The Inktense will bleed into wet areas. In order to have control and create a successful step scale, you will need plenty of time and patience.
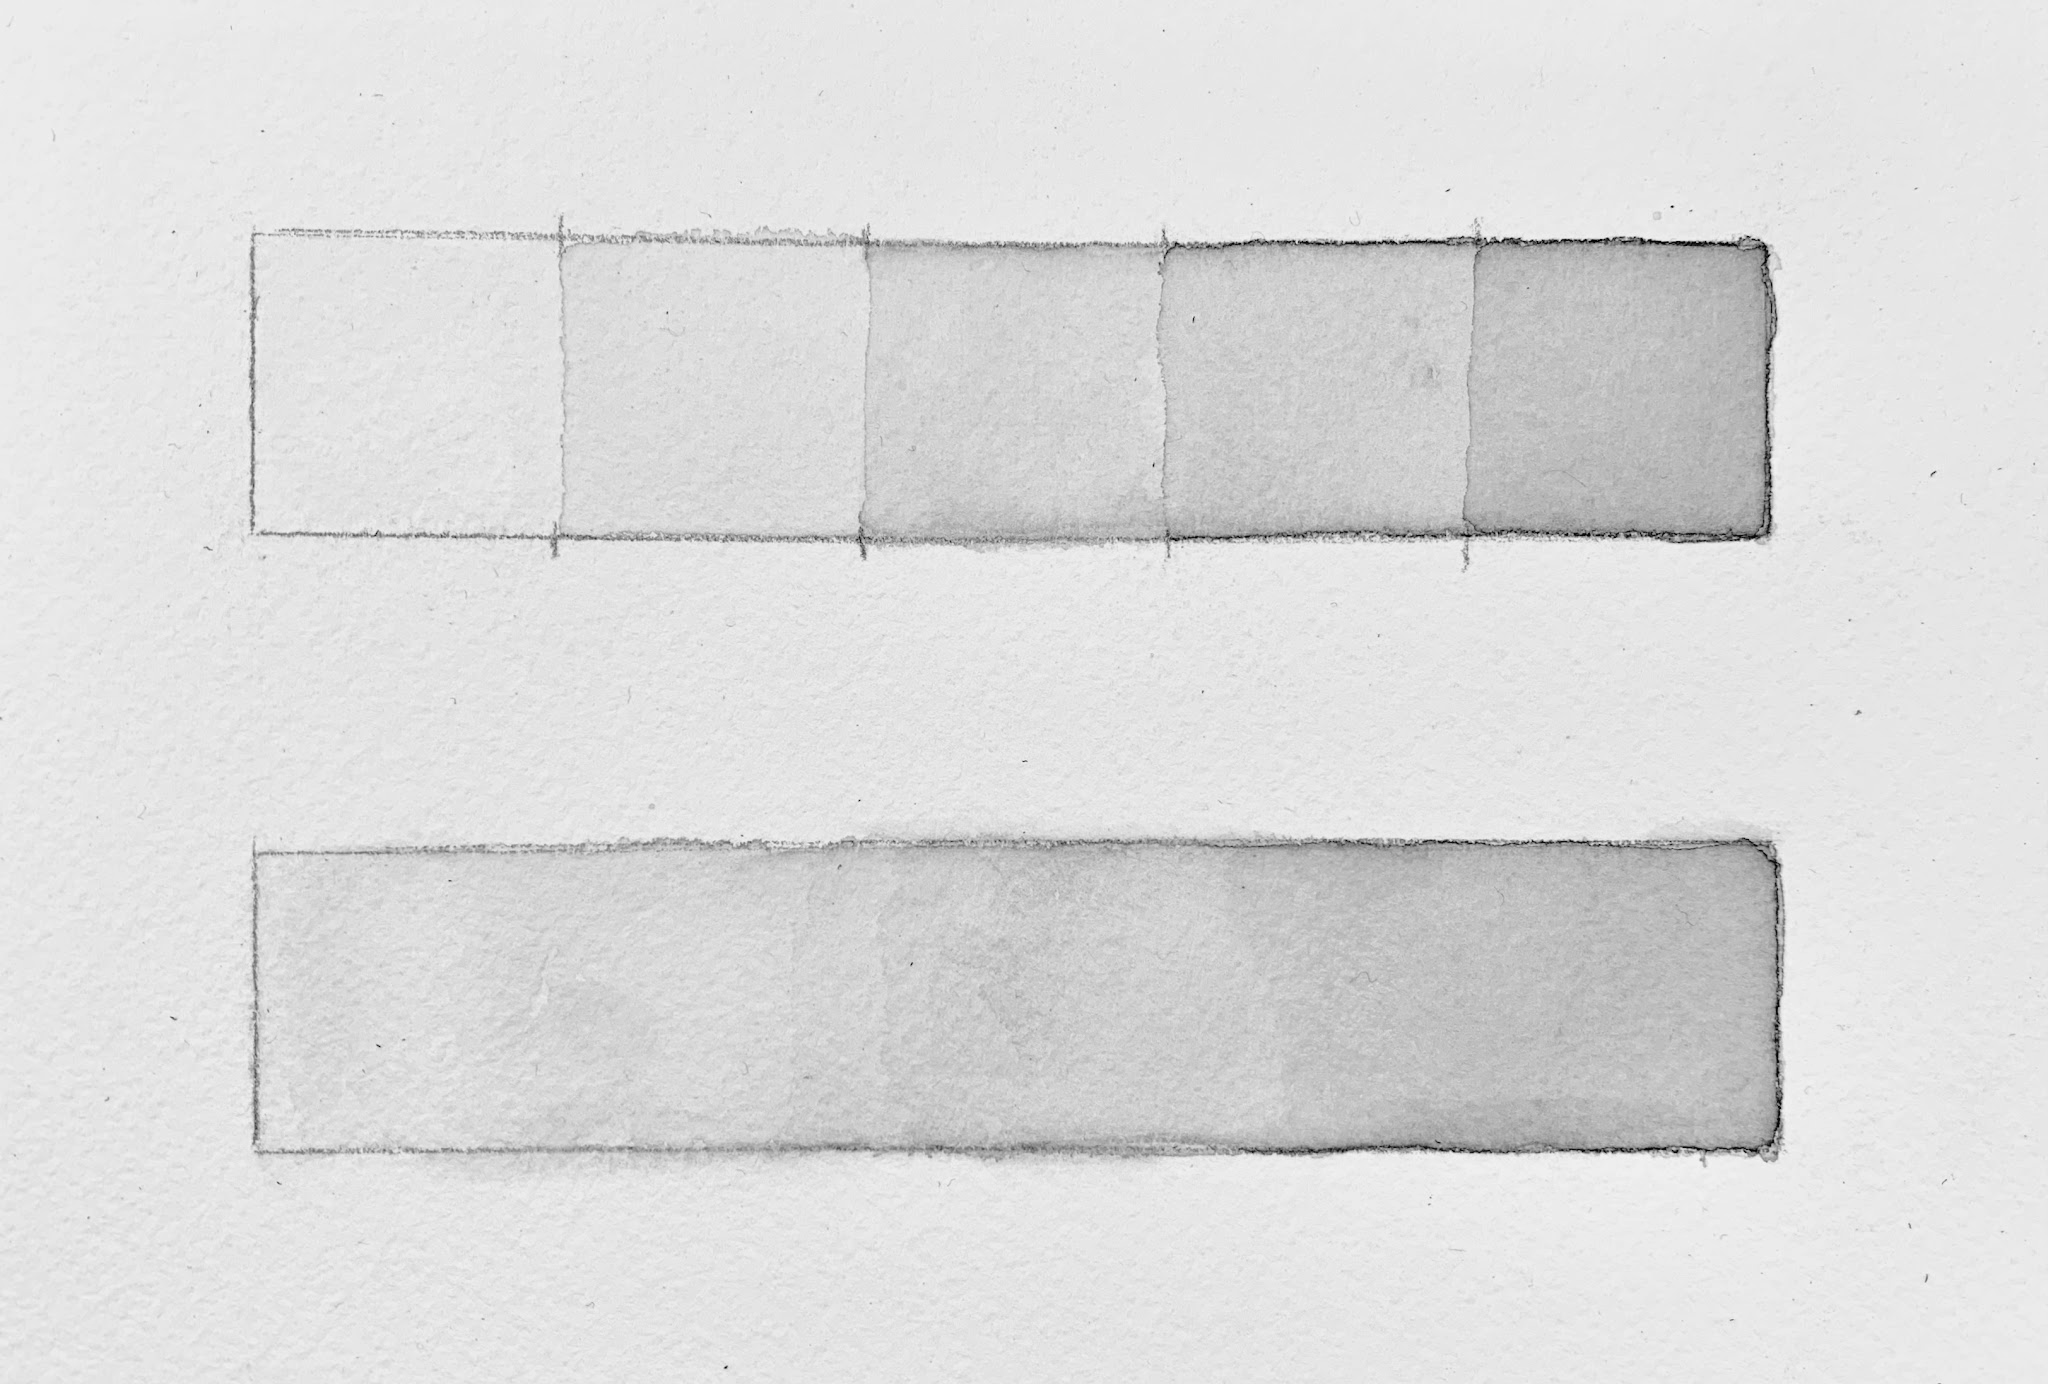
4. Repeat Steps 1 to 3 for the bottom scale, but this time aim for a smooth and seamless transition between the sections to create a gradient.
- The values in the gradient – should align with the values in the scale.-
5. After the washes are complete, sharpen the Inktense pencil.
- Use the pencil to crosshatch on top of the dried washes to create an even progression from- light to dark across the step scale.
6. After the step scale is complete, sharpen the Inktense pencil again.
- Use the pencil to crosshatch on top of the dried washes to create a seamless transition from light to dark across the gradient scale.
- The values in each scale should align with- each other.
Tips
Review the technique content from the beginning of the chapter for additional information about wet-and-dry media. Tips will include practicing on a scrap piece of paper first, preparing washes, and maintaining control.
Result
The result is a progression from light to dark across two value scales in Inktense as a wash and then as a dry crosshatched drawing material.
Inktense Landscape Activity
Description
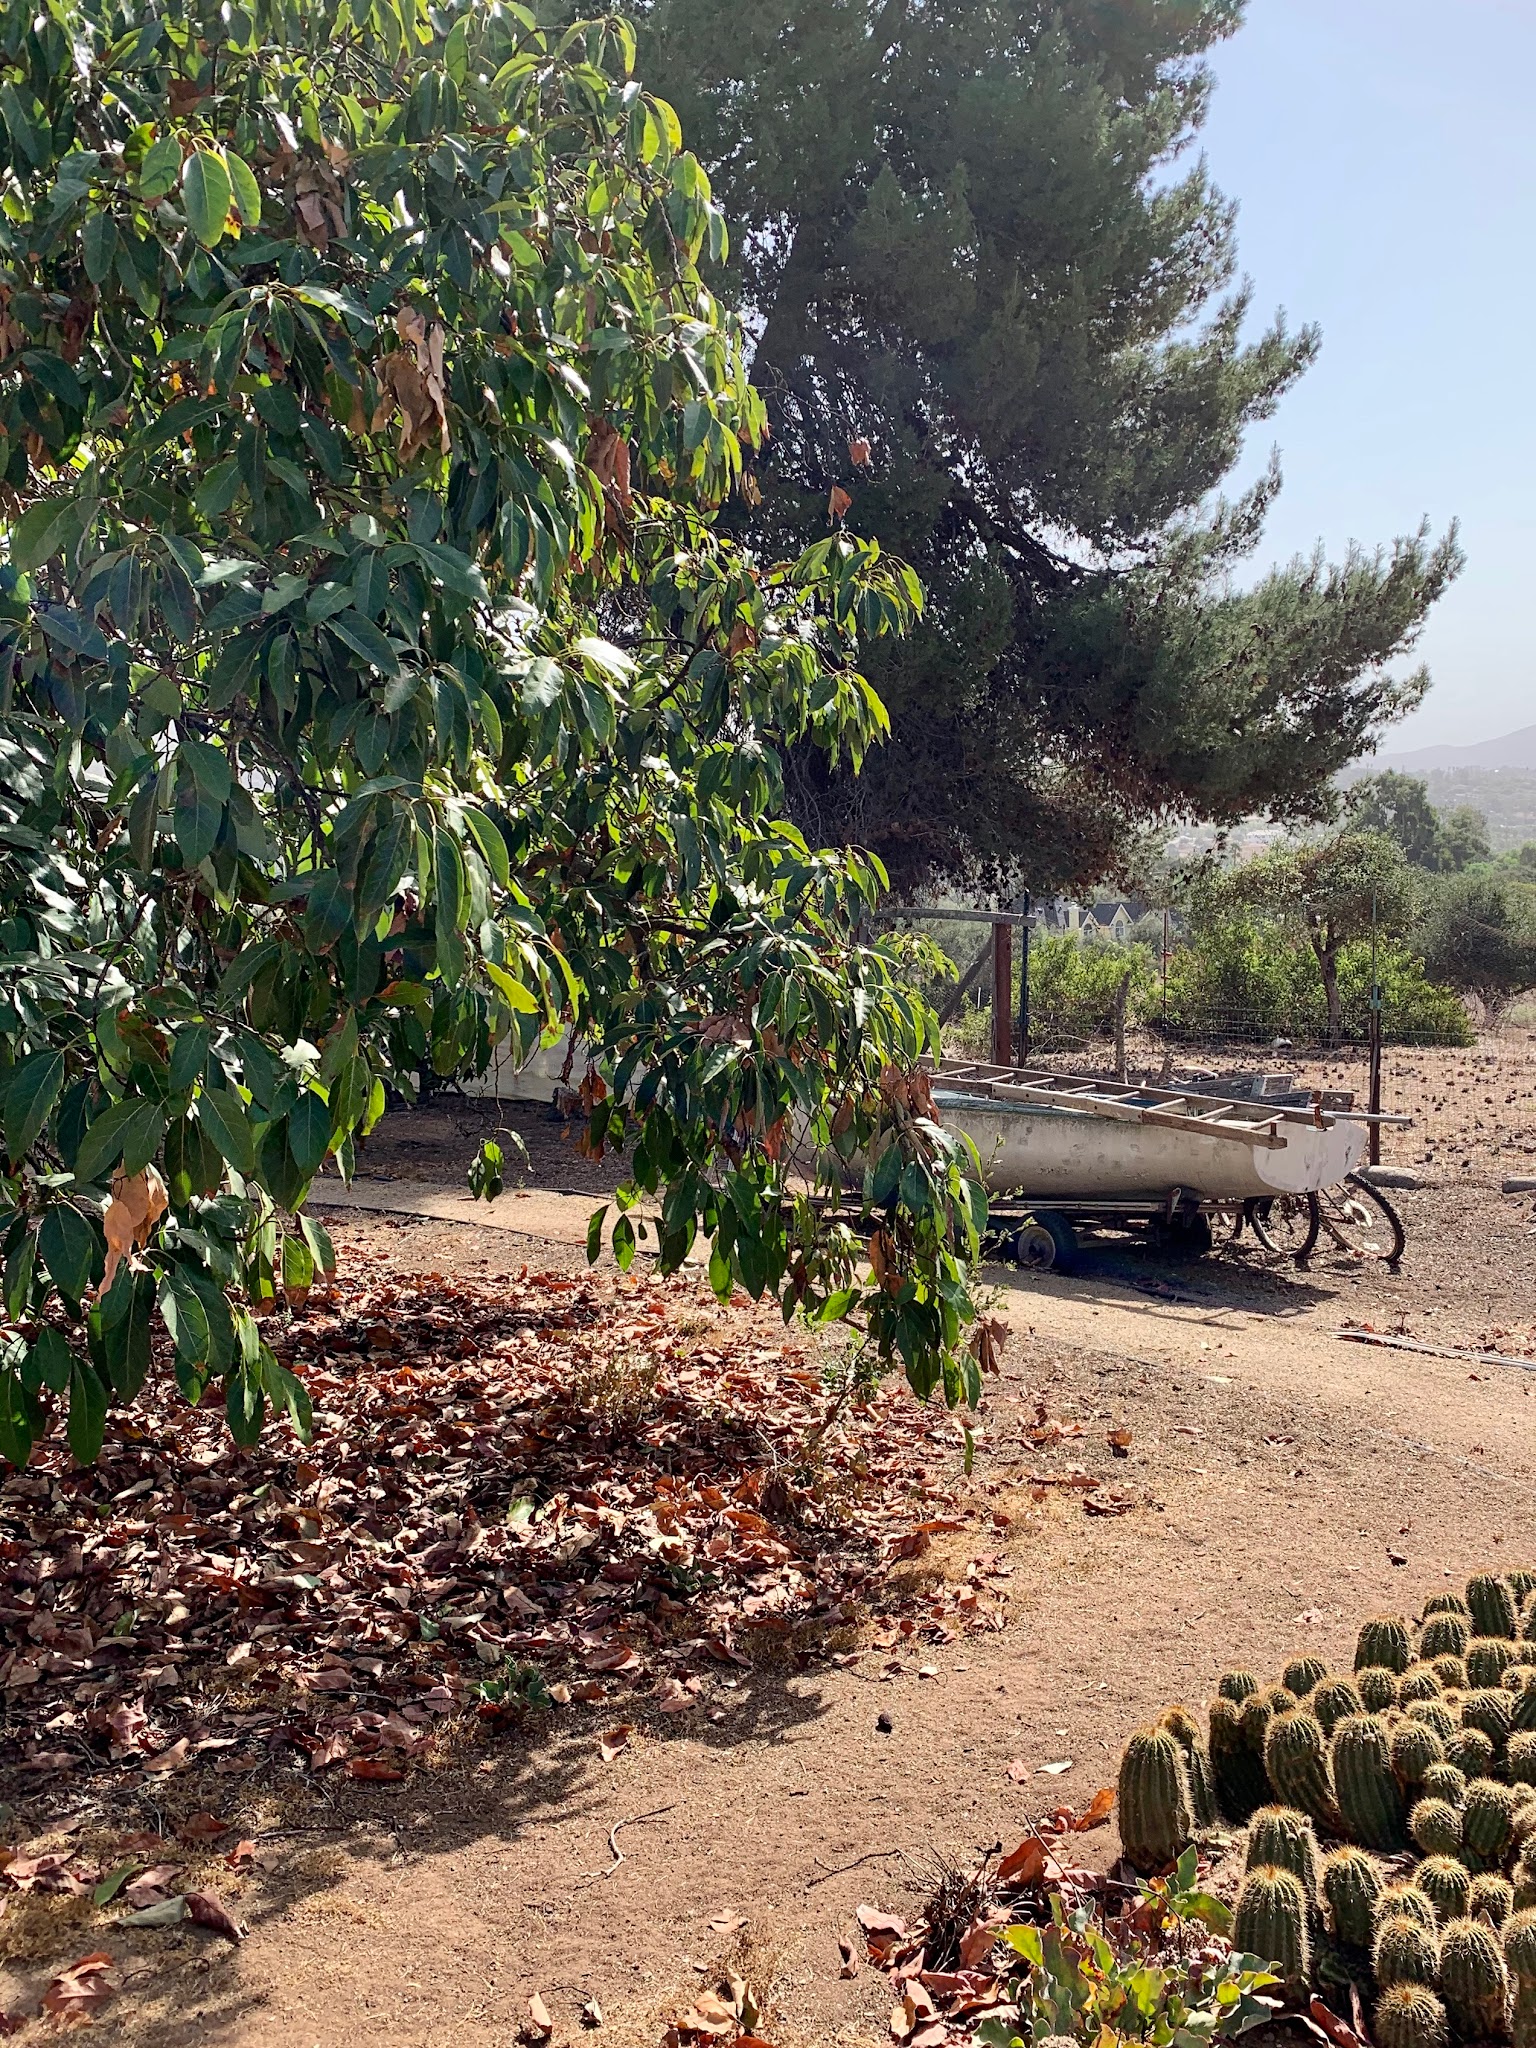
The Inktense Landscape Project is a direct observation, “en plein air,” meaning in the open air, assignment. For reference, students will choose an outdoor location with a view that includes foreground, middle ground, and background. By including these areas, students will be challenged to imply spatial depth. All stationary components, such as buildings and plants, must be included, but moveable elements such as cars and people, can be omitted.
Working from direct observation is essential for the “en plein air” method. Making minute-by-minute decisions about compositional placement of forms and changing light and shadow build to help you grow exponentnally as an artist. Taking shortcuts, such as working from a photo reference, hinder and slow down the budding potential of beginning artists. Do the hard work and reap the rewords of working outside with all its changeable conditions and growth potential.
Students will use Inktense, a water-soluble ink pencil, on watercolor paper to create the project. Students will start with light Inktense washes, and then build the darker values with additional layers. Then, students will crosshatch with Inktense as a dry pencil to add darker values and texture variation. The result will be a monochrome landscape created with wet and dry drawing techniques.
Activity Parameters
Duration
10-12 hours
Size
Thumbnail: 2×3” minimum
Assignment: 10×12” minimum
Reference
An outdoor location with a foreground, middle ground, and background.
Applied Techniques
Direct Observation: Draw the outdoor view accurately. Do not add or subtract from the stationary components, such as buildings, plants, etc. Omitting mobile components, such as people, cars, etc., is allowed. Attempt to capture realistic and consistent light and shadows. This can be a particularly difficult task when working outdoors, since the light will change depending on the weather and time of day.
Wet-and-Dry Drawing: Unlike most drawings, this assignment will require the use of wet and dry drawing techniques. In this case, Inktense, a water-soluble ink pencil, will be used to create washes of varying values that will be applied to watercolor paper with a brush. Layers of washes will be applied to develop different values and visual elements. After the wet media is applied and dry, the Inktense will be used as a dry media without water, to develop texture and value with drawing techniques such as hatching, cross-hatching, and scumbling.
Materials
- Watercolor Paper – 10×12” sheet (cold press, 140 lb minimum)
- Inktense Pencil – bark (or similar)
- Palette – with at least three water wells
- Two cups for water
- Paper Towels
- Pencil Sharpener – with shaving collector
- HB Graphite Pencil
- Ruler
- Xacto Knife or Straight Edge
- Sighting/Skewer Sticks
- Viewfinder
- Hairdryer (optional)
Student Learning Outcomes
The goal of this assignment is to use wet-and-dry drawing techniques to create a believable landscape in the open air with implied spatial depth, accurate textures, and consistent light and shadow.
Method
Preparatory Steps
- Choose a landscape view to draw. The location should be an area where you can draw from direct observation. The view must include a foreground, middle ground, and background.
- You will work on site outside just as artists did in England and France in the early to mid-19th century when they painted “en plein air” (in the open air).
- Choose a location with a view you are interested in drawing, but also a location with a good space to work for an extended period of time. Make note of what you can bring to the site to make it more accommodating as a studio – a chair, hat, sunscreen, water, etc.
- Use a 10×12” piece of the watercolor paper. This assignment will not have borders; you will work right up to the edge of the page. You can create this assignment in a portrait or landscape orientation. Choose whichever orientation best suits the composition of the picture plane.
- Create a thumbnail, a mini version, of the landscape with the assigned materials. The thumbnail can be any size, but a 2×3” minimum is recommended.
- Creating a small version of the assignment will improve the overall result by providing more practice and allows you to make mistakes without them negatively impacting the final result.
Process
- Set Up a Drawing Station
- Go to your reference location and set up your wet-and-dry materials. Don’t forget to take care of your own needs as well. Perhaps you need a blanket or chair to sit on, a hat, sunscreen, or an umbrella, etc. And something like a travel easel, a drawing board resting on a box, your backpack, or the edge of a table can also be helpful.
- Use a viewfinder to determine if the drawing will be in a portrait or landscape orientation. Then, use the rule of thirds to determine the exact composition with at least one area of emphasis. Reconfirm there is a foreground, middle ground, and background through the viewfinder’s window.
- Have your thumbnail on hand to help guide what to repeat and what to revise throughout the making process.
- Compositional Drawing
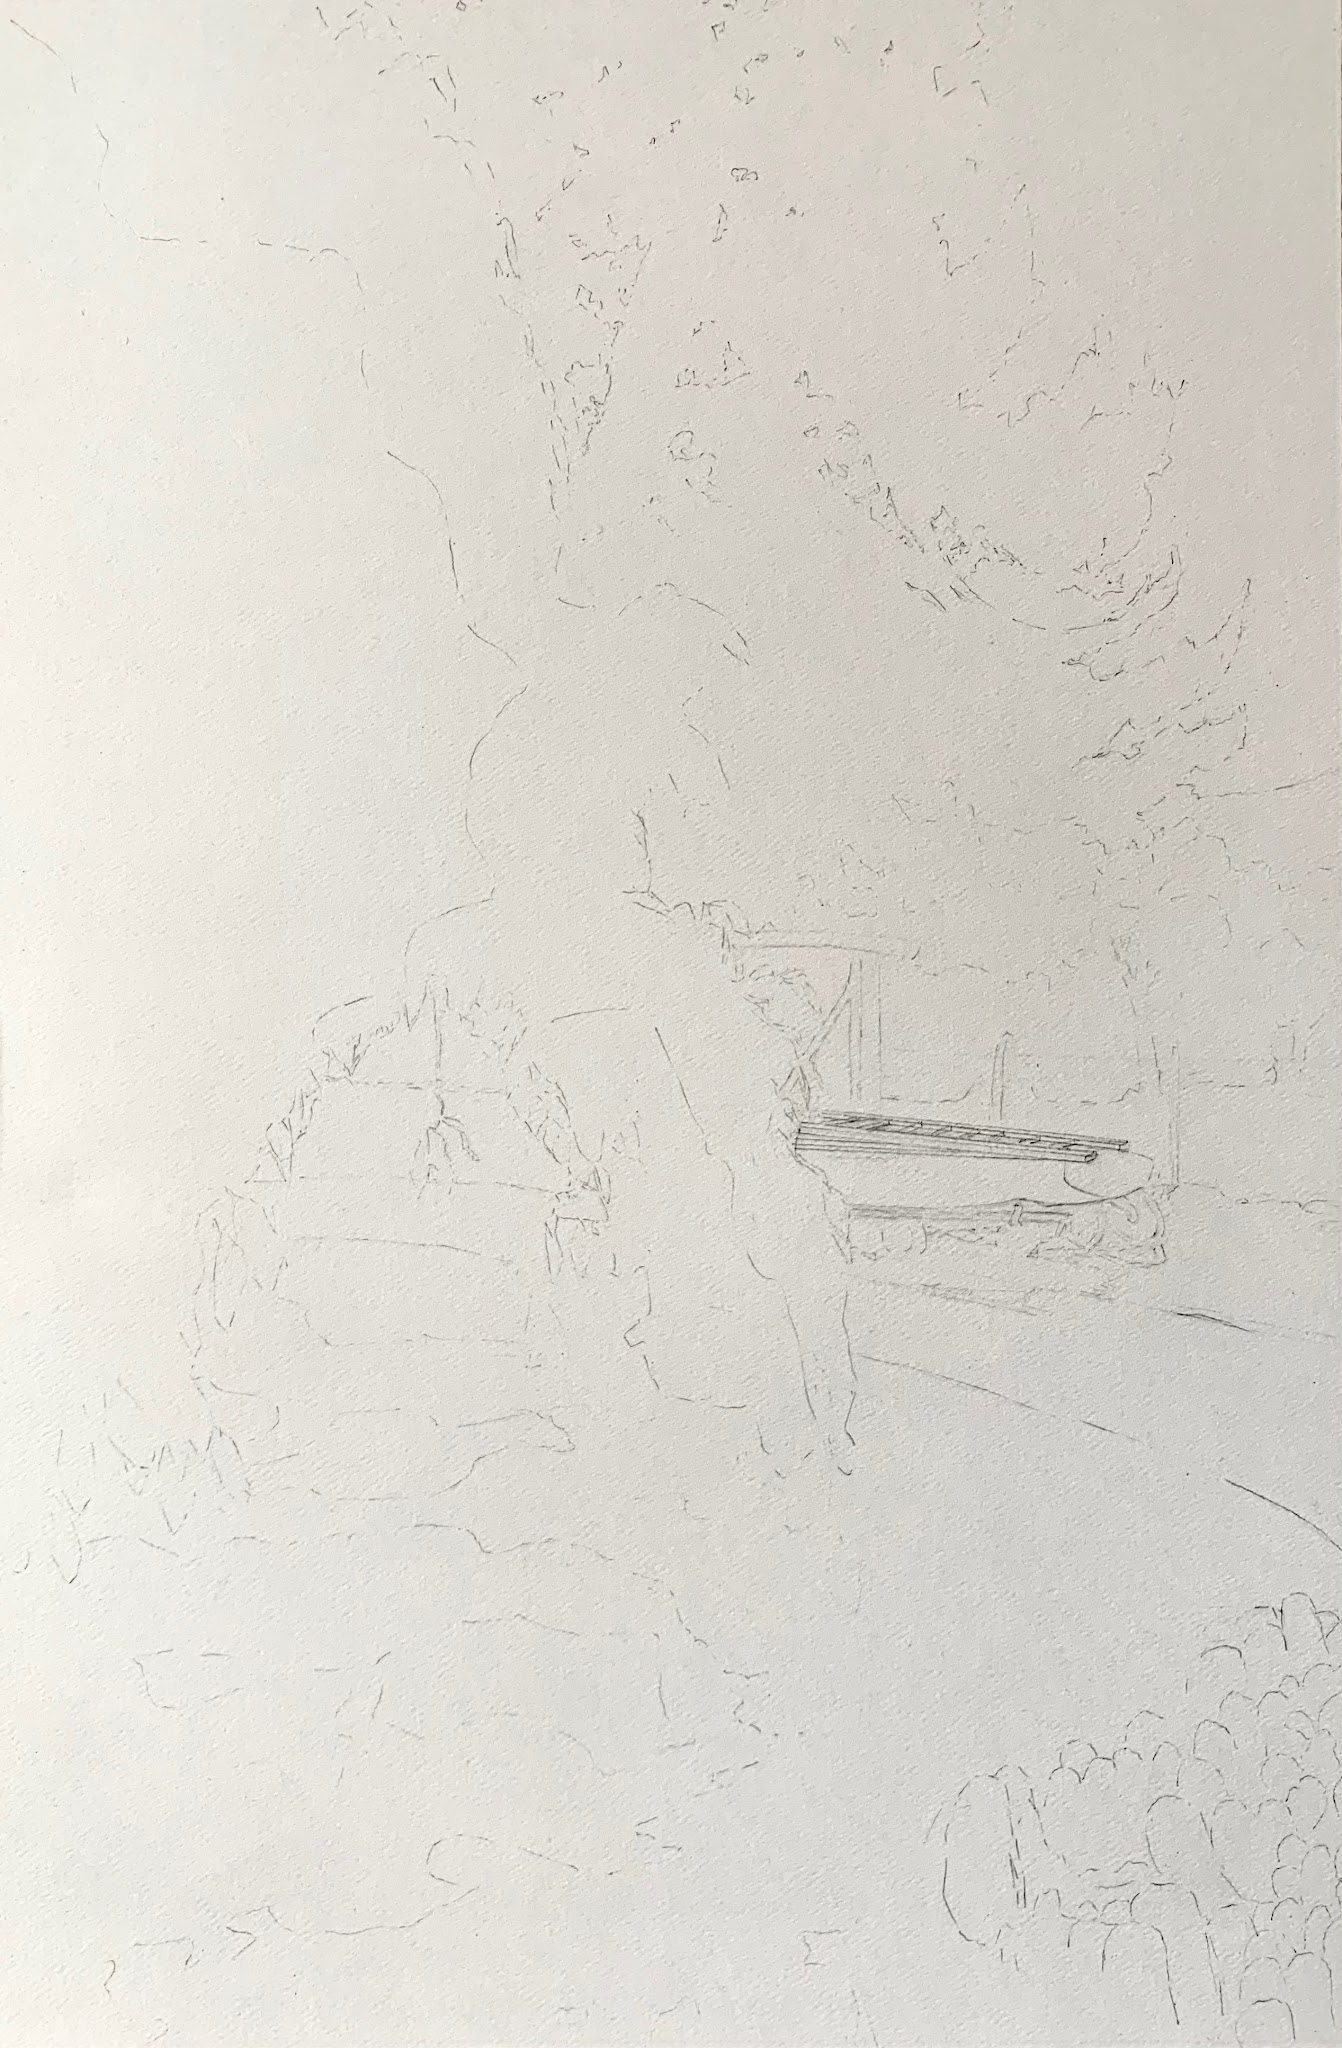
- With the lightest of pressure, use a 2H or HB graphite pencil to draw your landscape location. Outline the forms and indicate the shadow shapes. Then, use a kneaded eraser to lighten the lines so they are barely visible.
- Prepare Washes
- Use a palette with multiple wells to prepare washes of different values.
- Light Value Washes
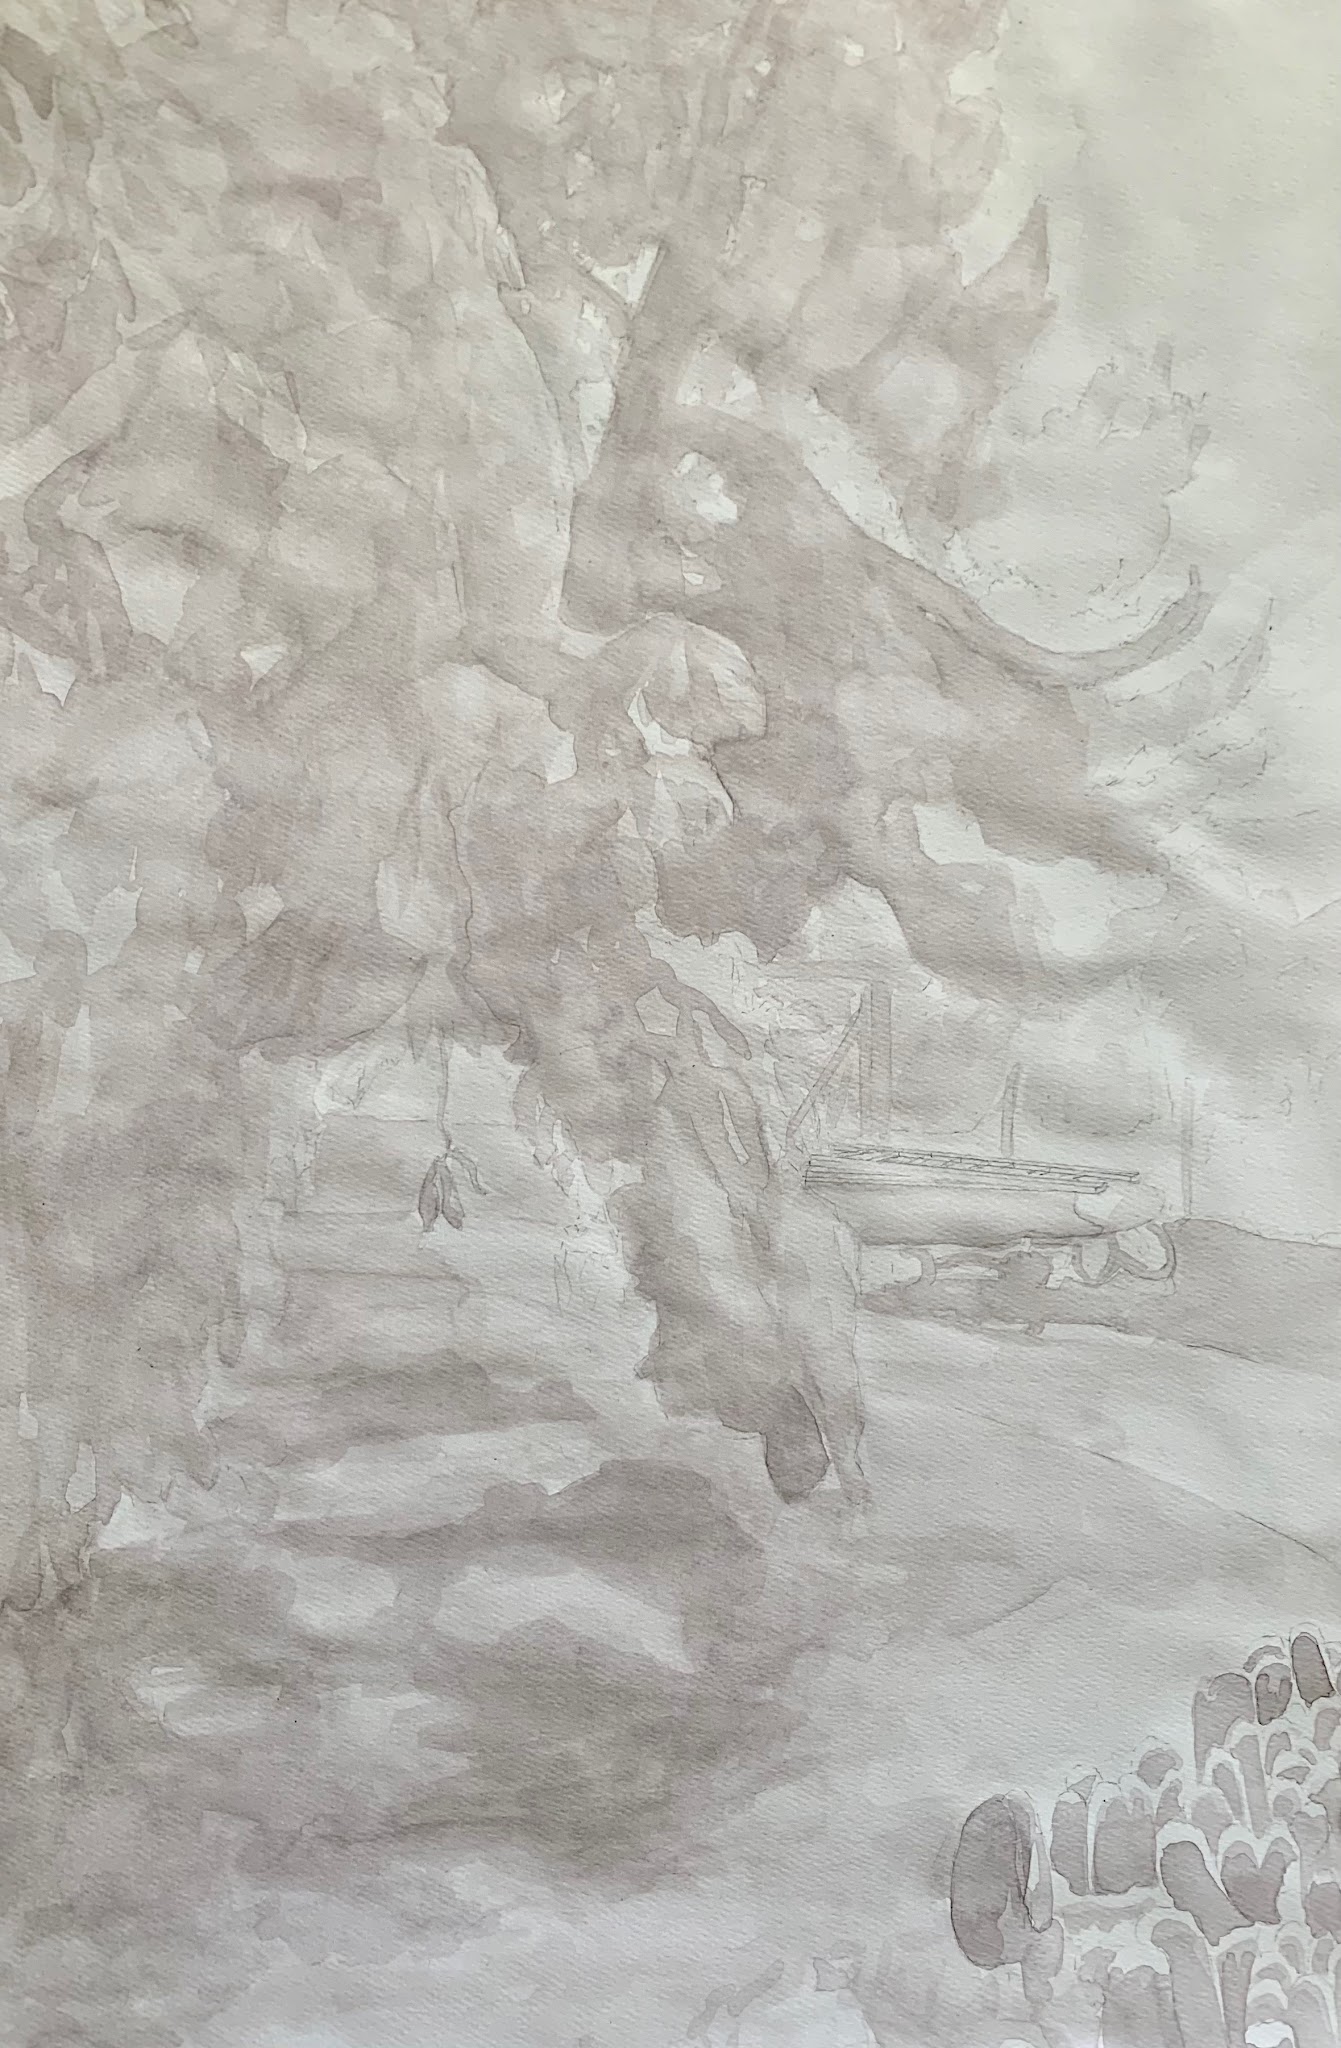
- Start with your lightest value and work from light to dark. Keep in mind that washes will bleed into any wet surface areas. You can use this to your advantage when creating more organic washes. You can also use this knowledge to create more details in the wash stage, since washes will not extend into dry areas of the assignment.
- Dark Value Washes
- Develop the value washes to create a full range of observed values. After the initial washes are in place, continue the practice of waiting for each wash to dry before adding another layer. With each layer, darken the values and work from general to specific to develop the landscape.
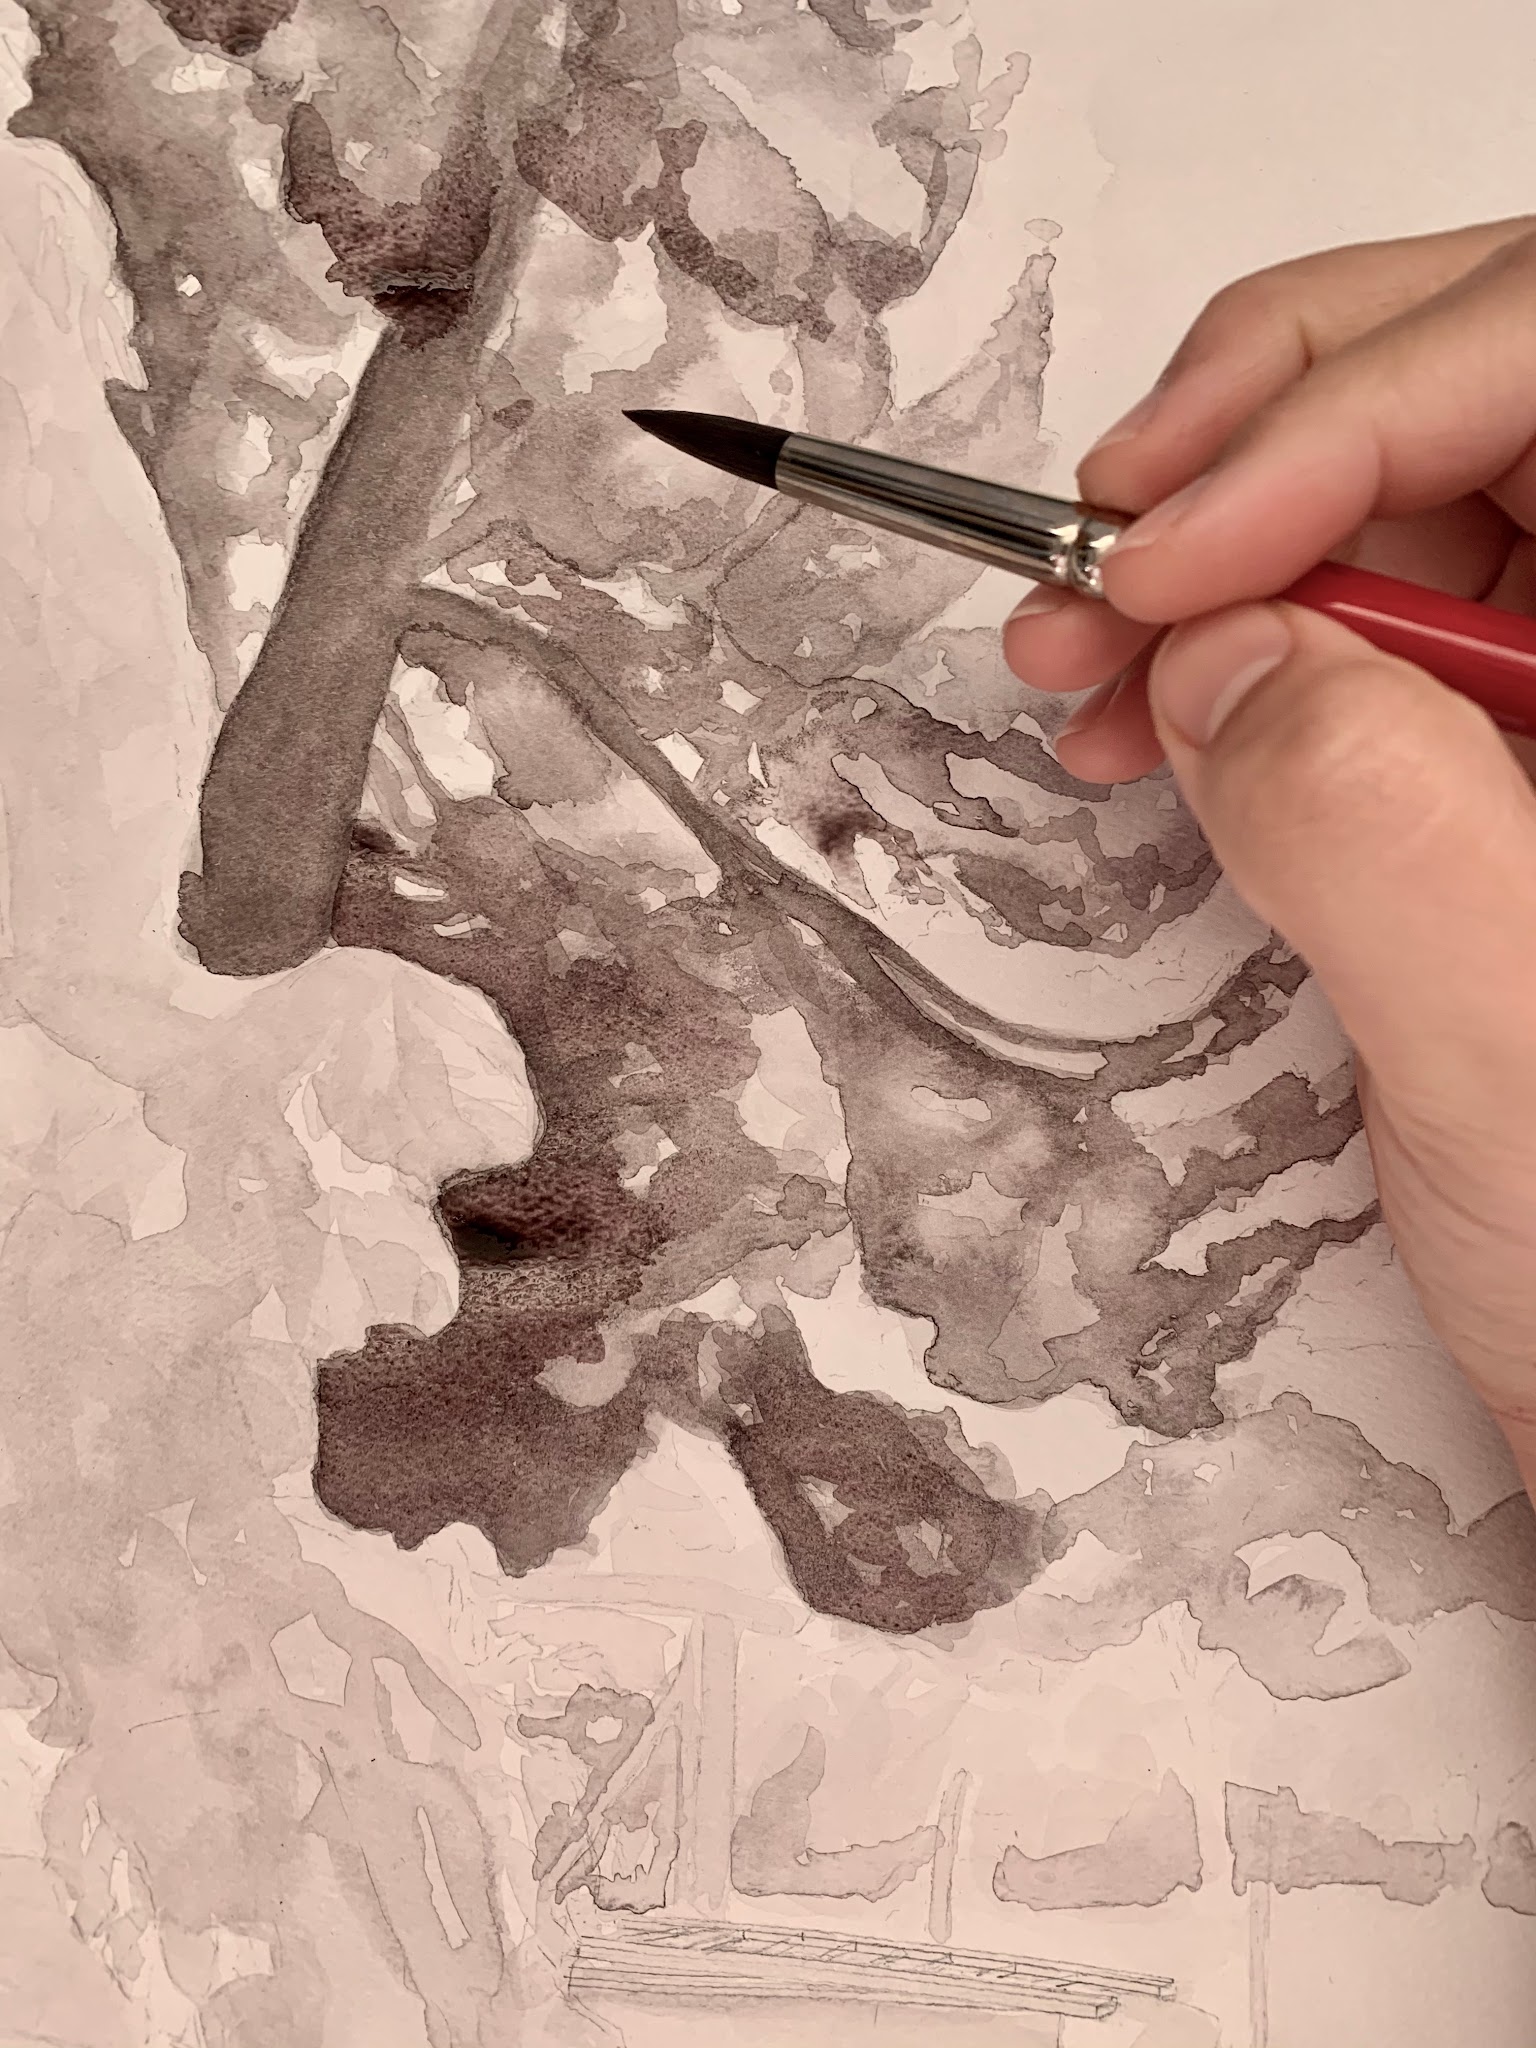
- At this stage, developing high contrast in the foreground and low contrast in the background will help accentuate spatial depth. Remember to preserve any areas you want to remain white by leaving them dry. Inktense washes will not bleed into dry areas.
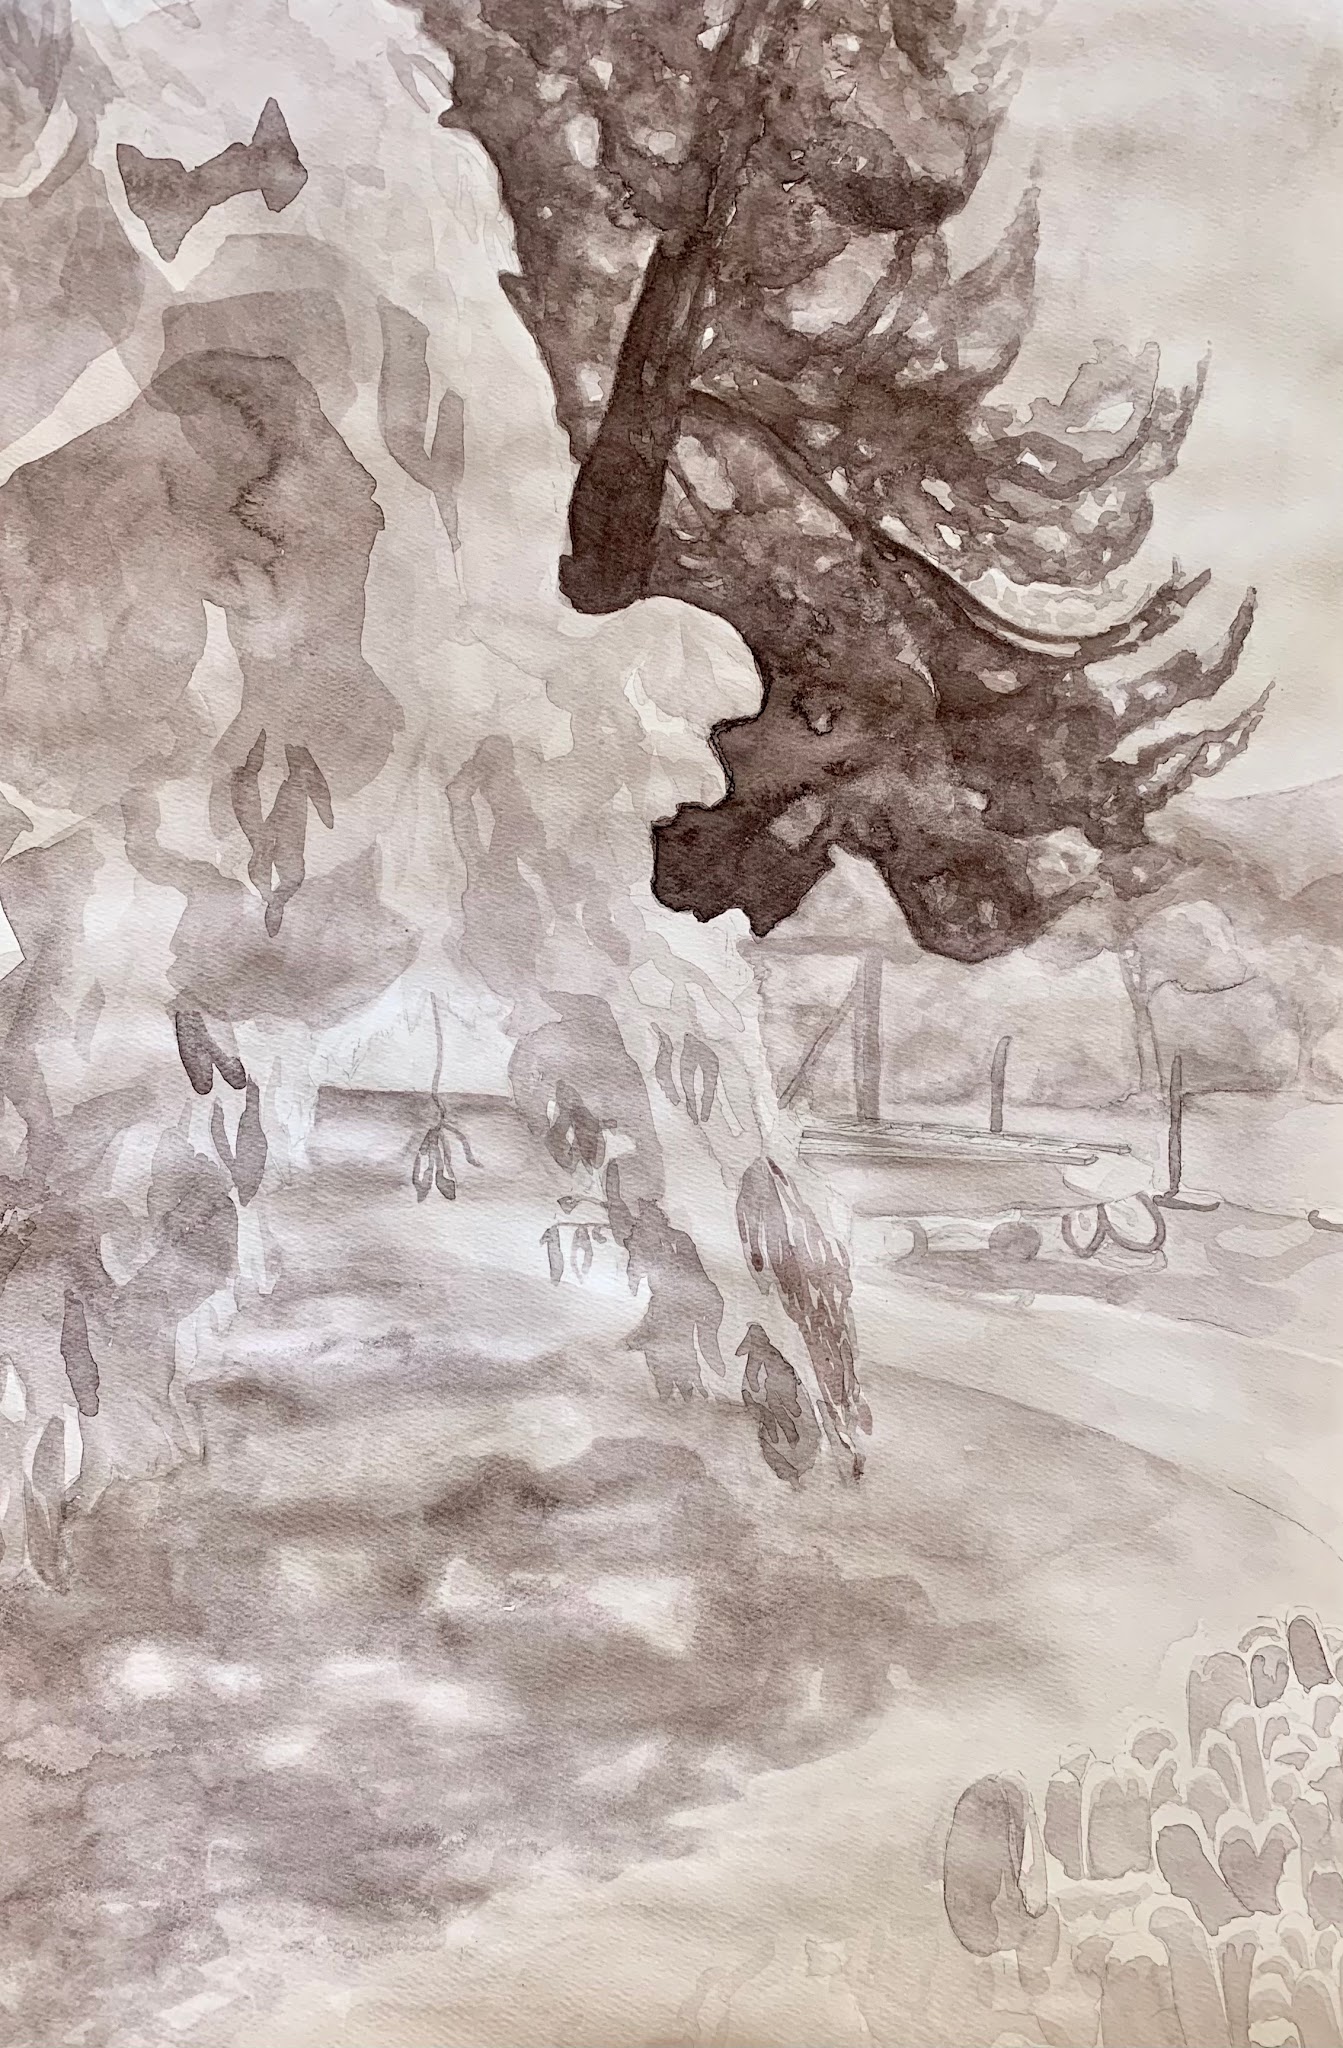
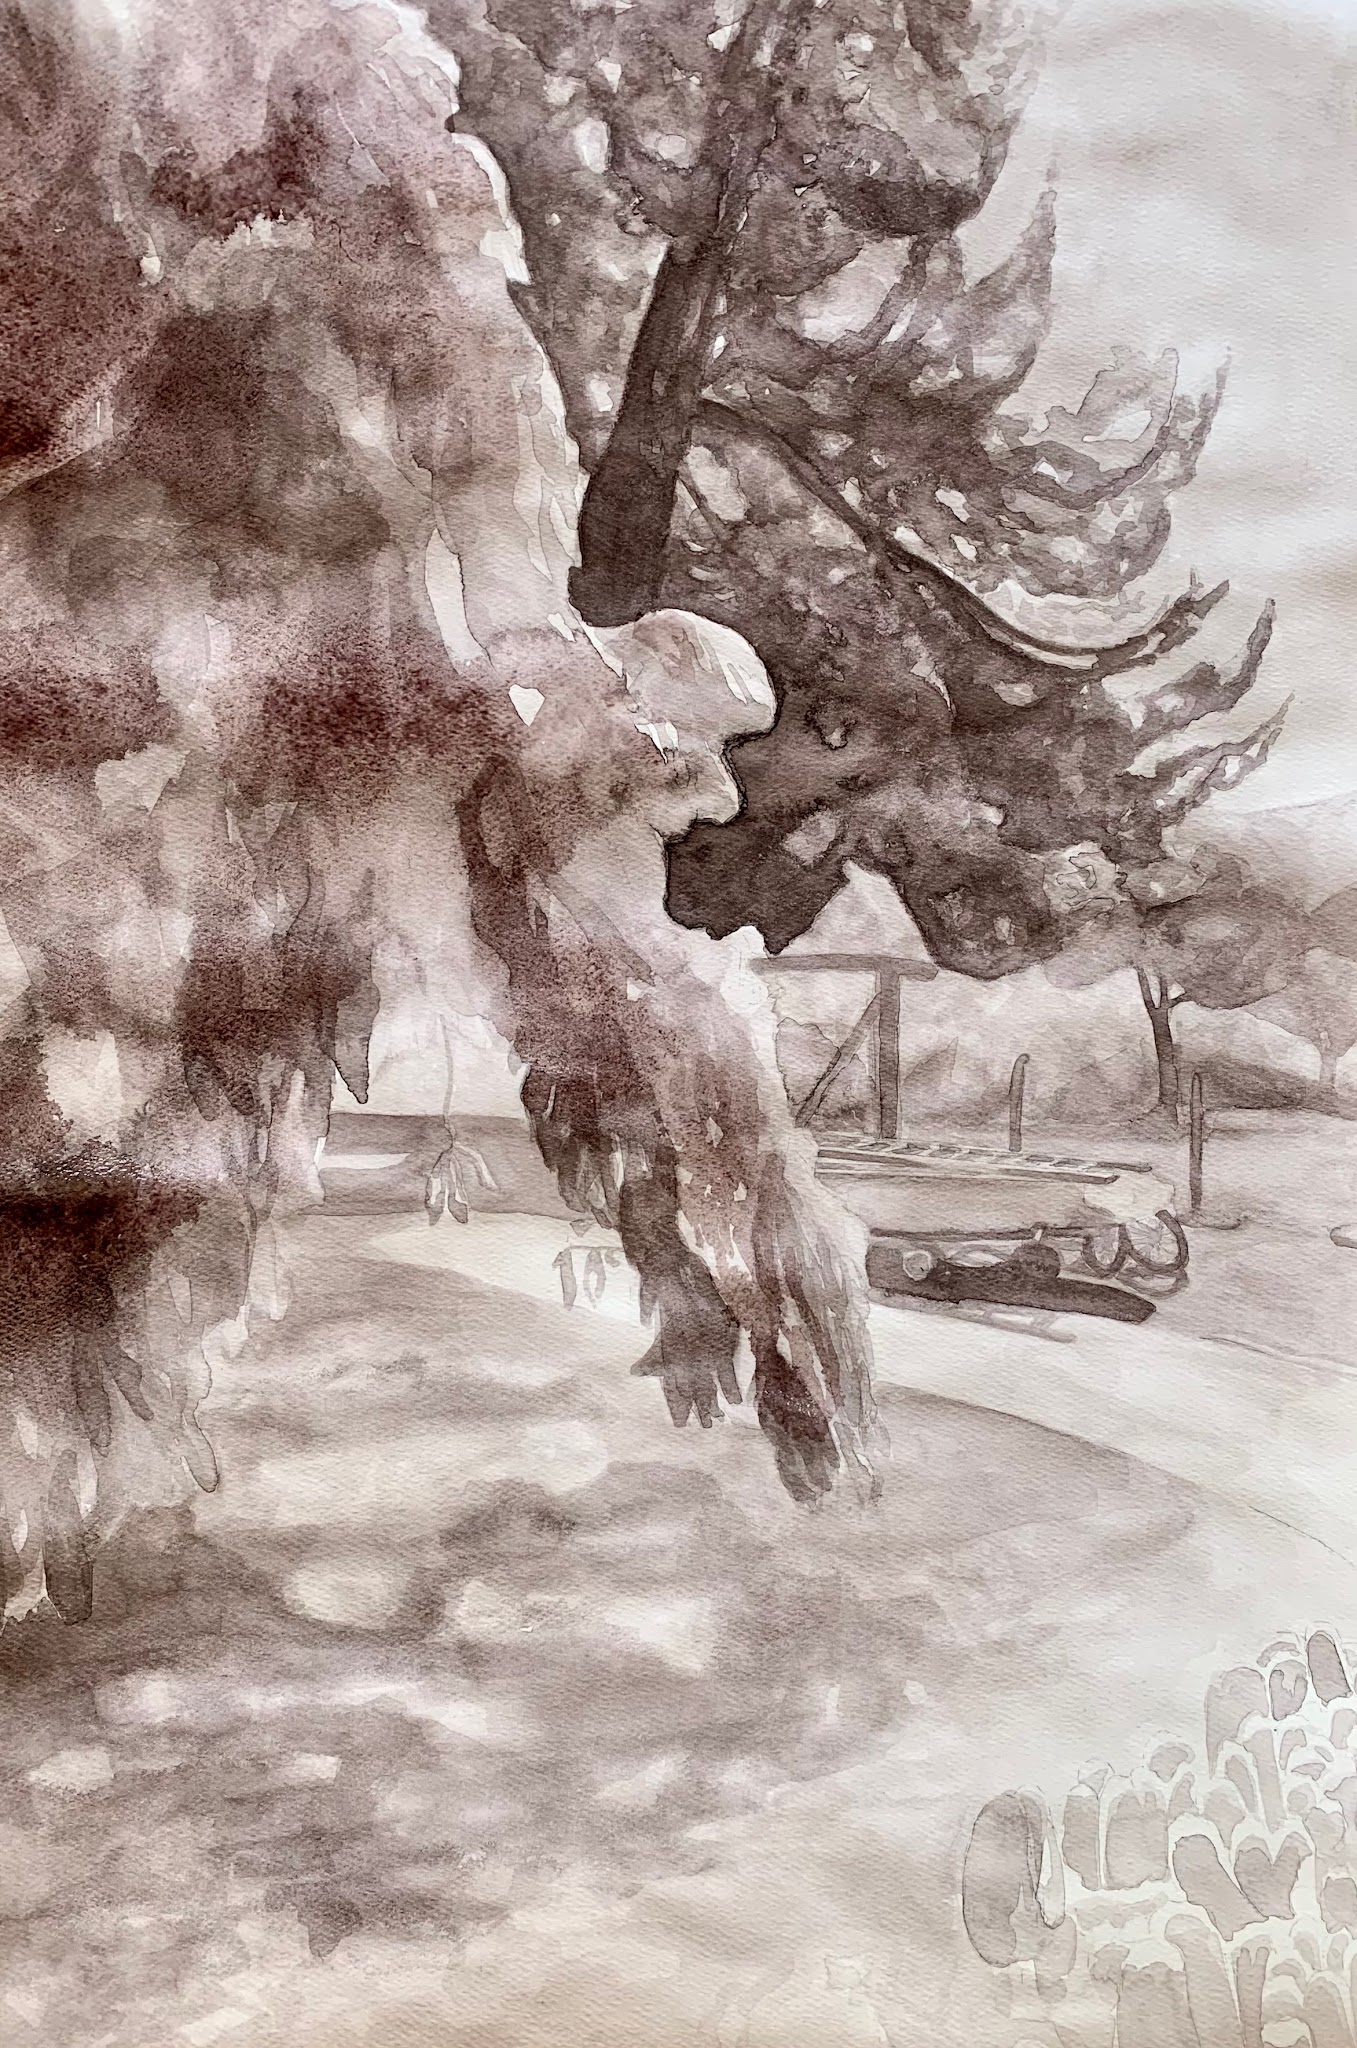
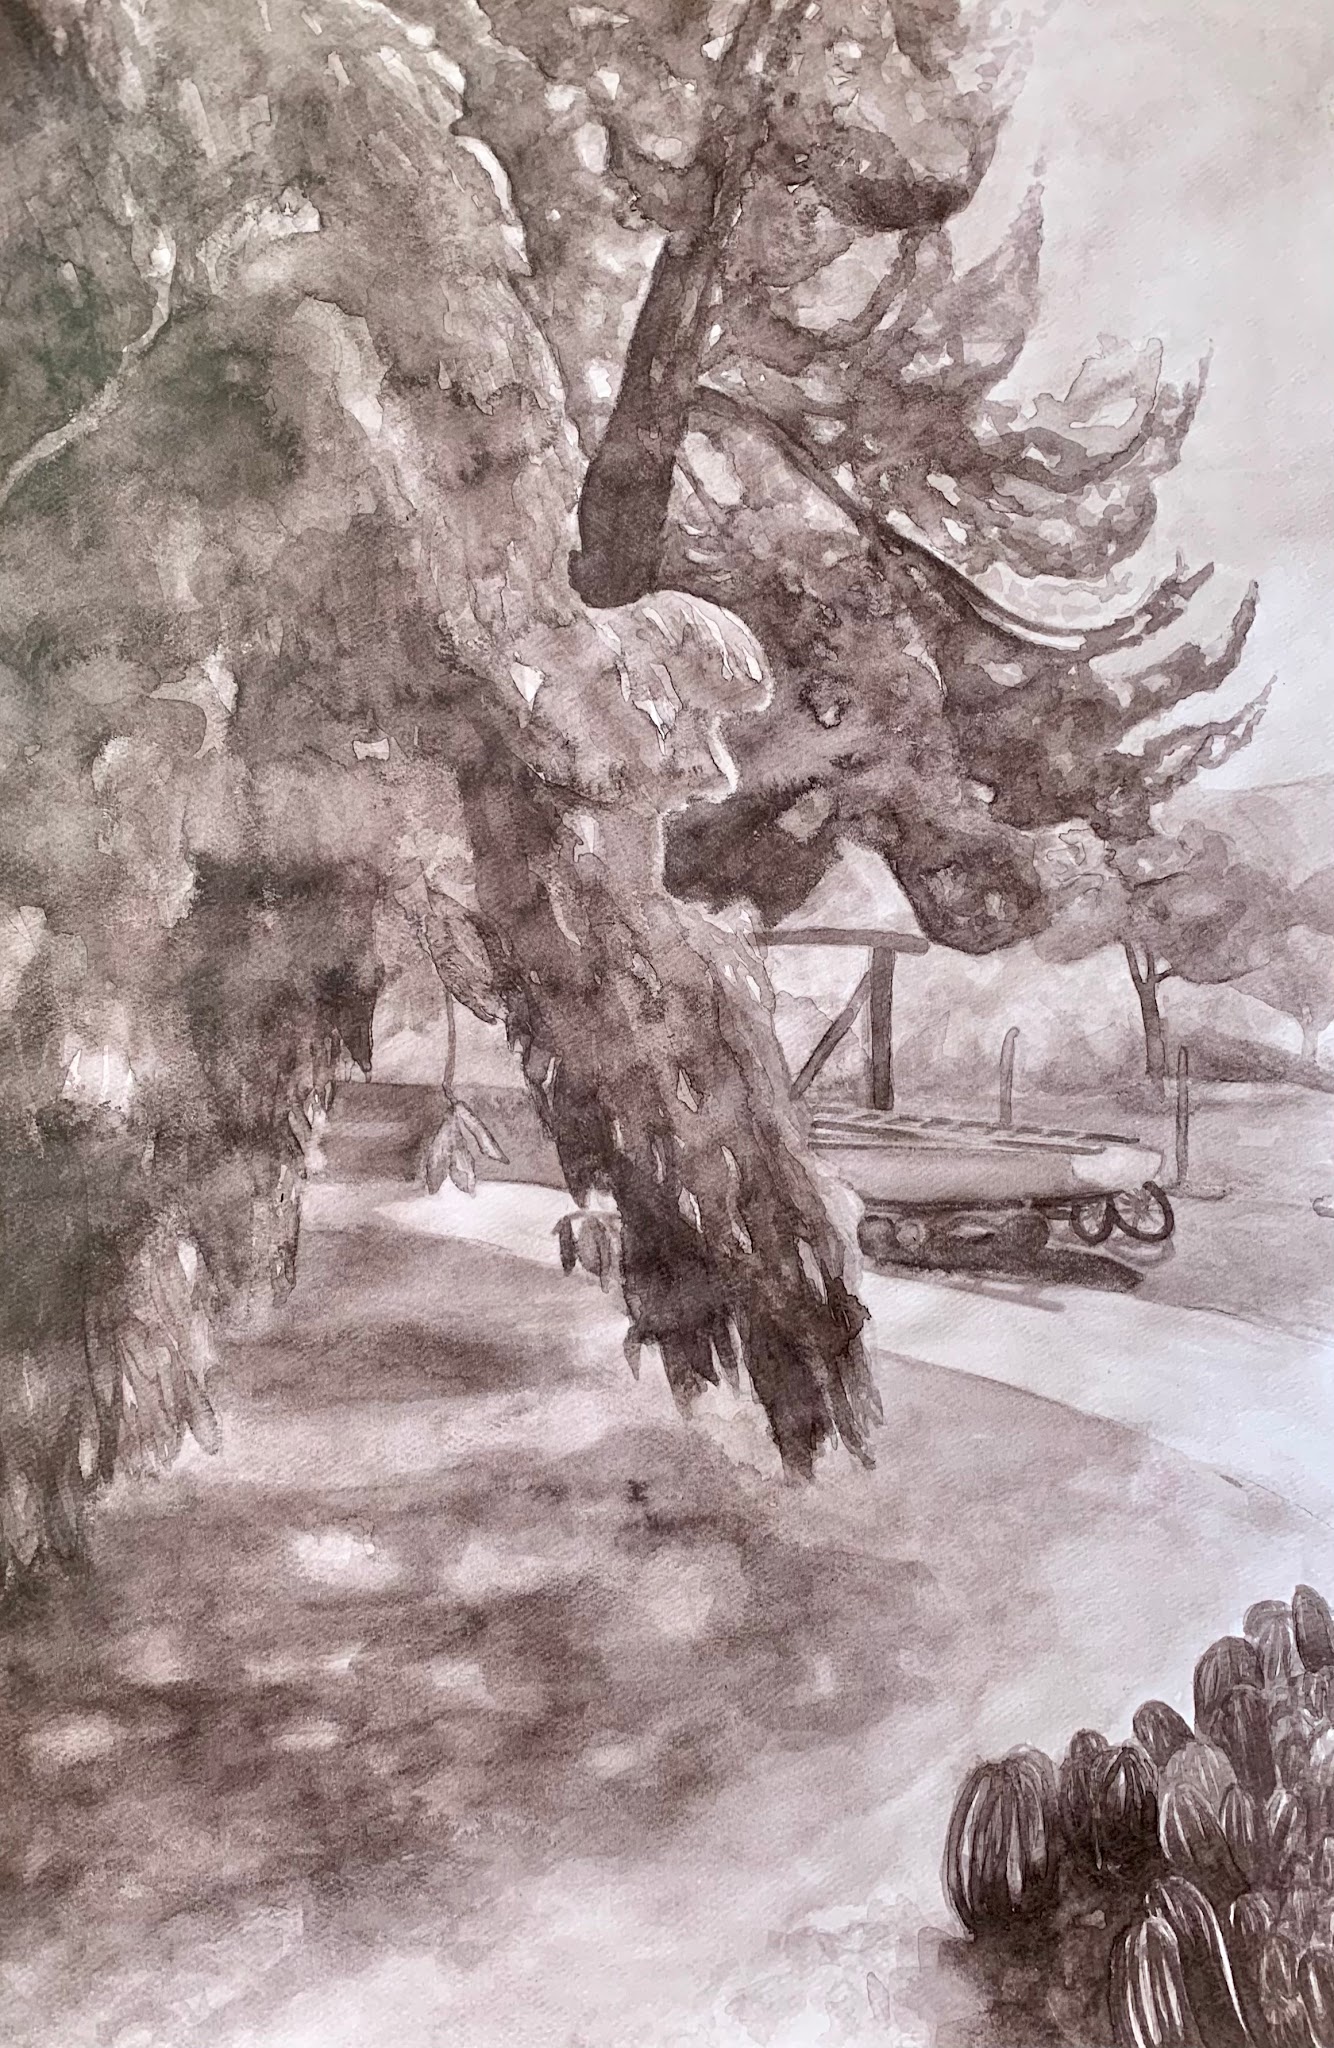
Wet-and-Dry Media Landscape Value Pattern Development, Briana Miyoko Stanley, digital photo, License: CC BY NC 4.0
- Apply Dry Media
- After the washes are in place, use dry media to crosshatch and build value where needed.
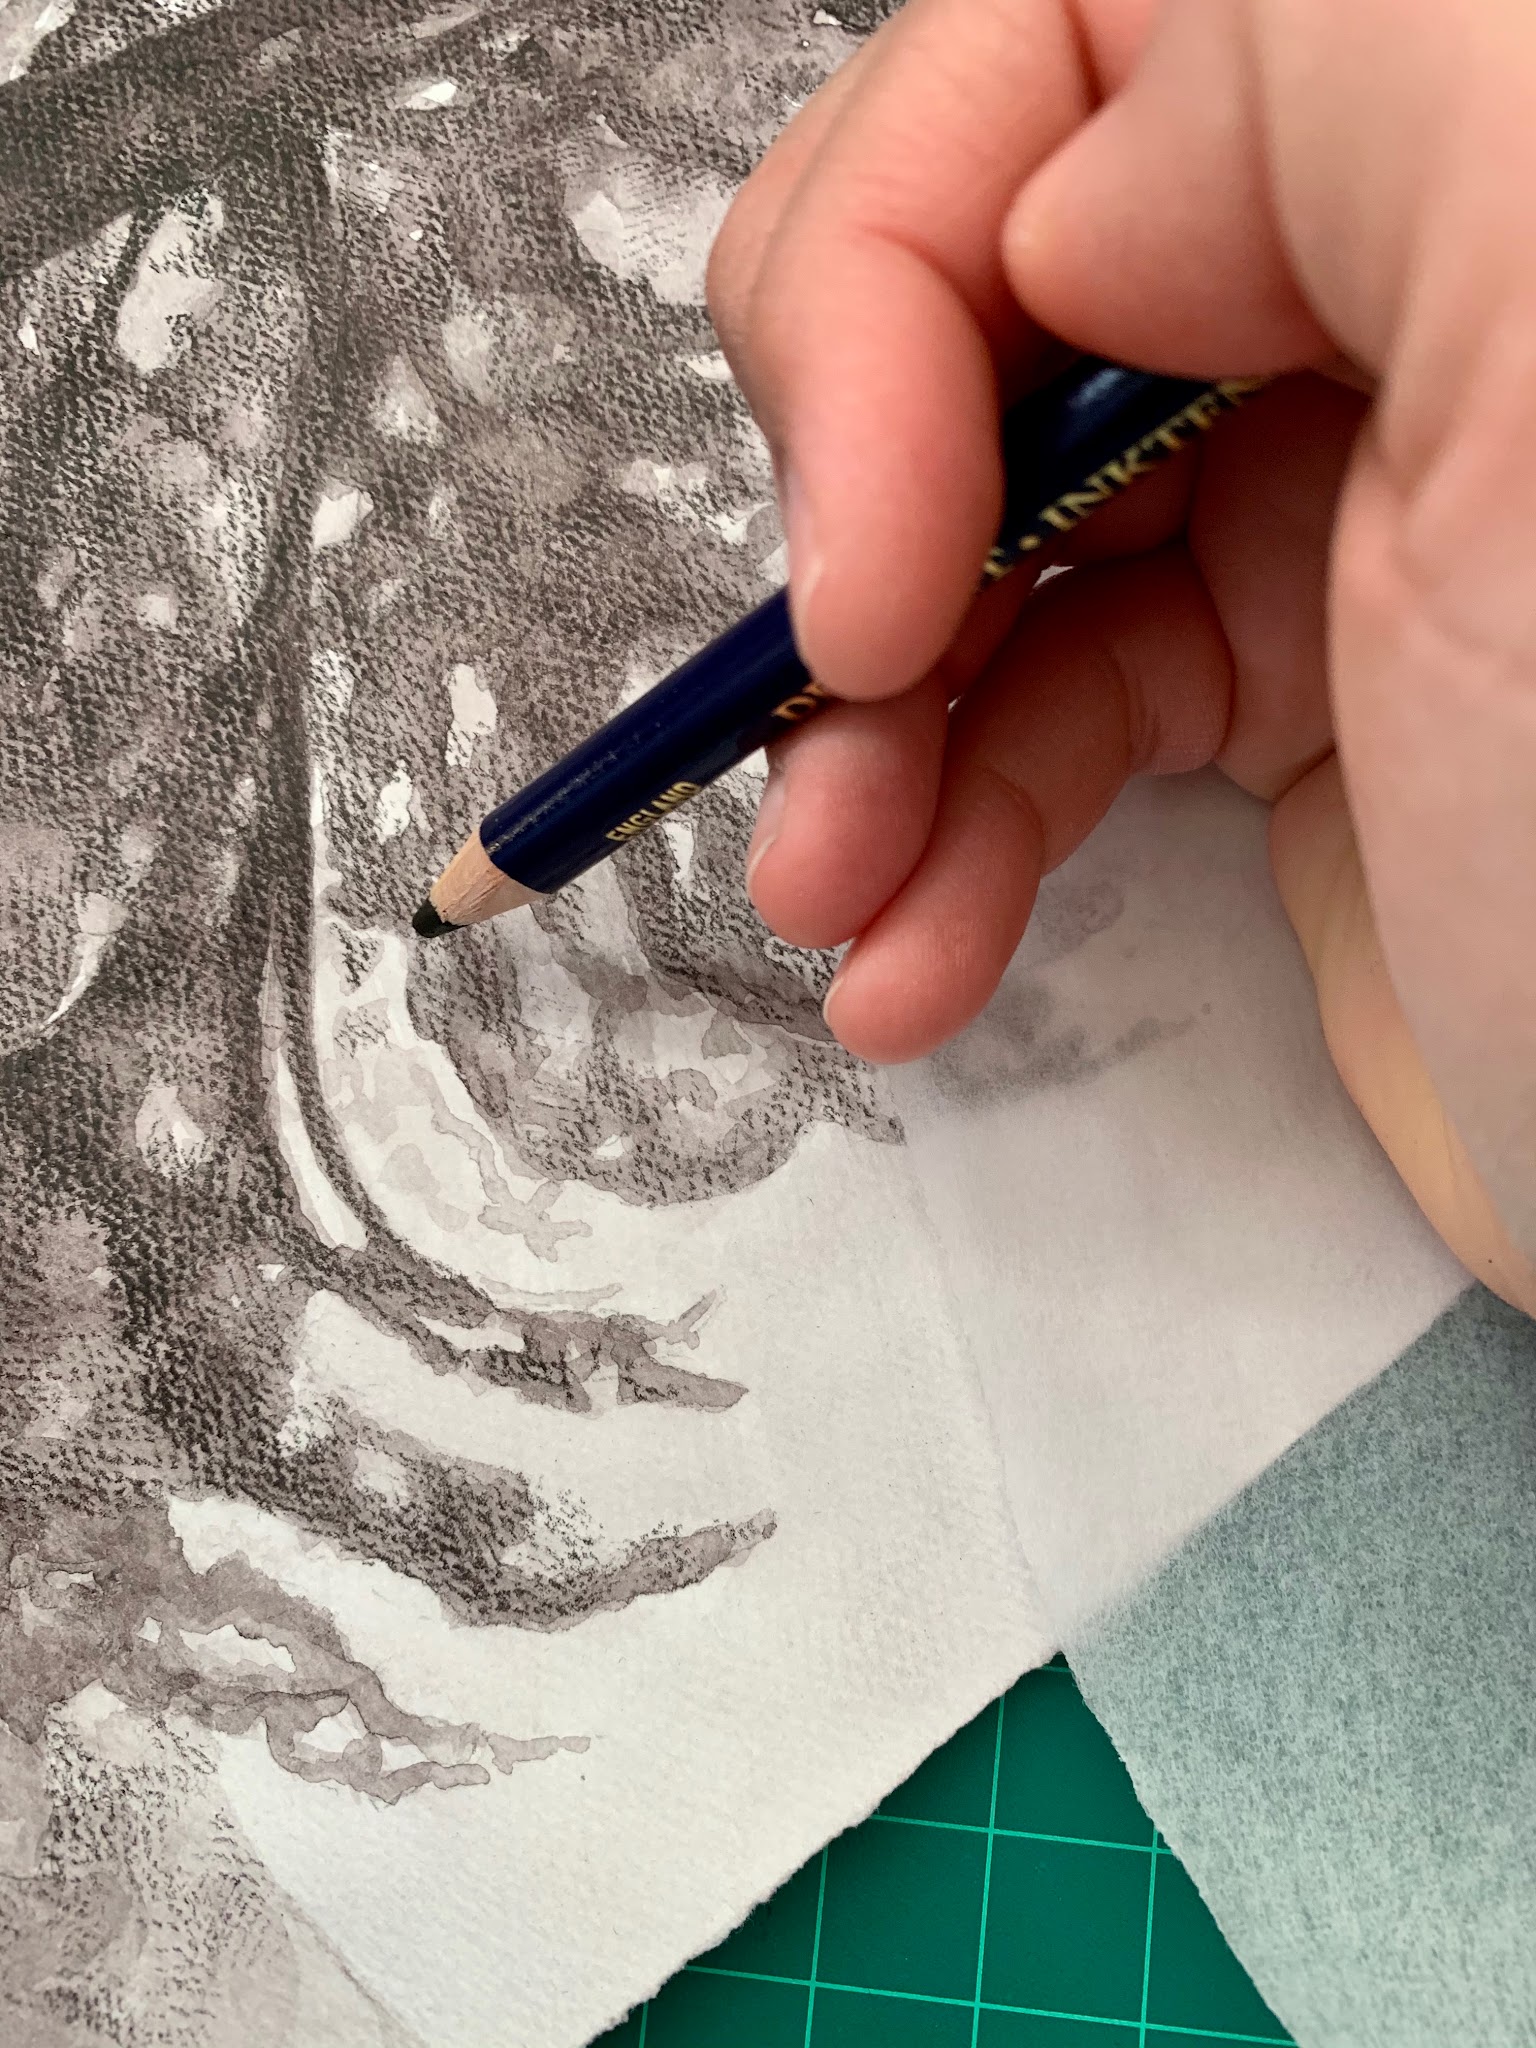
- Reserve high contrast for the foreground and low contrast for the background, and remember to add – more detail to the focal point and foreground, and to minimize information in the background. This will establish the foreground, middle ground, and background.
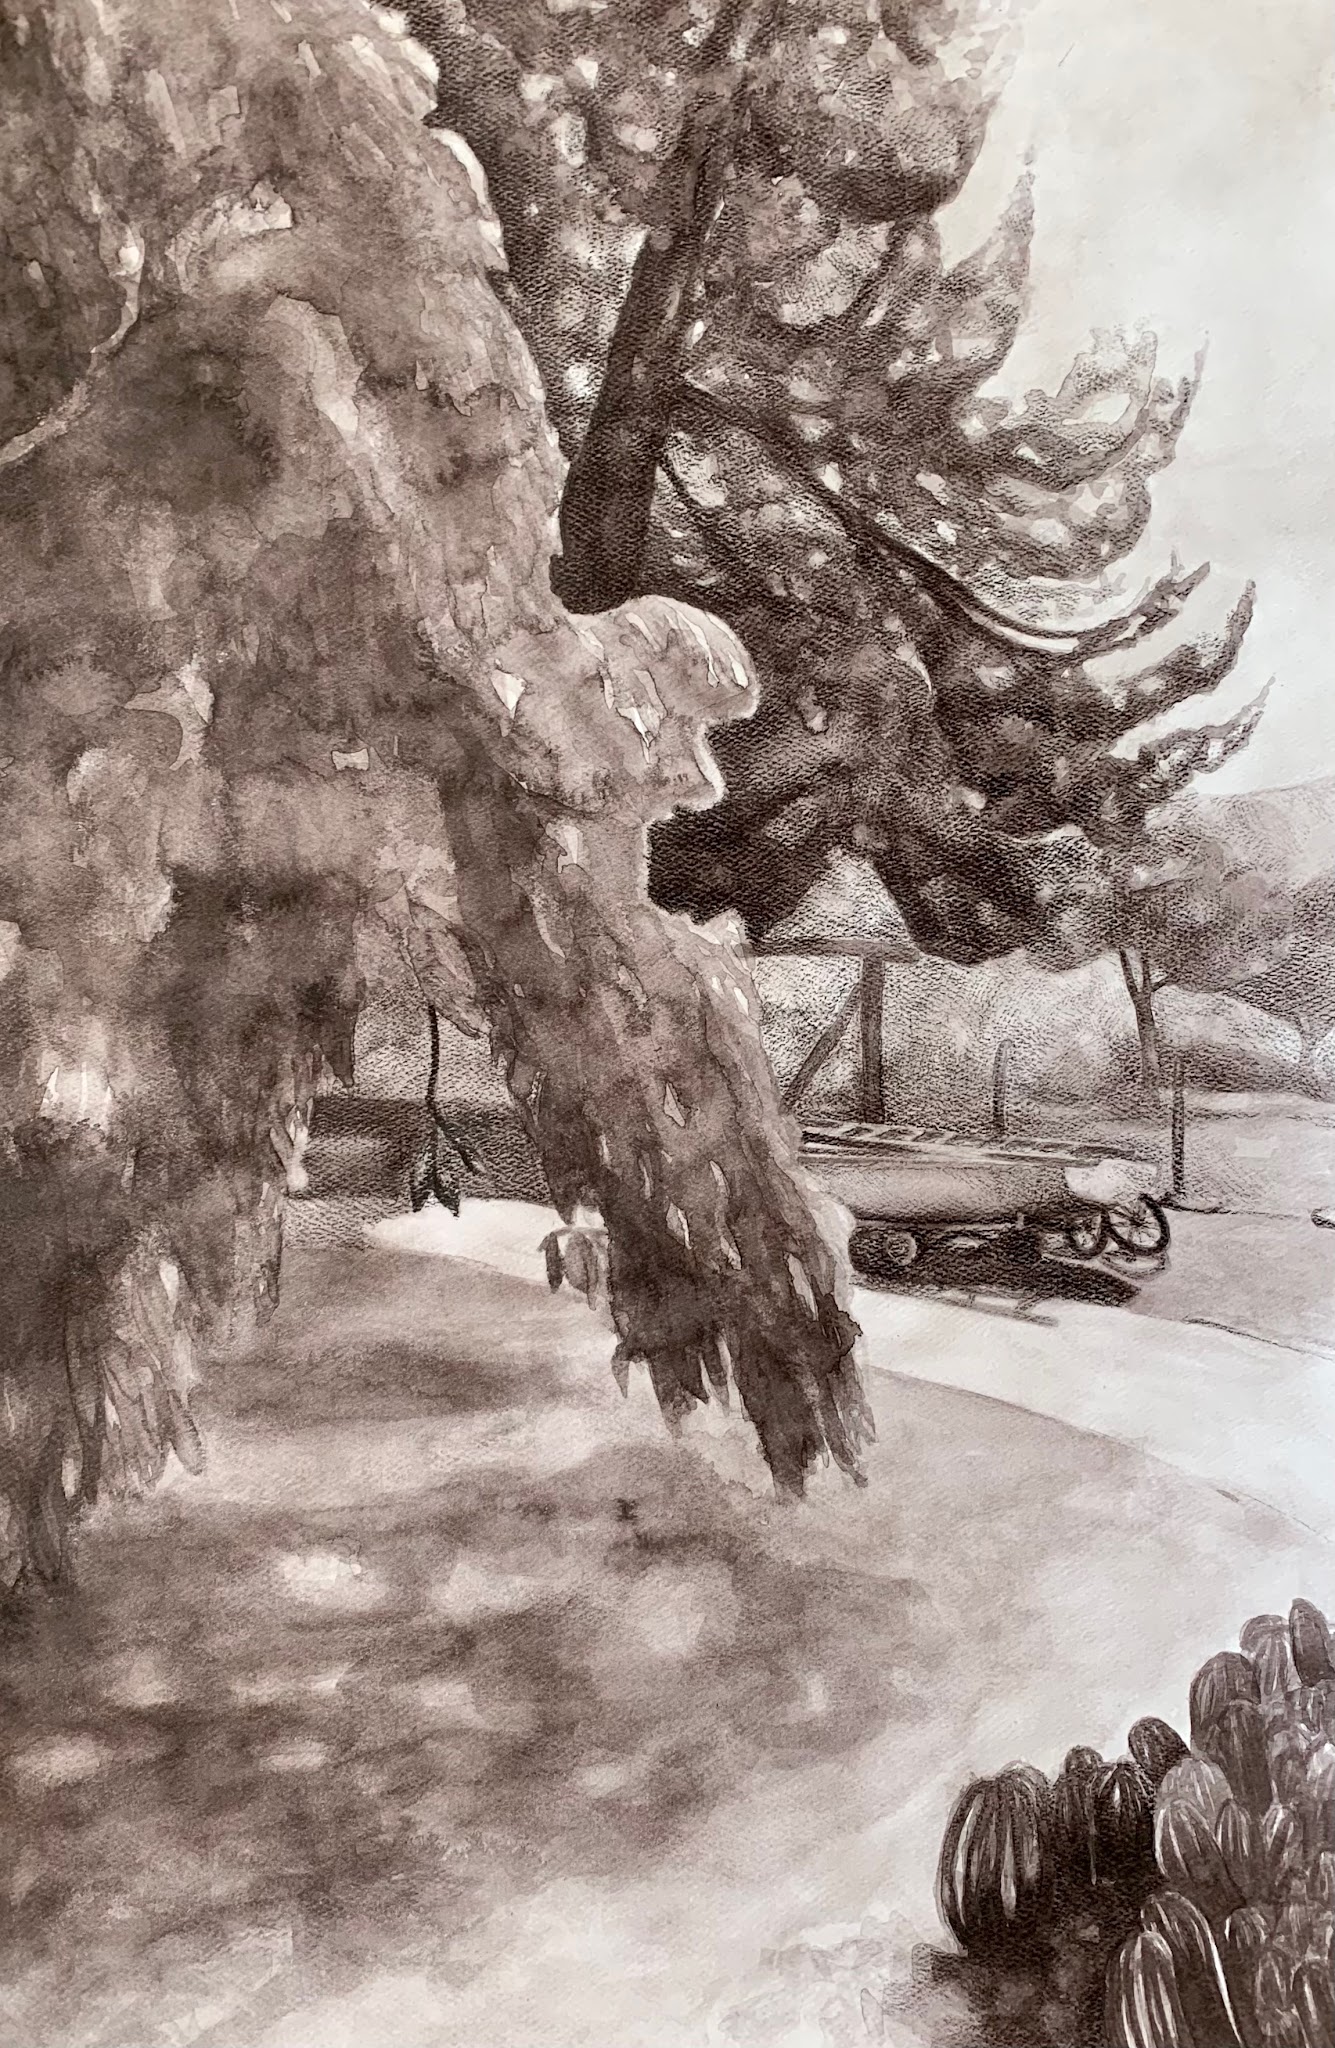
- In addition to contrast and detail, use the dry media pencil to develop texture and differentiate the different surfaces in the landscape, such as bark, leaves, dirt, etc.
- Integrate Wet-and-Dry
- After you’ve used the dry media to its fullest extent, reintroduce water by working some of the dry media into the drawing with a wet brush. Use this method sparingly and strategically _ to integrate dry media, create gradients, and establish soft to hard edges.
- Keep in mind that adding water to dry cross-hatched water-soluble media creates dense and dark values. And once water-soluble media is activated by water and then dries, it will set and cannot be erased. However, this is most true for Inktense, since some watercolor pencils can be erased completely.
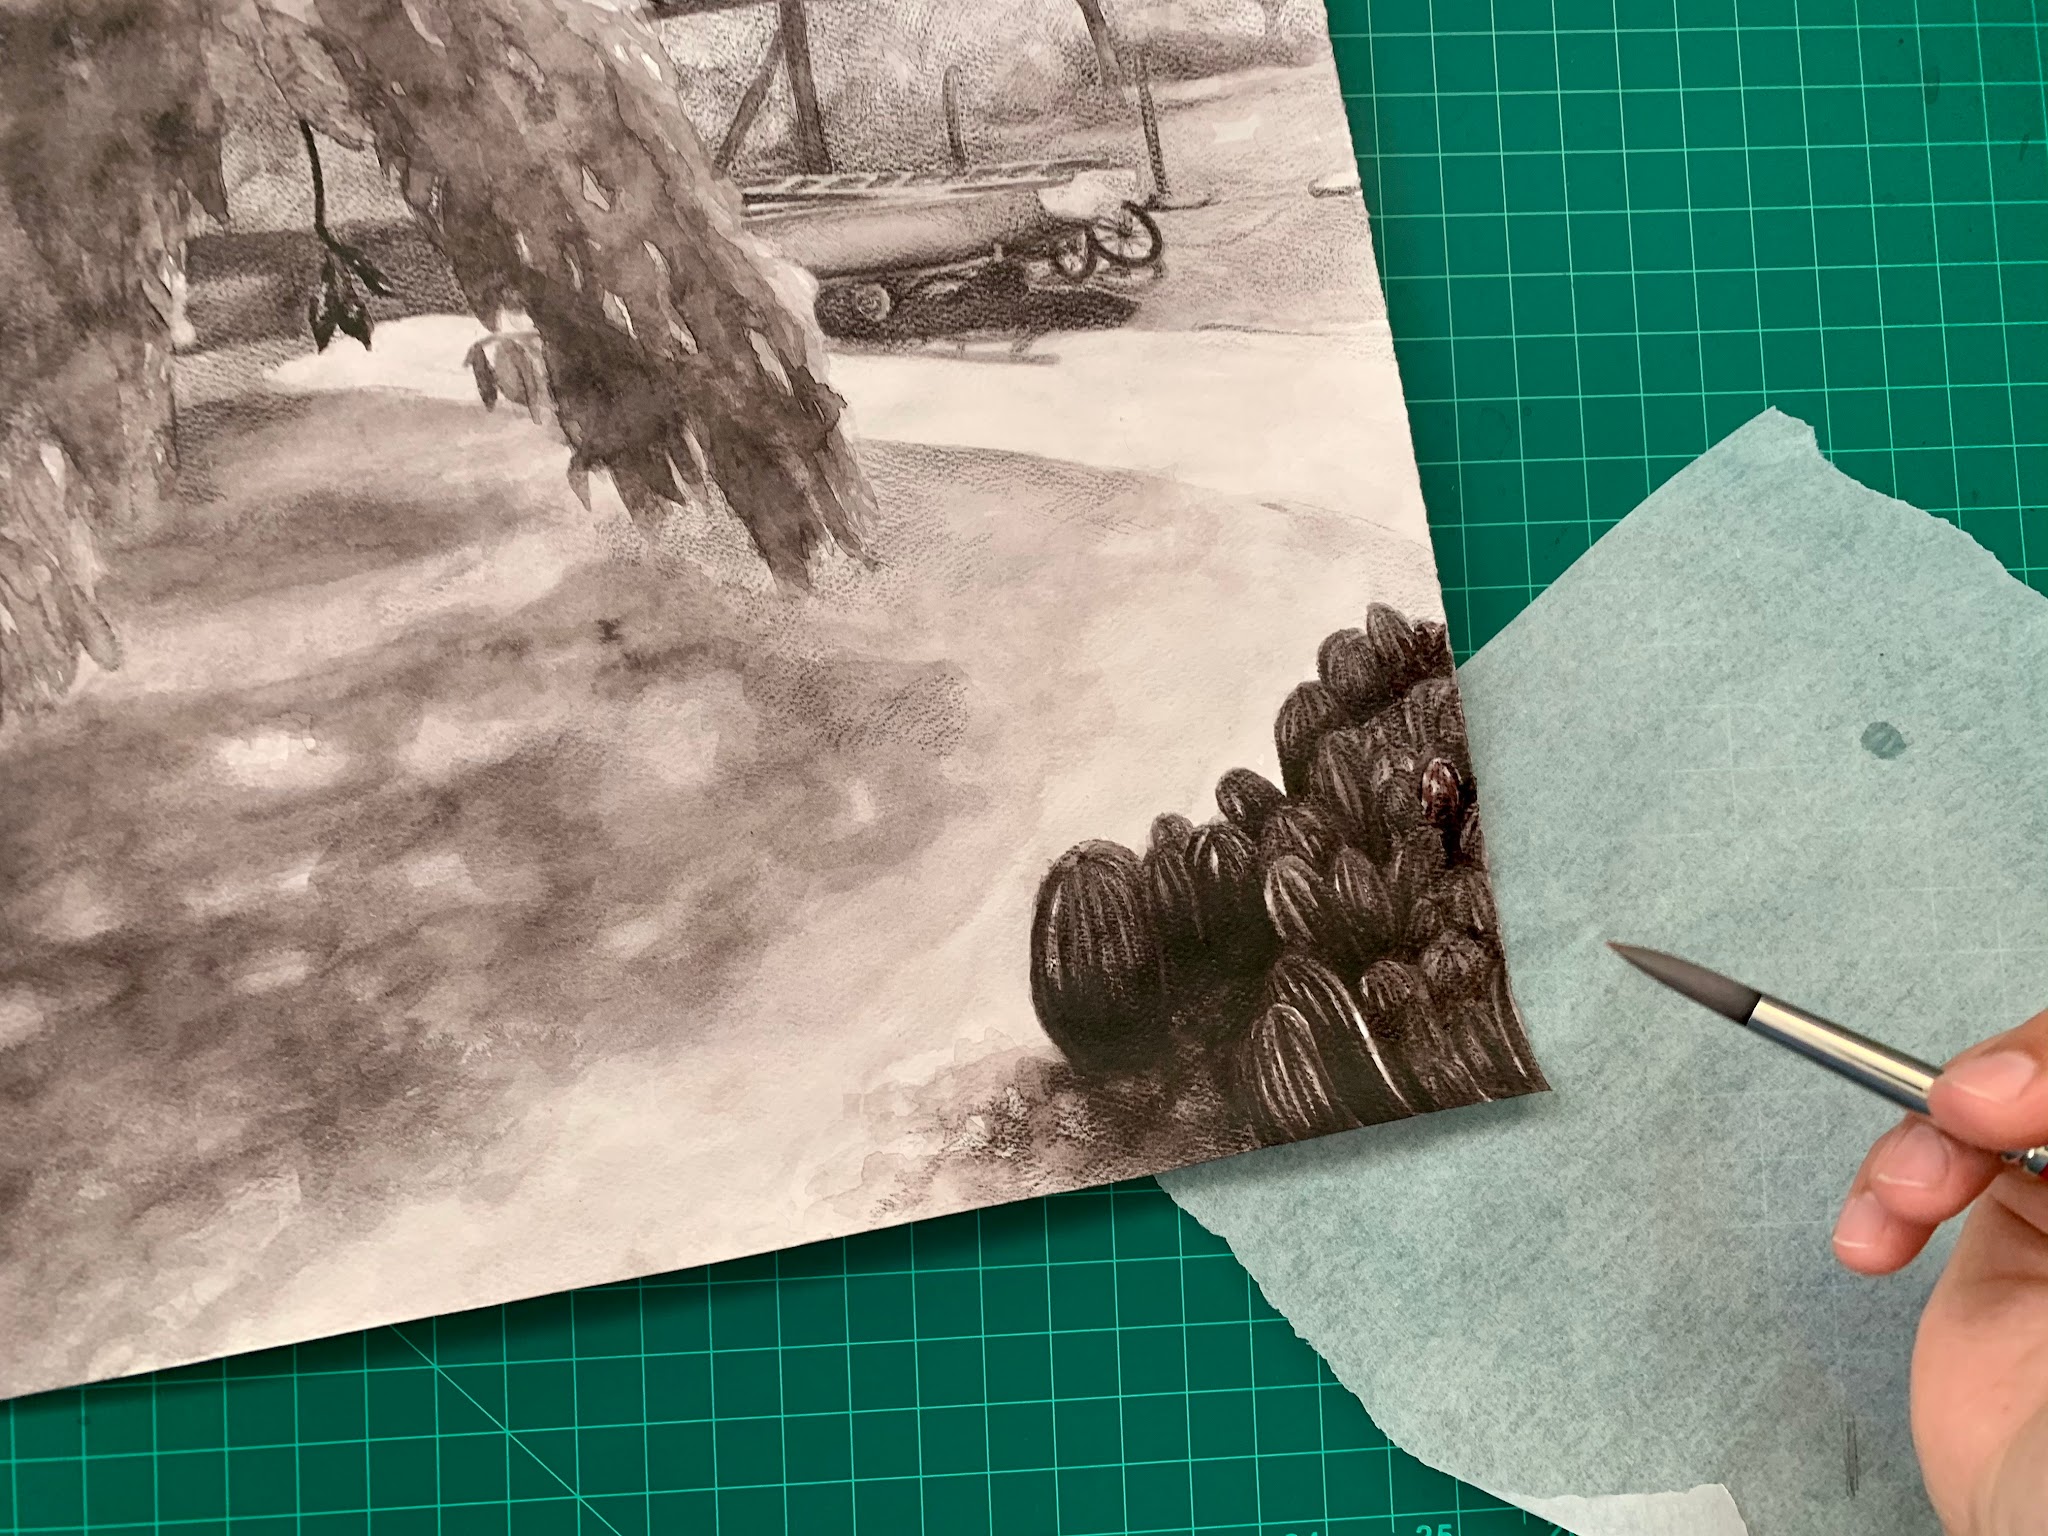
- Final Look and Revisions
- Once you consider your drawing complete, take a break from it for at least, then return to give it a fresh look.
- Observe the drawing on its own without the reference and note if the focal point stands out, if there is implied spatial depth, or a variety of textures.
- Make note of any-discrepancies and apply these changes to complete the project.
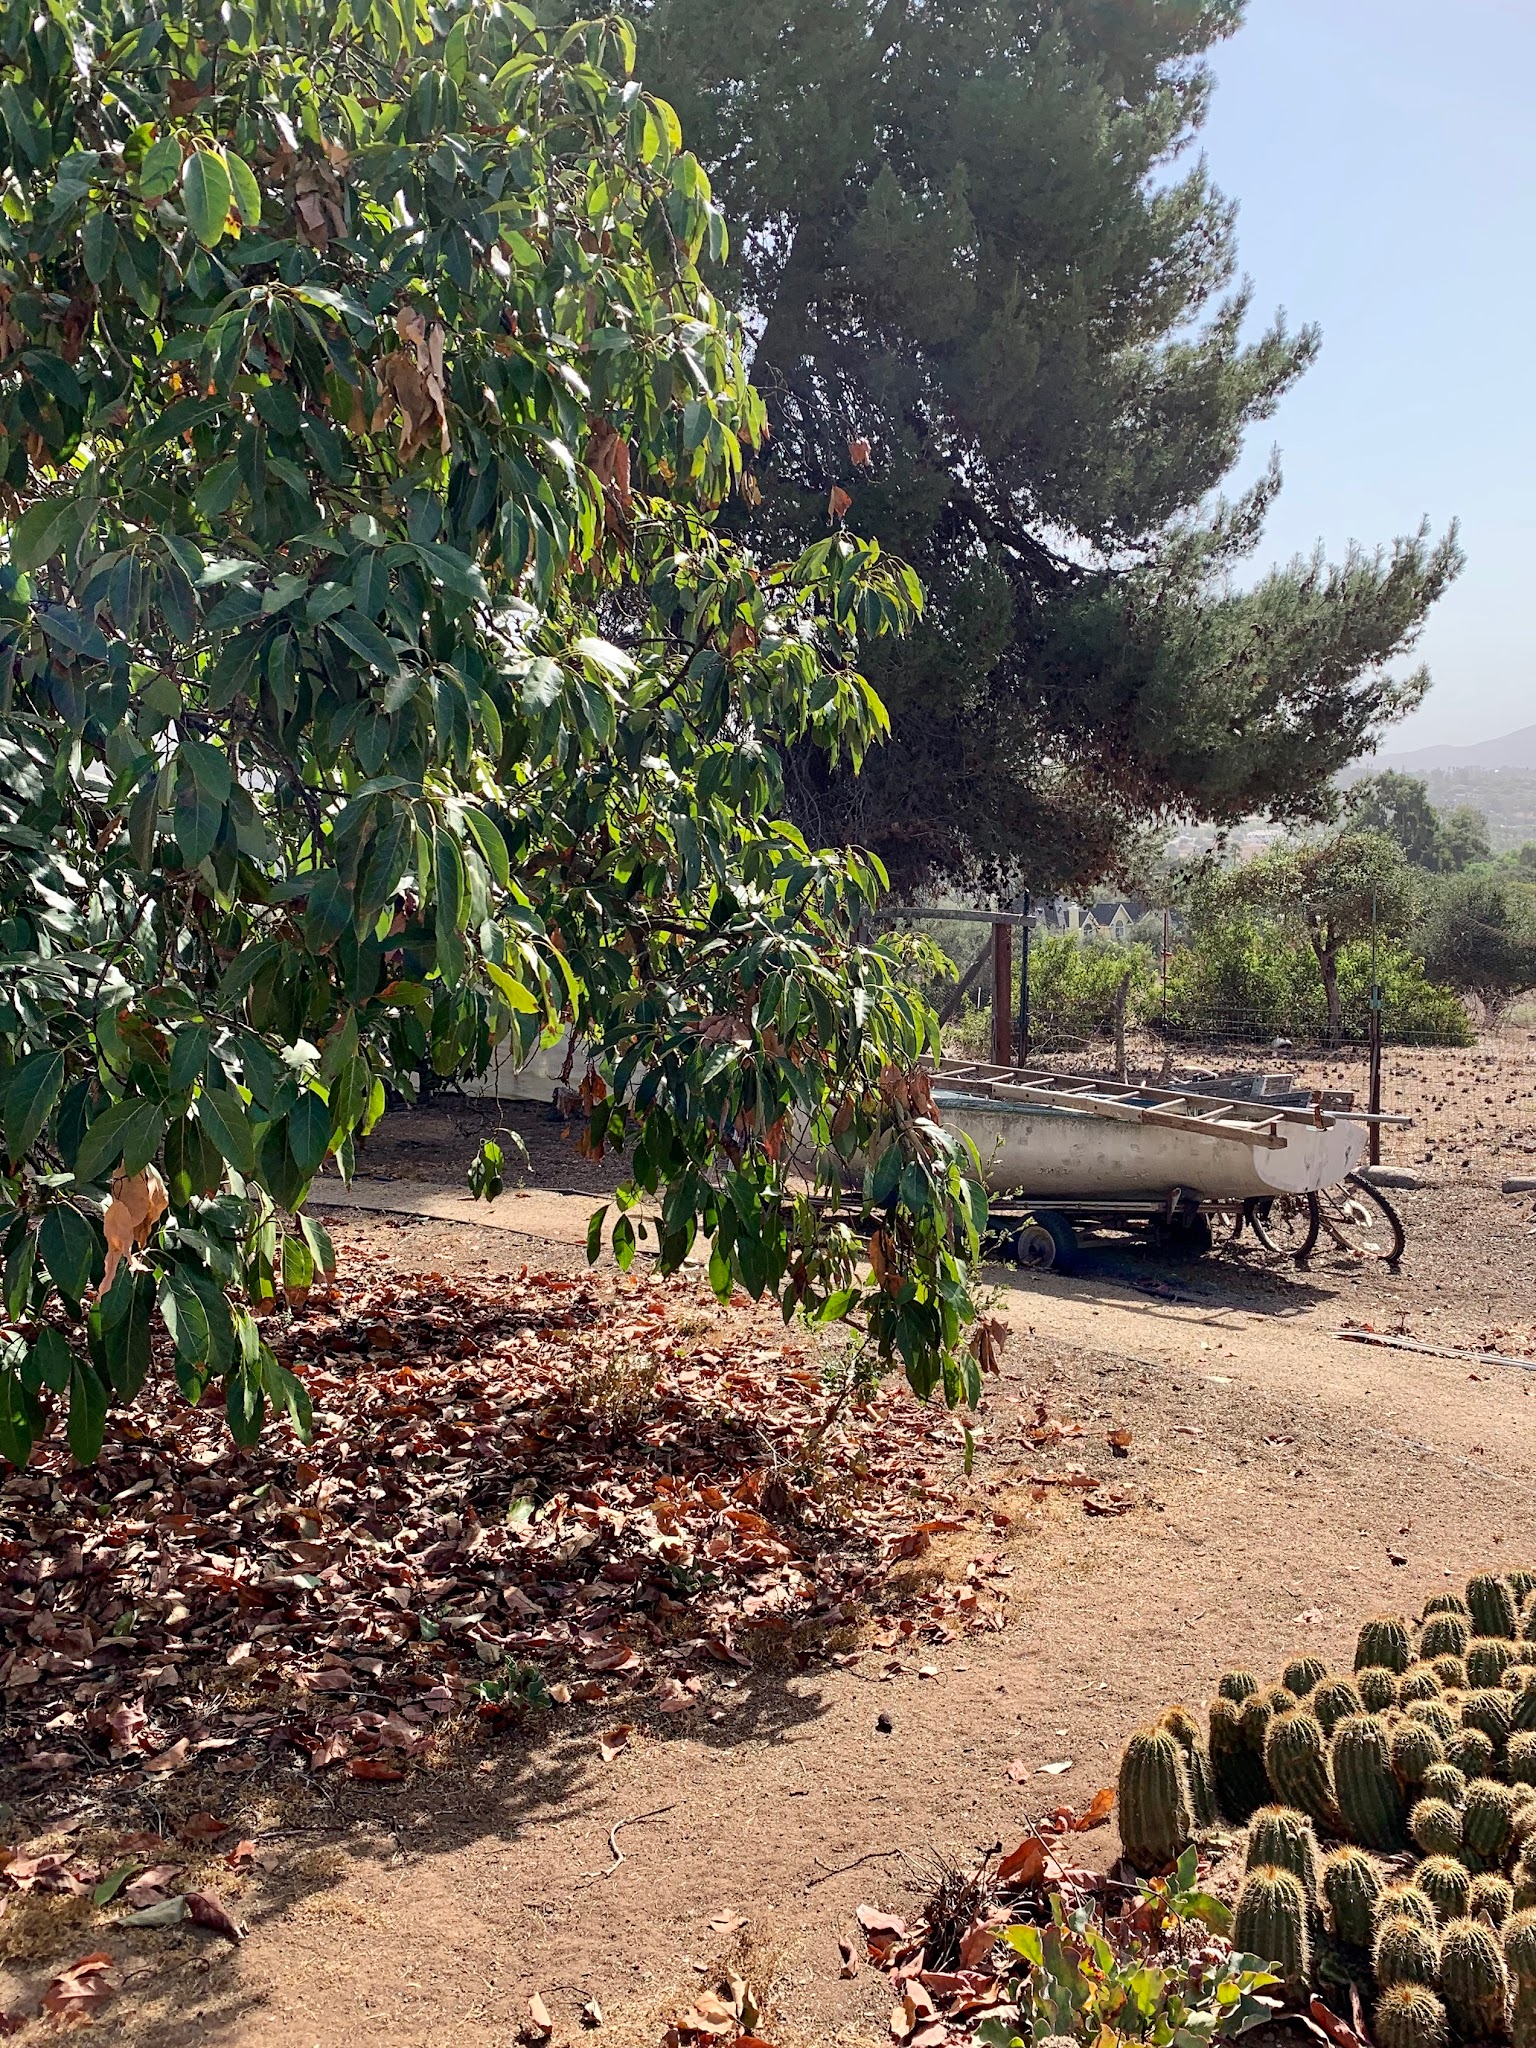
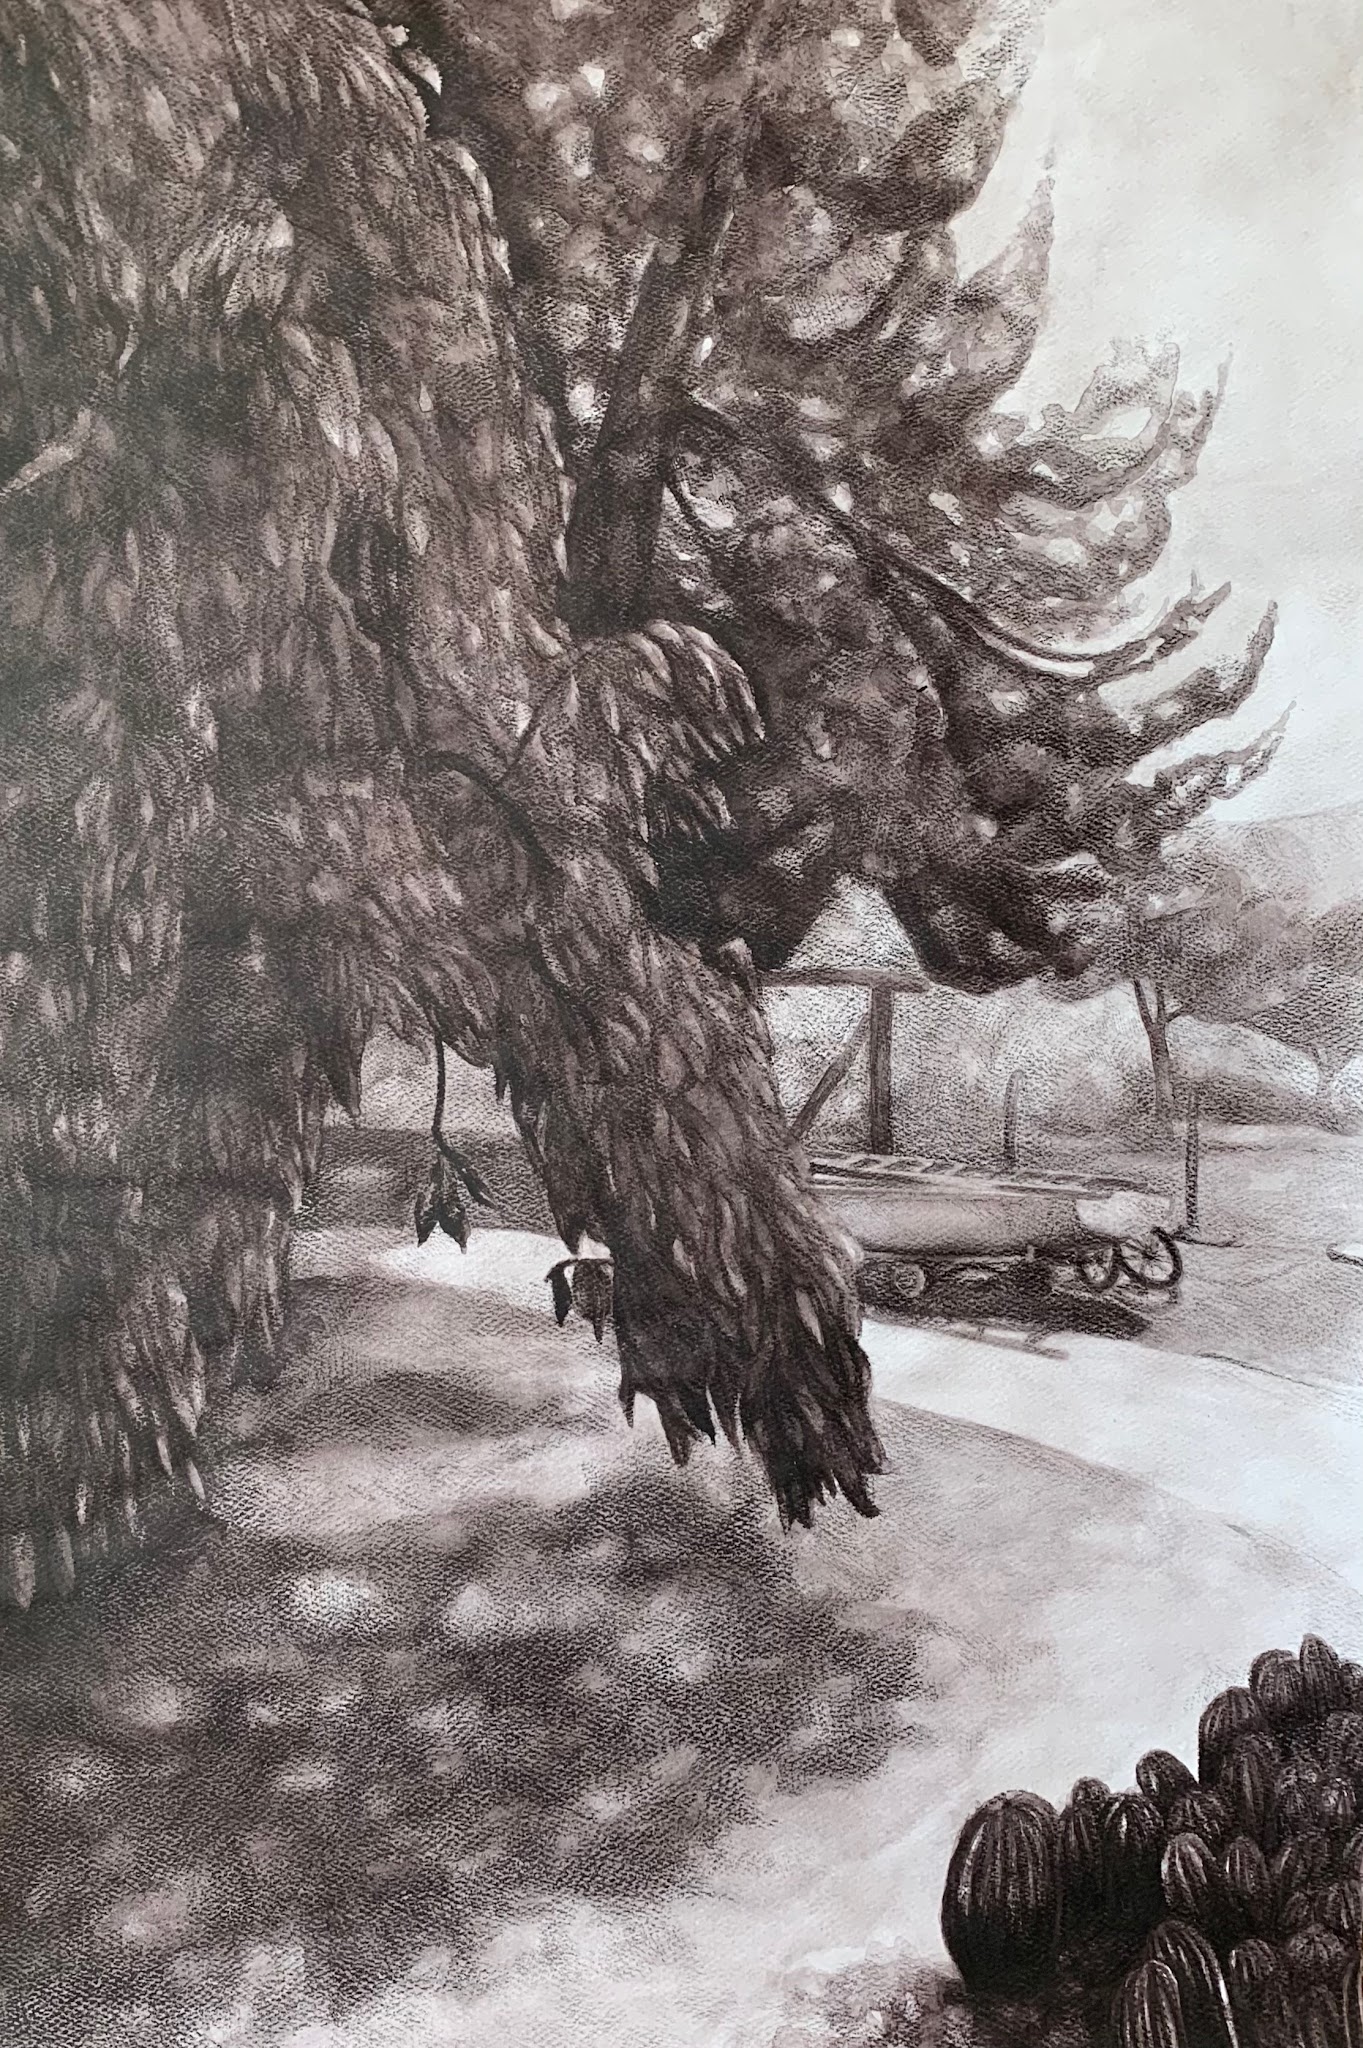
Wet-and-Dry Media Landscape Reference (L) and Completed Inktense Project (R), Briana Miyoko Stanley, digital photo, License: CC BY NC 4.0
Result
The result will be a direct-observation wet-and-dry media drawing on watercolor paper of a landscape with a focal point in a foreground, middle ground, and background space with naturalistic light and shadow.
Tips
Reference Tips
- Choose a location where you can sit for an extended period of time and return to for multiple drawing sessions.
- Consider bringing a blanket or chair to sit on, a drawing board, water to refill your brush cleaning cups, etc.
- Keep in mind that drawing outside introduces uncontrollable elements such as shifting light, color temperature, and the possibility of inhabitants.
- If you choose a park or another public space, there may be times when people are present and times when they are not. Take this into account and plan accordingly.
Drawing Tips
- Allow for more time than you expect. Be patient, especially at the beginning, and double-check the accuracy of your sightings and measurements.
- Develop the drawing from general to specific. This will unify the drawing. Avoid creating a drawing composed of beautiful segments and details. This drawing assignment is all about relationships. Pay attention to edges and transitions from light to dark.
- Record more details with dramatic value and texture variation in the foreground and areas of emphasis. Then start generalizing as visual components move back in space.
- Pay attention to edges and record when they are soft or hard.
- Avoid using automatic marks for plants, instead focus on adding and removing light and shadow to develop foliage. This will create implied spatial depth.
Licensing and Attributions
“Drawing with Wet Media Activities.” Written by Briana Miyoko Stanley. License: CC BY